When you're starting out as a UX designer — or building your UX design credentials — you know that you need case studies for your portfolio. However, there's not a lot of concrete information out there on exactly what should be in a case study. People have different expectations for UX case studies, so in this article, we'll guide you through 10 steps to build a solid UX/UI case study.
If you really want to showcase your work effectively, approach your case study with the same diligence you would apply to a design project. Don’t just throw something together quickly because you need to fill your portfolio. You’ll miss a valuable opportunity to stand out. Think of creating a case study as a project in itself:
- Begin with research and inspiration: Look at other successful projects and case studies.
- Choose the content to highlight: Focus on the most impactful aspects of your work.
- Sketch layouts or structures: Plan how you’ll present your information visually.
- Develop a wireframe: Create a rough layout for your case study.
- Refine the design and visual presentation: Ensure your case study is visually appealing and consistent.
- Plan your release: Think about when and where you’ll publish your case study; consider a small social media campaign.
- Extend your reach: Write additional blog posts, articles, or use other project elements to generate interest.
🧠 Uxcel top tip: A compelling title is crucial for drawing readers in. Avoid generic titles like "Landing Page Case Study." Instead, be creative and engaging. For example, "From Clicks to Conversions: Enhancing Our Landing Page UX" is more likely to capture attention.
What is a Case Study?

A case study in UI/UX is a comprehensive narrative of a design project, and a key milestone for anyone learning how to become a UX designer. It details the designer's approach to solving a user interface or user experience problem, including the project’s background, the problem addressed, the designer's role, and the steps taken. This format can significantly boost your chances of getting hired.
Purpose of a Case Study
The purpose of a case study is to:
- Communicate design thinking: Recruiters seek candidates who can explain their designs clearly and appealingly.
- Showcase skills and process: Highlight your abilities, thought processes, choices, and actions in context through engaging, image-supported stories.
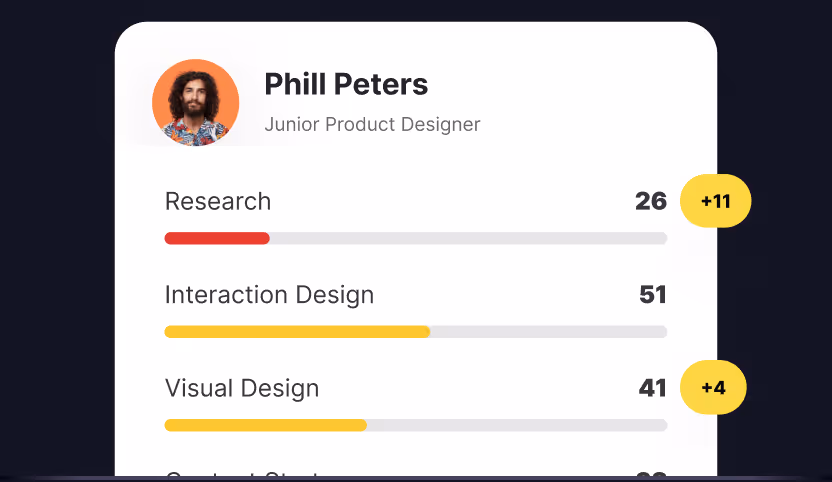
- Engage recruiters quickly: Enhance your portfolio with 2–3 case studies featuring your best writing and captivating visuals to capture recruiters’ interest within 5 minutes.
10 Steps to Create a UX/UI Case Study
Step 1. Introduction
Your introduction sets the stage for your case study, providing readers with a clear understanding of the project's background, your involvement, and the UX design skill set you applied. Here’s how to craft a compelling introduction:
Explain the project
- Overview: Start with a brief description of the project. What is it about? Is it a mobile app, a website redesign, or a new feature?
- Your role: Clearly define your role in the project. Were you the lead designer, a team member, or focused on a specific area like user research or visual design? If you collaborated with teammates, be sure to acknowledge their contributions.
- The scenario: Provide some context for the project. Why was it initiated? What were the business goals or user needs that drove the project?
Set the context
- Project background: Give a brief background of the project. Mention any relevant details such as the industry, target audience, and the problem that needed solving.
- What you’ll cover: Outline what your case study will discuss. This gives readers a roadmap of what to expect.
Step 2. Define the objectives
Defining the objectives of your project is crucial for setting the direction and scope of your work. This step involves clearly outlining what you aim to achieve and how you plan to get there.
- Clearly state objectives: Articulate the specific goals you aimed to achieve with the project. This helps readers understand your focus and the criteria for success. For example, the main objective could be to improve user satisfaction scores related to the checkout process and decrease the overall time taken to complete a purchase by 30%.
- Define success metrics: Mention the key performance indicators (KPIs) or metrics you will use to measure the success of your project. This adds a quantitative aspect to your objectives. In the realm of the checkout scenario, the metrics could be checkout completion rate, user satisfaction scores from post-purchase surveys, and the average time to complete a transaction.
Step 3. Research goals and methods

Research is a critical component of any UX/UI project — explore the full range of UX research methods in our dedicated course. It provides the foundation for understanding user needs, identifying pain points, and informing design decisions. This step involves setting clear research goals, using appropriate methods, and sharing valuable insights.
- Understand user needs: Define what you aim to learn about your users, including their behaviors, preferences, motivations, and pain points.
- Identify pain points: Specify the problems you need to uncover, focusing on areas where users struggle or express frustration.
- Gather feedback: Describe how you will collect feedback from users about existing or proposed designs.
- Explain research methods: Use methods such as one-on-one interviews, surveys, competitive analysis, and analytics review. Explain how these methods will help you achieve your goals.
- Detail your findings: Summarize the most important insights gained from your research, which should directly inform your design decisions.
🧠 Uxcel top tip: Share snippets of interviews or research deliverables to add visual interest to your process. However, don’t overdo it—no one wants to read four pages of interview transcripts.
Step 4. Define the problem
Defining the problem is crucial, as some designs may look great but solve non-existent issues or overlook more important ones.
- Clearly state the issue: Ensure readers understand the specific problem by describing it in precise terms. A well-defined problem should be specific and measurable, such as "users struggle to find their account settings" instead of a vague statement like "the app is confusing."
- Provide context: Offer detailed information about the problem uncovered during research. Specify the conditions under which the problem occurs, the affected user segments, and any relevant data.
Step 5. Define the audience
Defining your audience is essential for creating a product that meets user needs effectively.
- Identify target users: Clearly understand who will use or is already using the app or product. Determine the demographics, behaviors, and needs of your primary users.
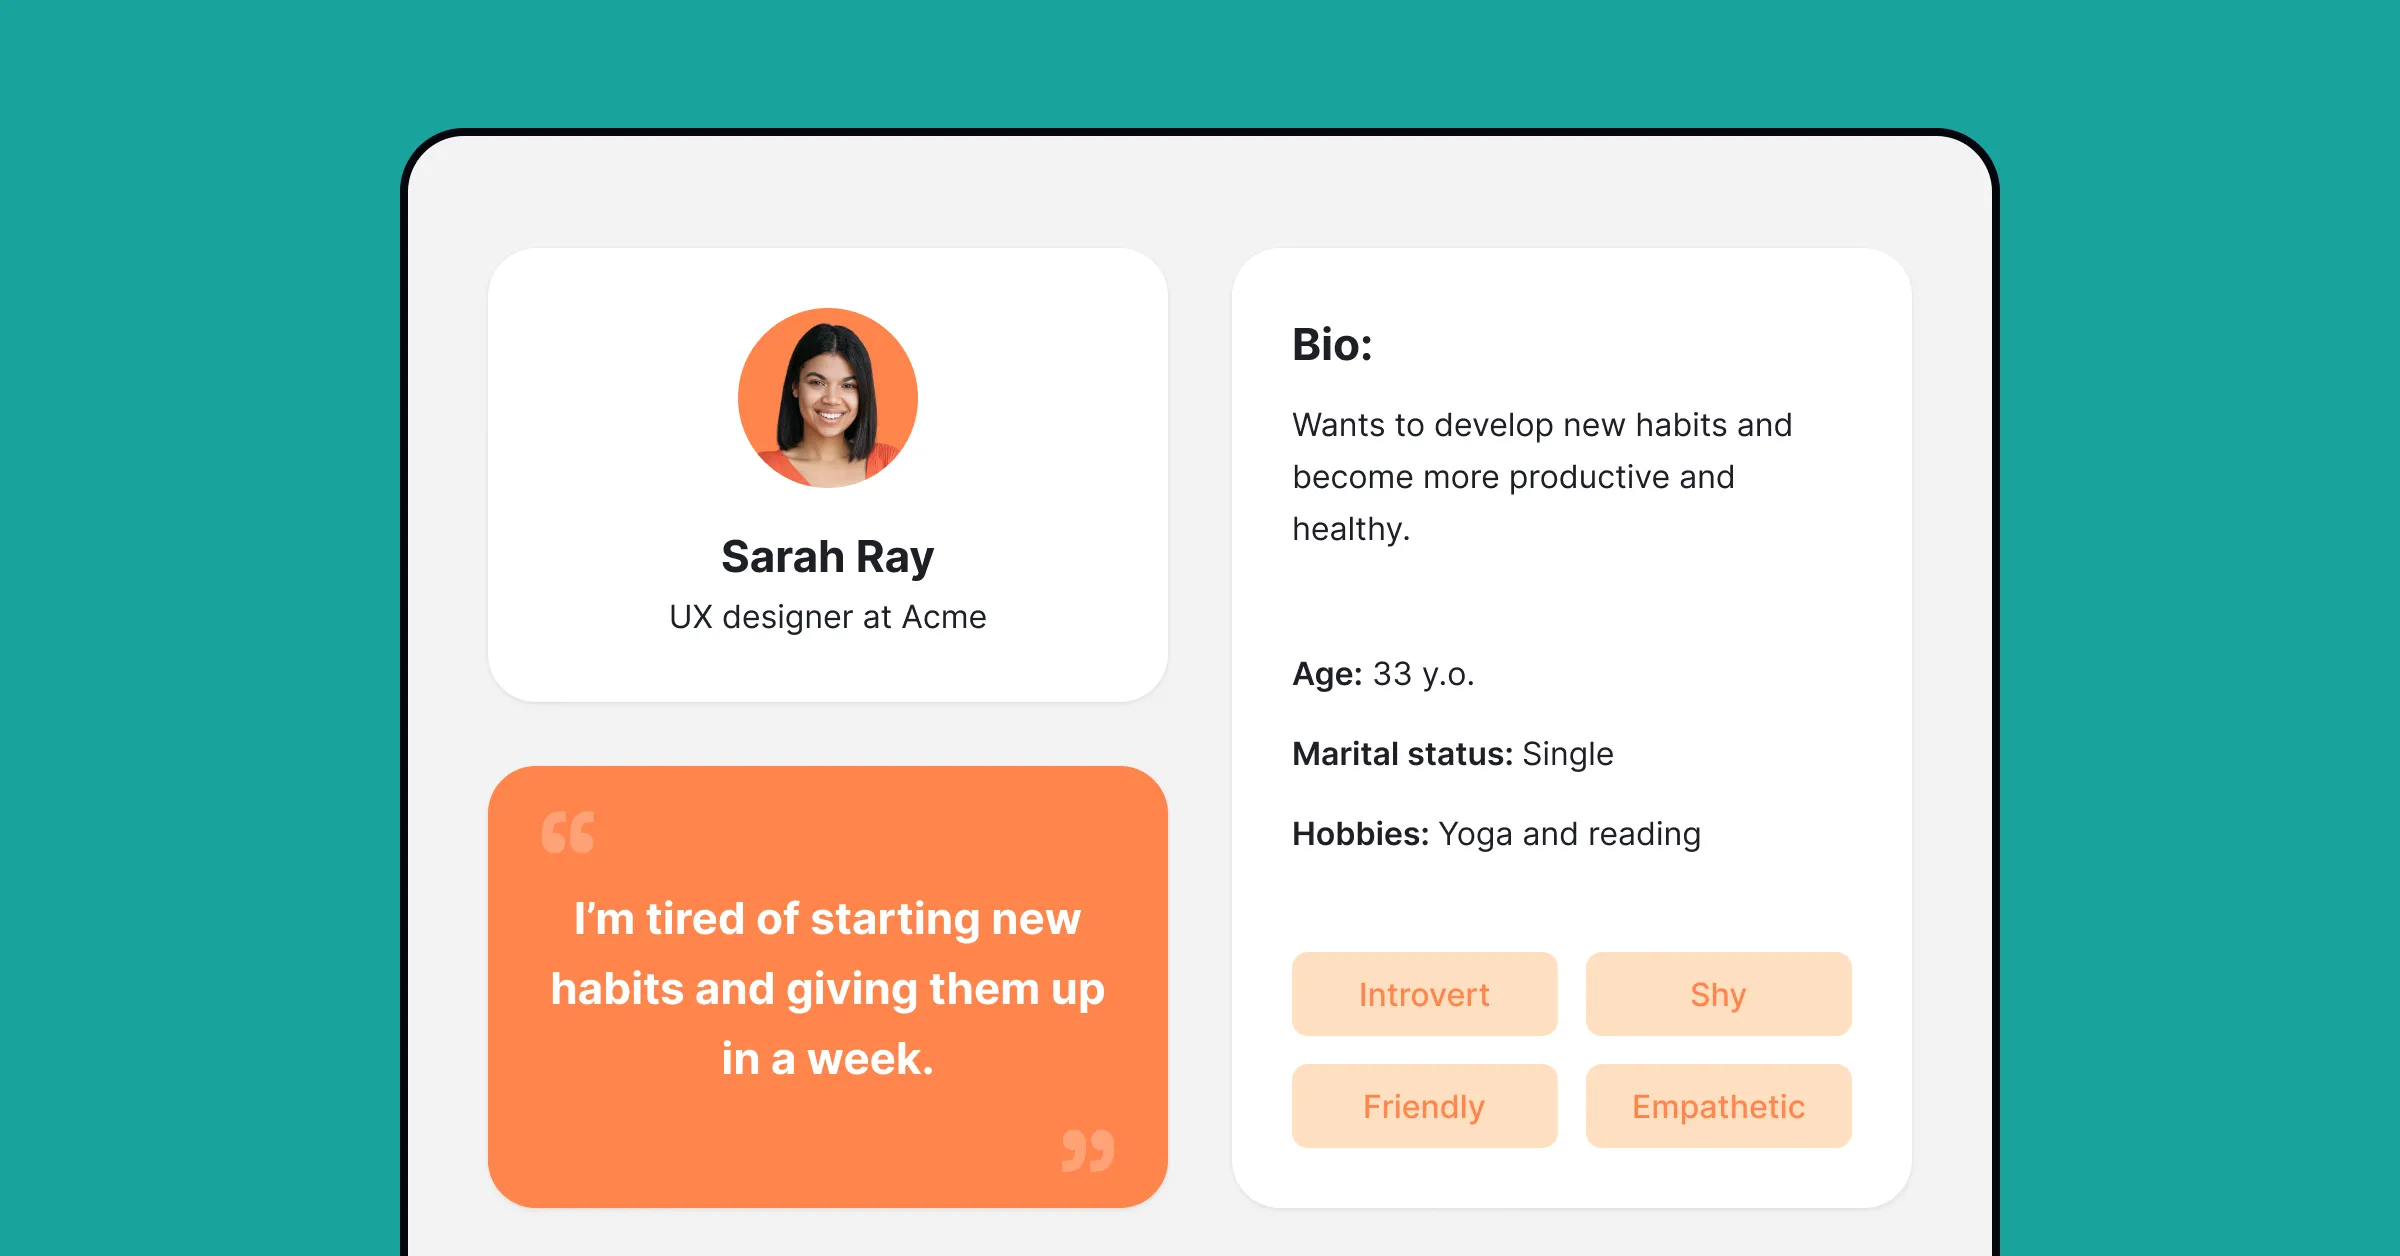
- Create personas: Develop detailed personas to represent your target audience. These should include information such as age, occupation, goals, challenges, and preferences to help guide your design decisions.
Explore how to create personas in the Personas in UX Research lesson, which is part of the UX Research course.
Step 6. Brainstorming
Brainstorming is a crucial step where creativity and collaboration come into play — sharpen the technique with our design thinking course online. It’s about generating a wide range of ideas and narrowing them down to the most viable solutions.
- Use ideation techniques: Describe the ideation techniques you and/or your team used if any, such as brainwriting, SCAMPER, Crazy 8s, mind mapping, affinity diagrams, and sketching. Explain how these techniques helped in exploring different aspects of the problem and generating innovative solutions.
- Generate and share ideas: Present the initial ideas that emerged during brainstorming sessions. This can include rough sketches, mind maps, or notes from whiteboard sessions. Highlight the diversity of ideas and the collaborative effort.
Explore efficient ideation techniques in the Ideation Techniques & Challenges lesson, which is part of the Design Thinking course.
Step 7. Share your process
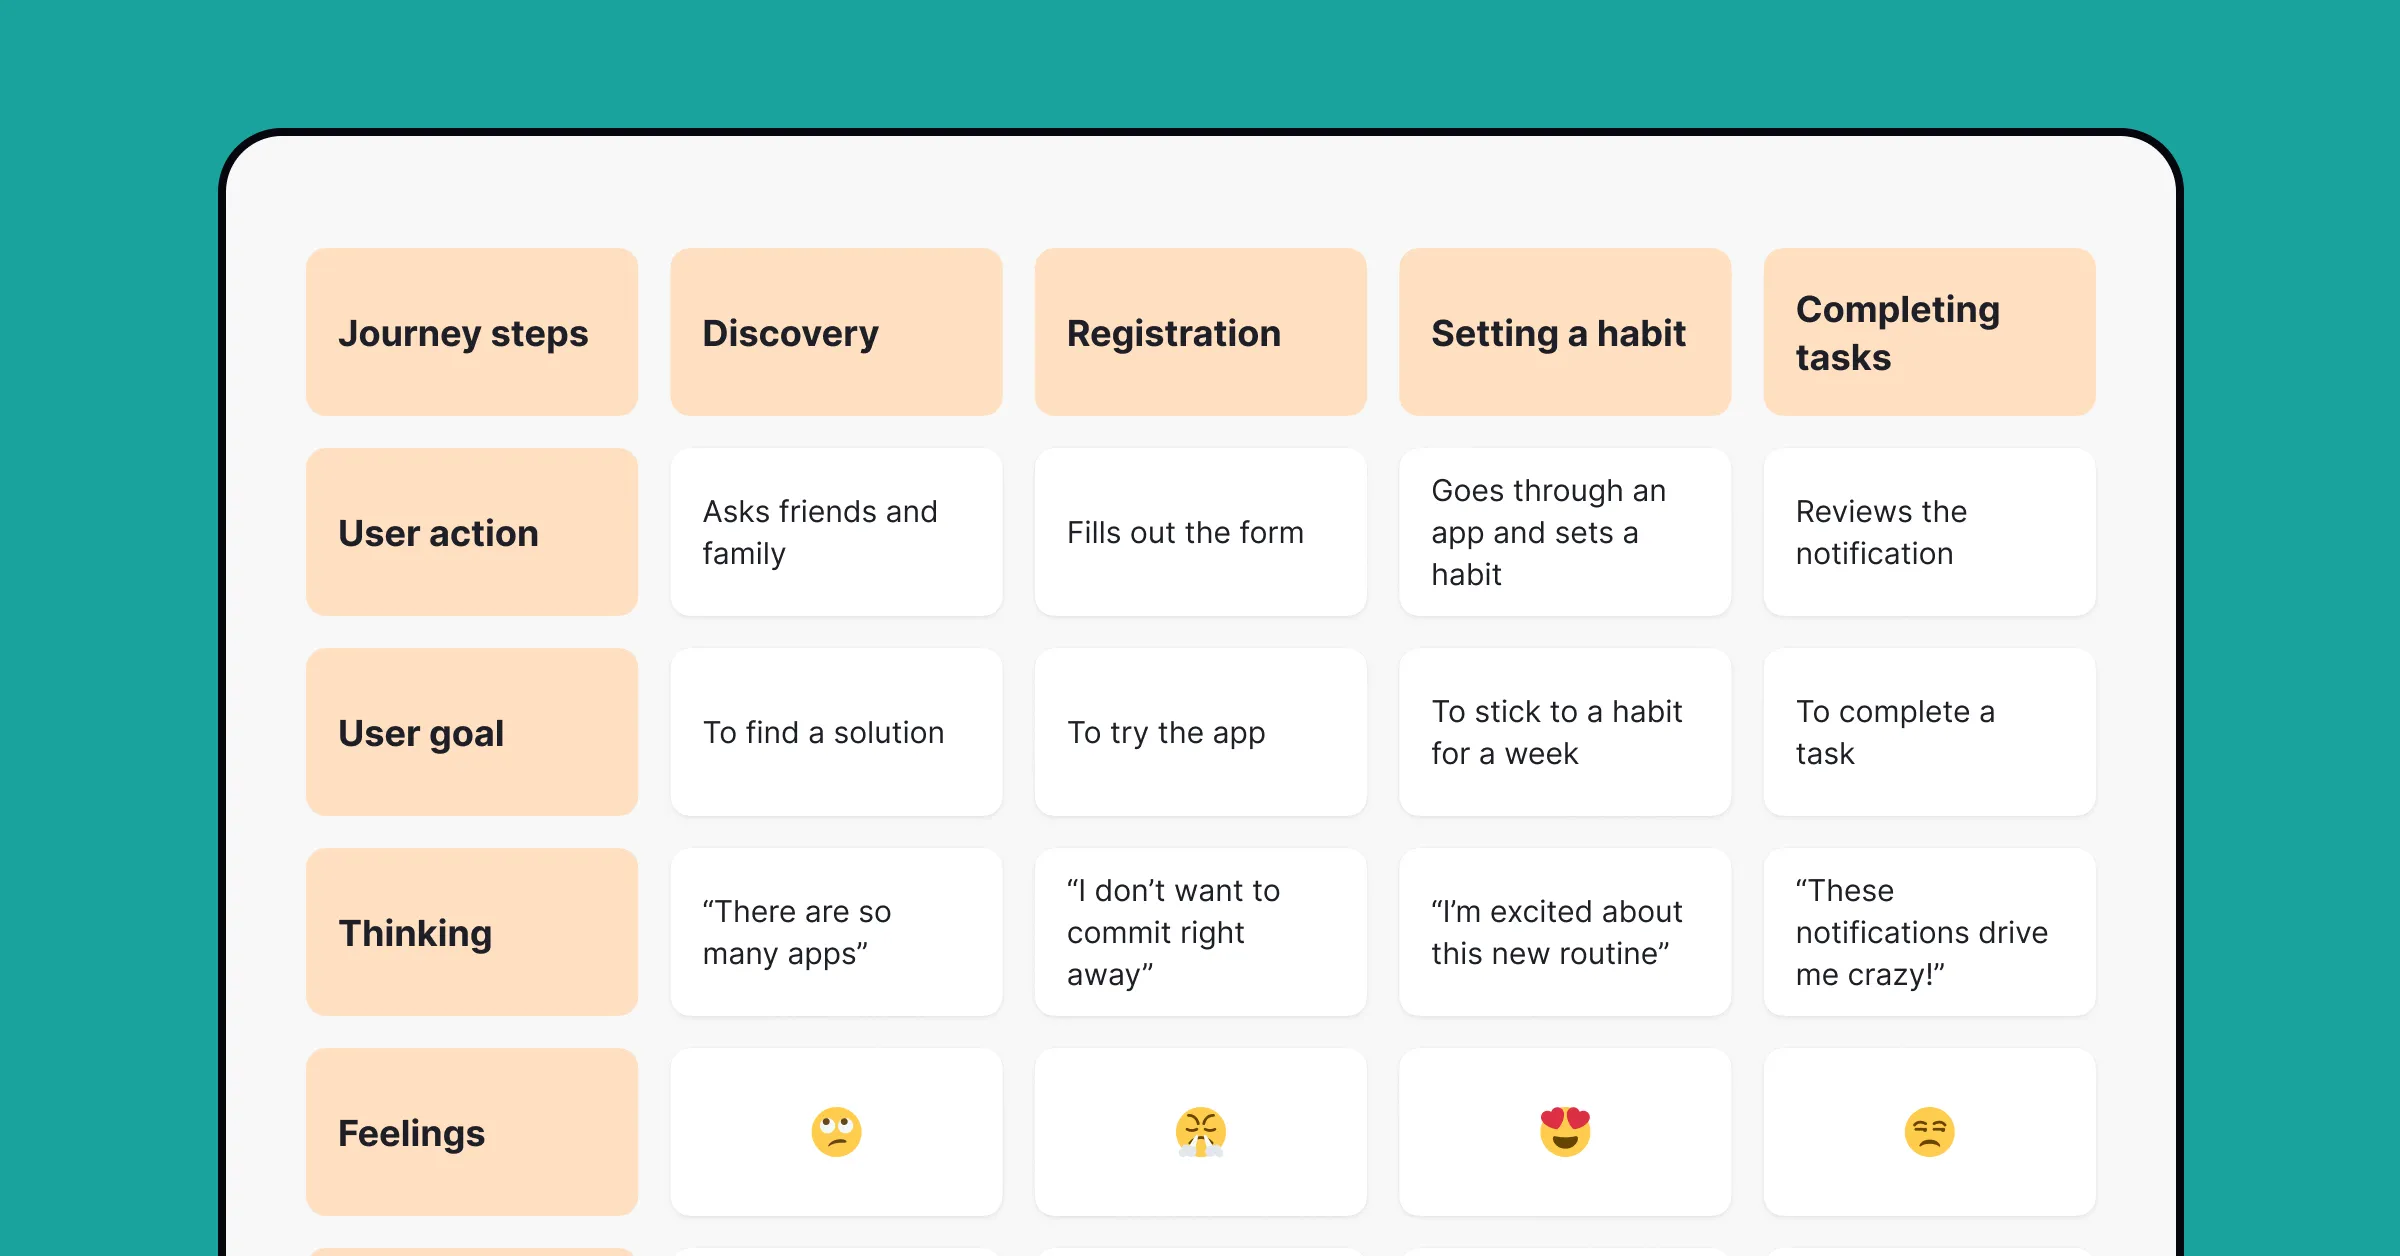
Sharing your process is vital for demonstrating how you approached the project and the reasoning behind your decisions. Include user flows, information architecture, and initial wireframes to show the evolution of your design. Along the way, briefly explain why you made certain design choices and how they address the problem or enhance the user experience.
🧠 Uxcel top tip: Don't expect people to read everything. Find the balance between showing your design work and articulating your decisions. If you need to describe some of the decisions you made or explain the process in more detail, try writing on Medium or your personal/company blog and then link it to your case study.
Step 8. Provide your solution

This step is where you showcase the final solution to the problem you’ve been addressing. It's your opportunity to present your design work and explain how it effectively resolves the identified issues.
- Present designs or interactive prototypes: Demonstrate how users interact with your design. You can even record videos to show key interactions and transitions.
- Color palette: Share your thoughts on how the selected color palette supports the overall design and brand identity. Provide color swatches and examples of how colors are applied in the interface.
- Typography: Describe the typography used in your design and its impact on readability and aesthetics. Include examples of headers, body text, and other typographic elements.
Include any additional design assets or elements that contribute to the final solution, such as icons, imagery, and illustrations.
Step 9. Testing and iteration
If you conducted testing and iterations after the launch, this is the step to discuss it. Sharing these insights shows how you refined your designs to create a better user experience.
- Share testing insights: briefly mention the reasons for testing, the methods used, and the findings.
- Detail improvements: Describe the specific changes made based on the testing feedback. Highlight how these iterations improved the user experience and addressed any identified issues.
Step 10. Conclusion and final thoughts
This final step should be concise but informative. Reflect on the process and share your final thoughts and any lessons learned throughout the project — and consult our UX portfolio writing guide to position the case study within your wider work. If possible, include specific metrics or feedback to demonstrate the impact of your work.
Explore our design brief to test your skills by creating a UX/UI case study for a landing page that embraces diversity and inclusivity principles.
Getting feedback before you share your work
Most designers build case studies alone. You write for three weeks, polish everything, hit publish. Then you realize you emphasized things hiring managers don't actually care about.
By the time you get feedback, it's too late. Applications sent. Presentation delivered. Can't fix what already didn't land.
Here's what usually happens. You ask another designer for notes. They suggest tightening your research section or tweaking visual polish. That helps, sure. But they're not the one reviewing your portfolio at 11 PM deciding who gets an interview. They're not the stakeholder trying to figure out if your work drove actual business results.
This is where Caseoowl comes in. It's an AI platform built specifically for this problem. Upload your project notes and it helps you structure a case study with your actual audience in mind. Trying to land a product design role? The guidance shifts. Pitching to executives? Different emphasis entirely.
The useful part is the audience simulation. You get feedback from a "hiring manager perspective" or "stakeholder perspective" before any real person sees your work. It'll tell you things like "you buried your impact metrics three paragraphs down" or "this section assumes way too much context." Strategic direction on what actually matters to whoever's reading.
The platform has guided builders with audience-specific prompts. Helps when you're staring at a blank page wondering where to start. Upload messy project notes and you'll get a structured starting point in maybe 10 minutes. The AI works more like a thinking partner than a template. Keeps your voice, just helps you figure out what to emphasize and whether your story will actually resonate.
The goal isn't having AI write your case study. It's stopping you from working blind. You know, before you publish, that you're telling the right story to the right people. Case studies that land interviews instead of crickets. Stakeholder presentations that drive decisions instead of polite nods and zero follow-up.
If you've sent applications into the void with no response, or watched a presentation fall flat because you misjudged what your audience needed to hear? That's what Caseoowl fixes. Gives you confidence your work gets understood the way you meant it. Before it's too late to change anything.
Tips for a Successful Case Study
- Permission: Get your employer’s or client’s permission before selecting a project for a case study, especially if you've signed a non-disclosure agreement (NDA).
- Consistency: Use cohesive color palettes from tools like Coolors or Adobe Color to ensure a clean and consistent presentation.
- Brand personality: If relevant, discuss the brand personality and design principles in your case study.
🧠 Uxcel top tip: Set an eye-catching cover image. If you don't have many followers yet, attracting attention can be challenging. We recommend giving special attention to the cover image of your case study—something that stands out and grabs people's attention as they scroll through their feed. Ask yourself: "What will make my project noticeable at first glance?"
Writing a UX case study is crucial for your career, especially when you're just starting out. A well-crafted case study not only showcases your skills but also demonstrates your ability to think critically and solve problems effectively. By including every necessary step—from initial research to final design—you can present a comprehensive and compelling narrative that highlights both your qualitative and quantitative research. This thorough approach will captivate your audience, impress potential employers, and significantly increase your chances of landing your dream job.