It's easy to get excited about a new idea and jump straight into planning, strategizing, and building it out. The problem is you'll be making decisions without any real feedback from the people who'll actually use what you're creating. That's where prototyping comes in. Quick, iterative prototyping lets you test your assumptions, gather user insights, and refine ideas before you commit serious time and resources. More importantly, it helps you fail fast and cheap. Better to learn your idea doesn't work after a week of prototyping than after three months of development.
Prototypes don't need to be fancy. They can be sketches on a napkin, clickable wireframes, or detailed mockups depending on what you need to test. The point is to create something tangible that users can interact with and react to. This means you get useful insights faster and make better decisions throughout the design process. You're not guessing what users want. You're watching them interact with your ideas and learning from their reactions.
Why prototype
Prototyping is a pivotal stage in the design thinking process, offering tangible benefits that enhance the overall effectiveness of solution development. Here's why it's indispensable:
- Validates assumptions: Prototyping serves as a reality check, allowing designers to validate assumptions made during the earlier phases of research and ideation.
- Uncovers biases: It helps reveal inherent biases towards certain ideas, promoting a more objective and user-centric approach.
- Gains user insights: Through testing prototypes, designers gain valuable insights into user preferences and behaviors that may not be apparent in the initial stages.
- Mitigates risk: By testing prototypes early, teams can identify potential issues and make informed decisions, reducing the risk of investing in impractical or undesirable solutions.
- Improves buy-in: Prototypes provide a tangible basis for stakeholders to understand and engage with the proposed solutions, facilitating better collaboration and buy-in.[1]
When to prototype


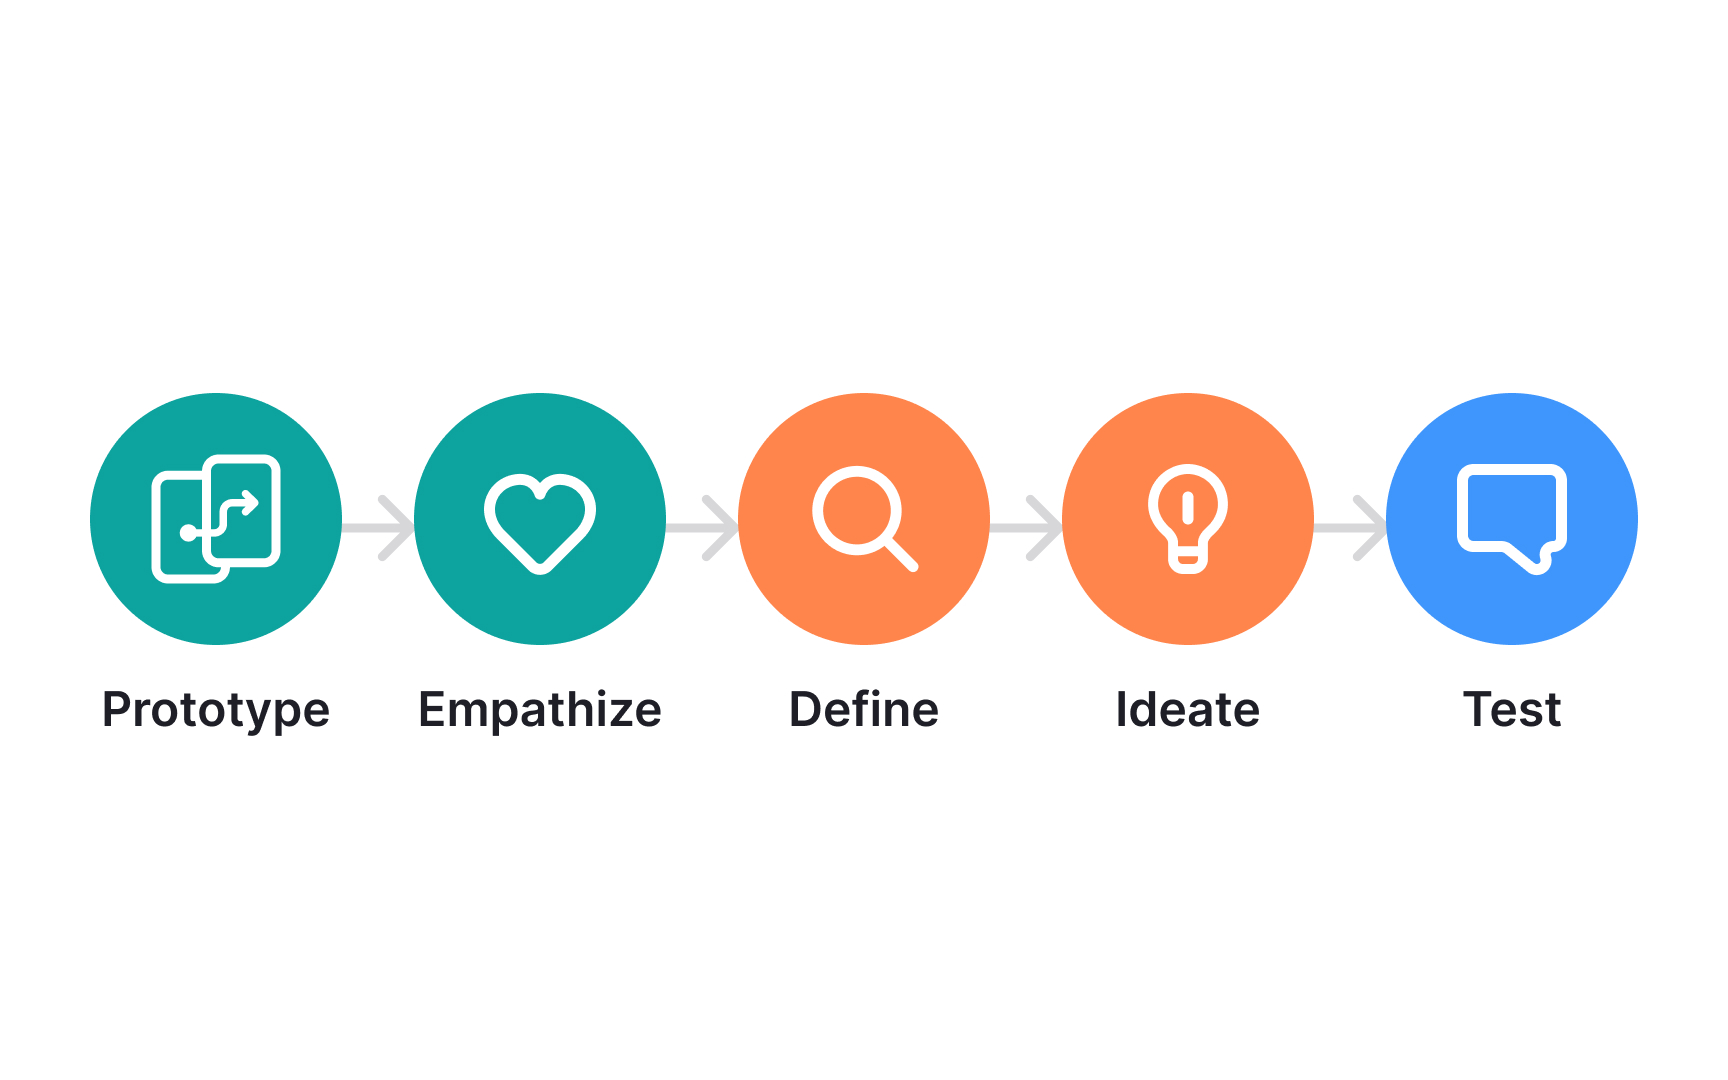

In design thinking, where the process isn't linear but a continuous loop, prototyping should be woven seamlessly across multiple stages:
- Ideation: Begin prototyping early during ideation. As a tangible representation of ideas, prototypes allow you to quickly shortlist and eliminate them.
- Empathizing: Utilize prototypes to engage with end users, gathering valuable insights for informed design decisions.
- Experimentation: Use prototypes to experiment with incremental or radical changes. This can help explore problems, ideas, and opportunities within a focused area.
- Testing: Use prototypes to gain a deeper understanding of what users enjoy, dislike, or find confusing.
- Implementation: In the later stages, use prototypes to pitch and advocate for your ideas and motivate stakeholders towards implementing them full-scale.
Low-fidelity prototyping
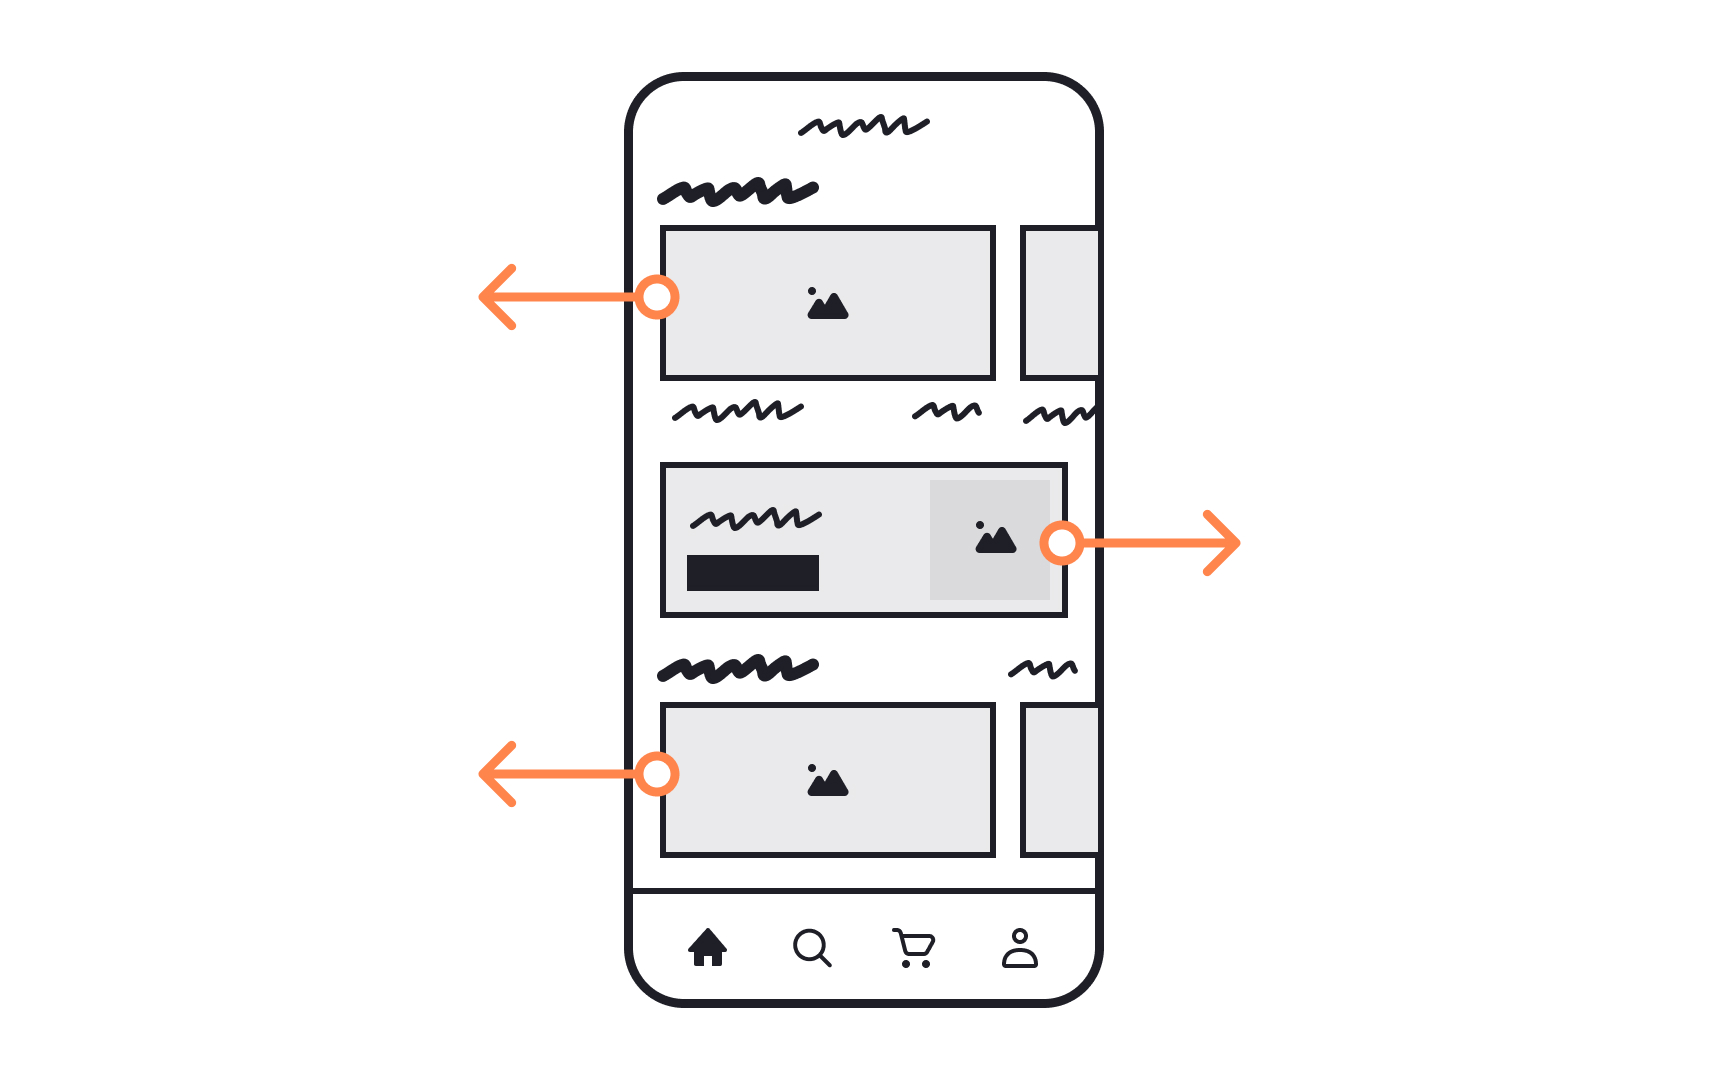
Low-fidelity prototyping involves creating rudimentary, simplified representations of a design concept. This can be achieved through sketches, paper or cardboard models, storyboards, or basic digital mockups.
Best suited for early design thinking stages such as ideation and empathizing, it offers a quick, cost-effective means to explore ideas. For instance, during ideation, a team might sketch potential product features on paper for rapid iteration. However, its simplicity comes with limitations — it struggles to convey intricate details, making it challenging to test user engagement. Oversimplification is also a risk, potentially impacting the prototype's validity.
High-fidelity prototyping
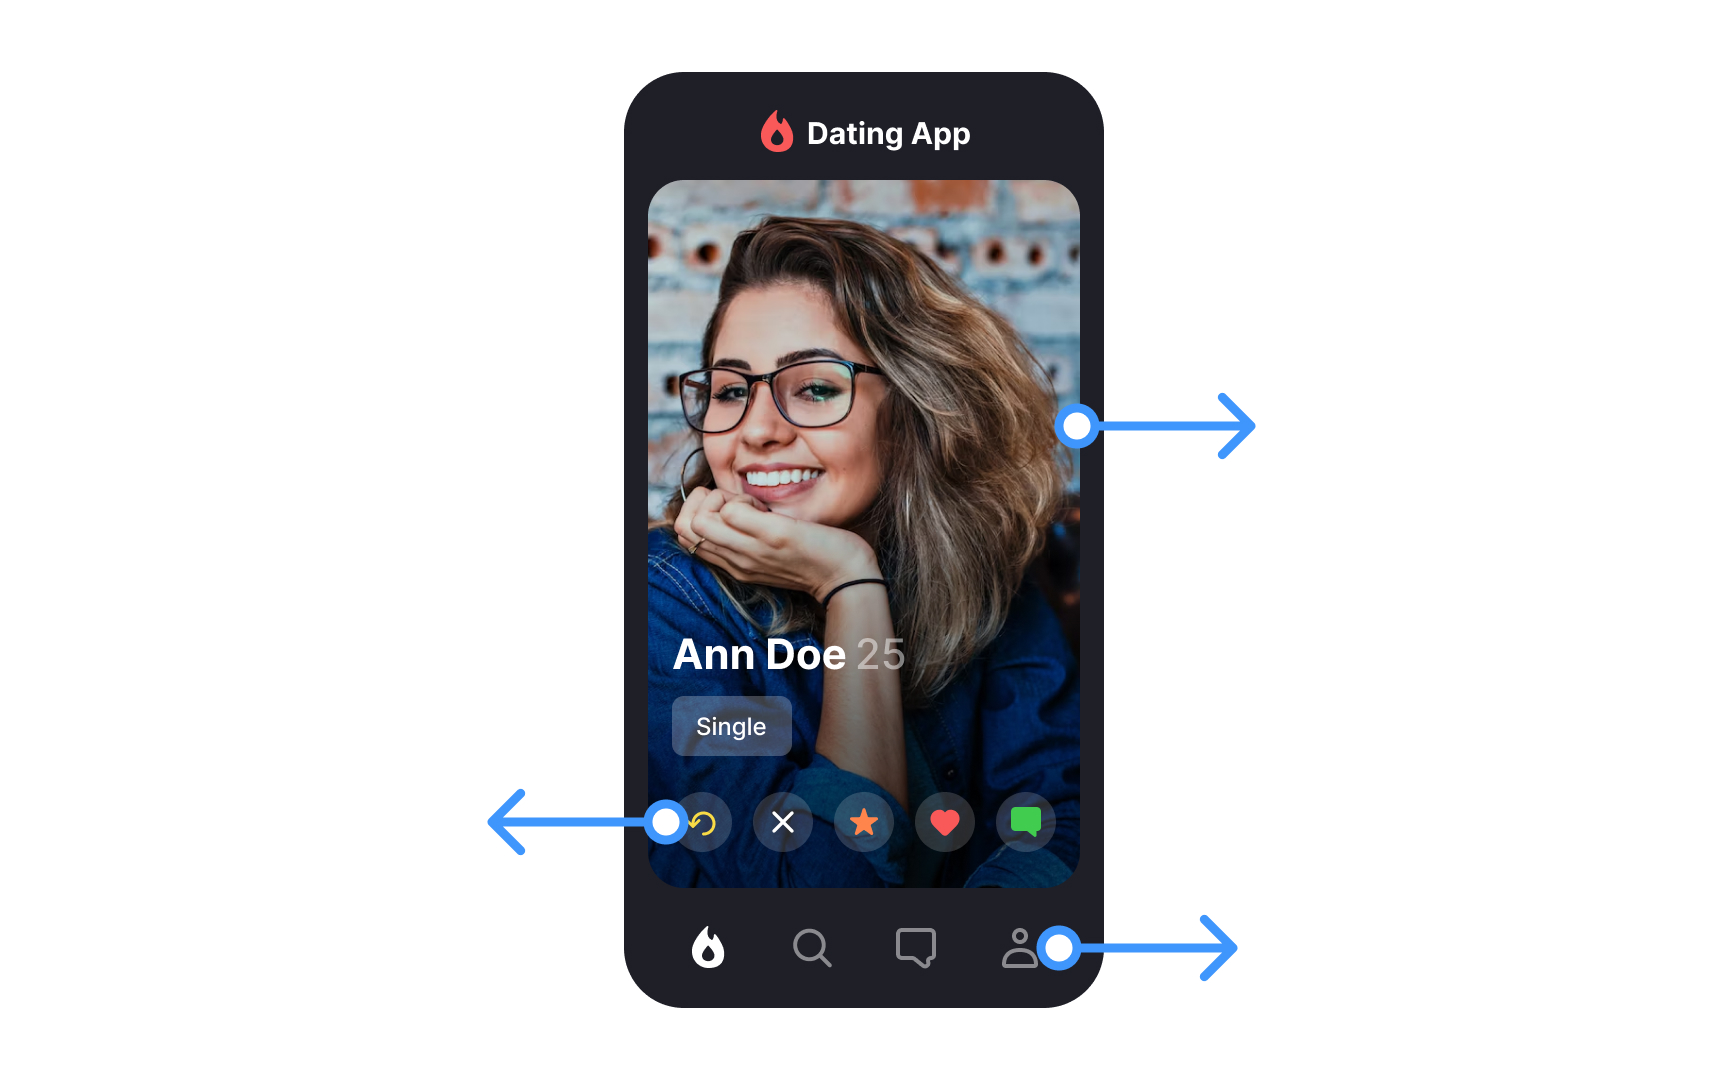
High-fidelity prototyping closely resembles the final product in both look and behavior. It includes detailed and interactive versions of the interface, often built with modern design tools and AI. Today, AI makes it possible to create realistic screens, flows, and content much faster than before.
These prototypes work best in later stages of design thinking, such as testing and implementation. They help stakeholders clearly understand the shared vision. Testing with high-fidelity prototypes also gives more trustworthy insights into how users react to the experience, which helps design teams feel more confident in their decisions.
However, there are still trade-offs. Even with AI speeding things up, high-fidelity prototypes usually take more time and effort than low-fidelity ones. Once a design looks polished, teams may hesitate to change it. There is also a risk that stakeholders see the prototype as the final product, even though it may not reflect the real quality or technical limits of the final solution.
Choose the right type of prototype
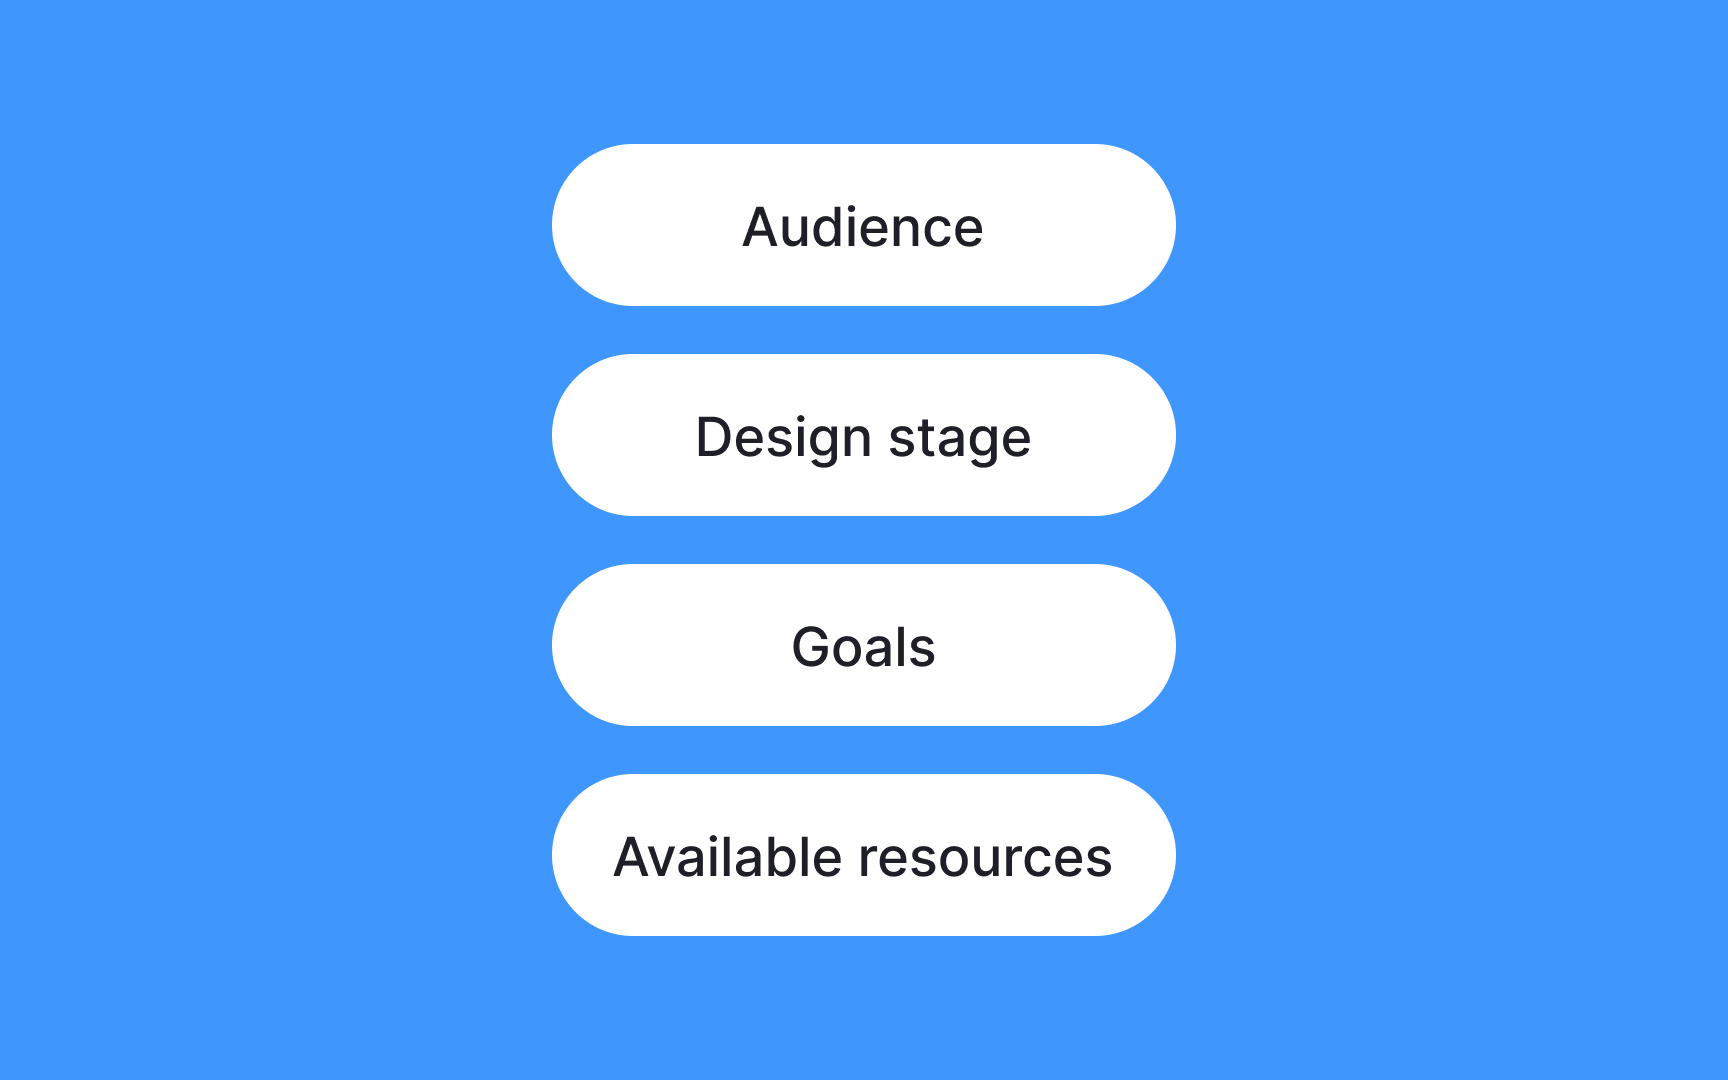
How do you decide what type of prototype to develop?
- Define your goals: If exploring ideas, start with low-fidelity, like paper sketches. For testing functionality, consider a high-fidelity interactive digital prototype.
- Consider the design stage: Align the prototype's complexity with the project phase. Use low-fidelity for ideation and high-fidelity for user testing.
- Know your audience: Engage stakeholders with high-fidelity for realistic views. For quick feedback sessions, low-fidelity models will suffice.
- Evaluate resources: Low-fidelity is resource-efficient and ideal for rapid iterations. High-fidelity demands more resources but offers realistic product visualization.
- Iterate and adapt: Embrace iterative prototyping, adjusting as needed based on evolving project dynamics and feedback.
Use the right tools

Choosing the appropriate tools for prototyping is vital to streamlining the design process. Follow these tips to make the right selection:
- Understand project requirements: Identify the specific needs of your project. Whether it's a digital interface, a physical product, or a service, ensure the tools align with your project goals.
- Consider design complexity: Paper sketches or basic digital tools will suffice for simple concepts, while complex projects may require specialized software for intricate detailing.
- Evaluate collaboration needs: If collaboration is key, choose tools that support team interaction and sharing. Cloud-based platforms facilitate seamless collaboration among team members.
- Assess the learning curve: Consider the skill level of your team. Opt for tools that align with their expertise to enhance efficiency and reduce the learning curve.
- Factor in budget constraints: Open-source or free options may be suitable for cost-effective prototyping, while advanced features in premium tools may justify the investment.
Be prepared to quickly prototype changes
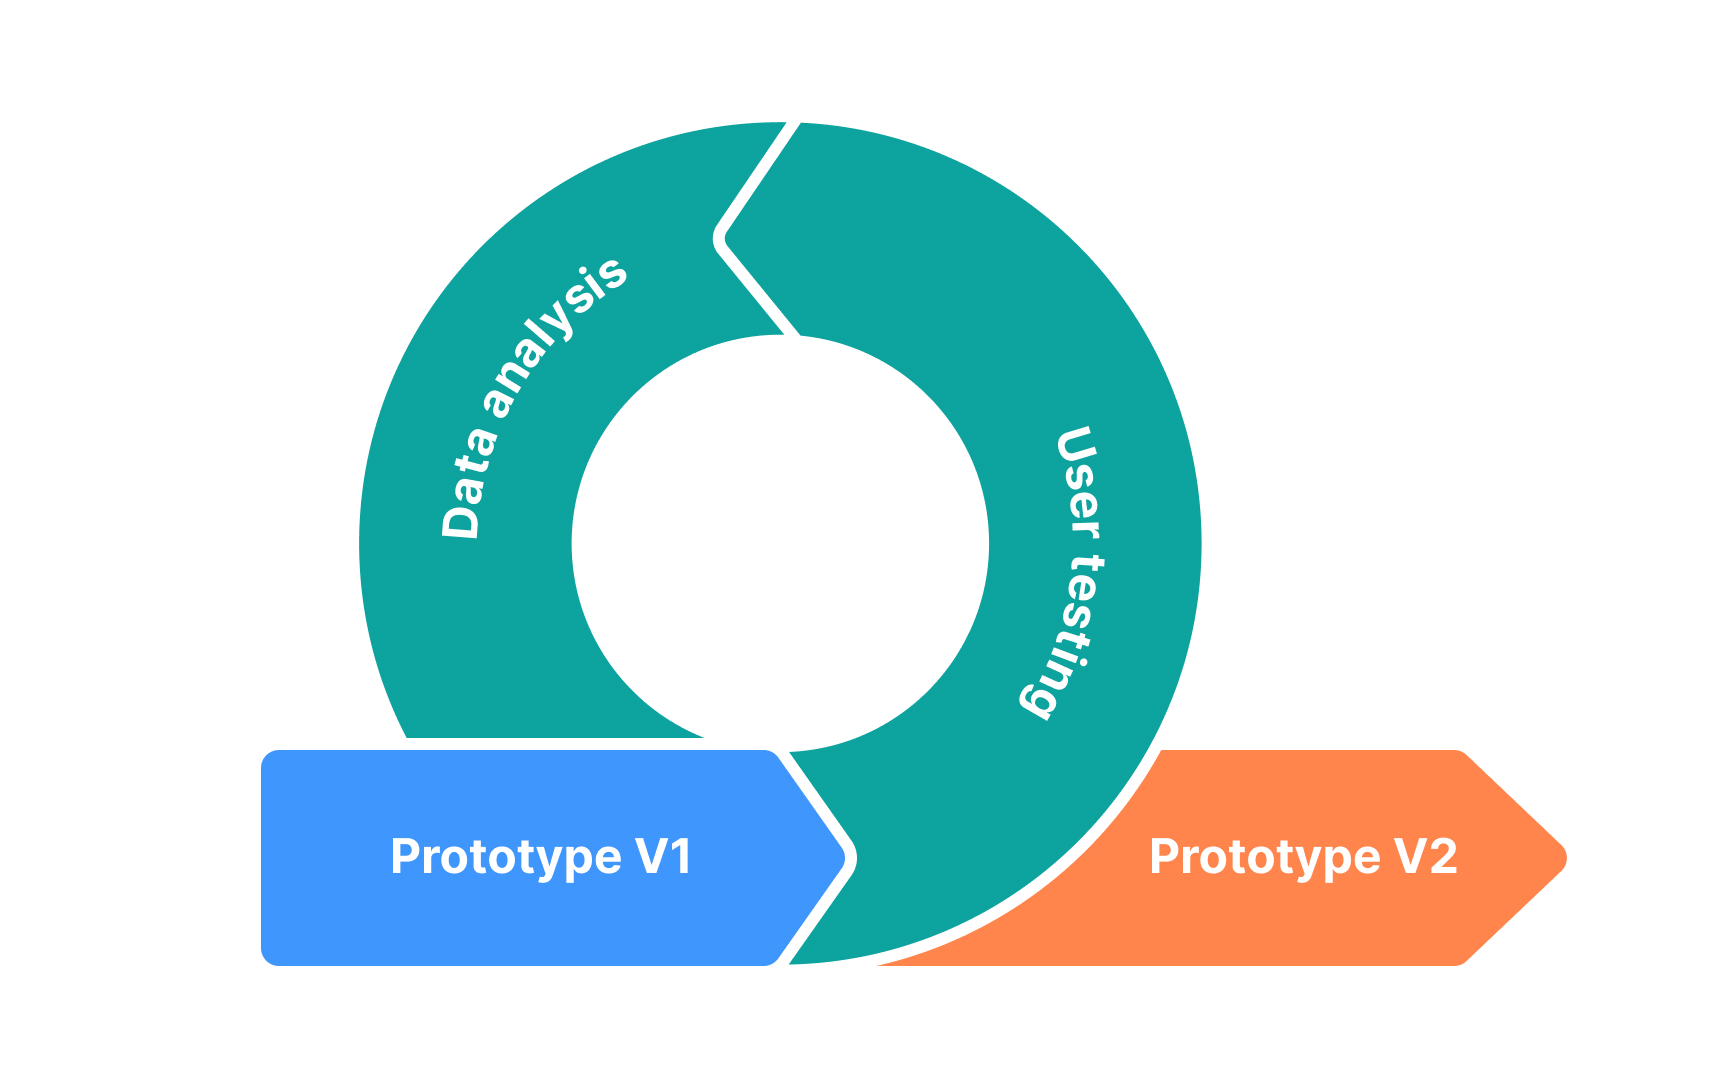
Being prepared to quickly prototype changes is crucial for iterative design. It allows you to gather user feedback promptly and iterate until the final version meets user needs.
Best practices for iterative prototyping include:
- Develop easily adjustable modular components to localize changes, streamlining iterations and minimizing unintended consequences.
- Use feature-rich tools like Figma, Sketch, or Adobe XD for rapid modifications, promoting efficient collaboration among team members.
- Implement systematic version control to track changes and maintain a clear record of design evolution, allowing for easy reversion if necessary.
- Actively integrate user feedback through regular testing and feedback loops, facilitating prompt identification of areas for improvement.
- Foster a collaborative environment for swift communication and agreement on changes among designers, developers, and stakeholders.
- Maintain comprehensive documentation of design decisions to support seamless collaboration, especially in multi-team iteration processes.