Lighting shapes how a 3D scene reads before viewers consciously register anything else. A point light hanging close to a surface creates warmth and depth. Swap it for a directional light at a low angle and the same scene suddenly reads as an outdoor late-afternoon shot. These choices, repeated across light types, shadow settings, and material properties, are what give a render its character.
Every surface in a 3D scene carries properties that determine how it handles light, from how much it reflects to whether it transmits and bends light on the way through. These properties form the foundation of PBR (Physically Based Rendering), the framework used across Blender, Cinema 4D, Spline, and most other professional 3D tools today.
Shadows, direct and indirect illumination, global illumination, and atmospheric effects like fog complete the toolkit, giving designers full control over objects, surfaces, and the space between them.
Point light
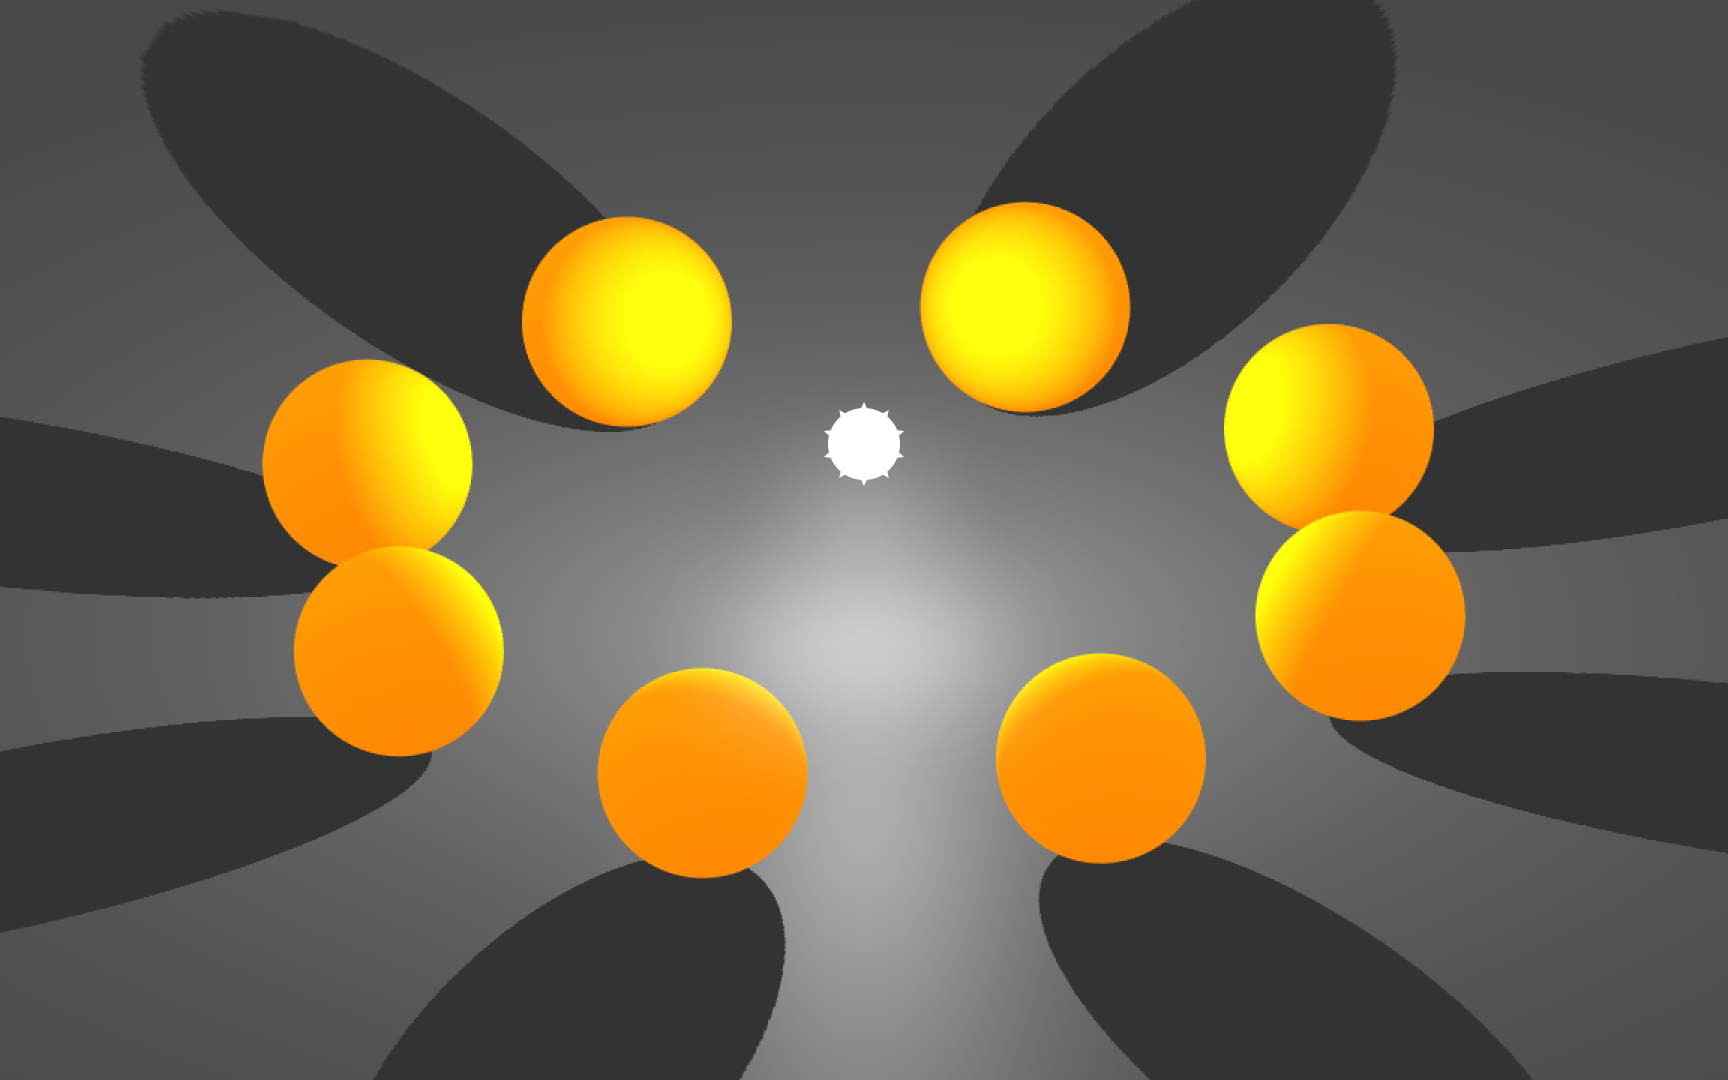
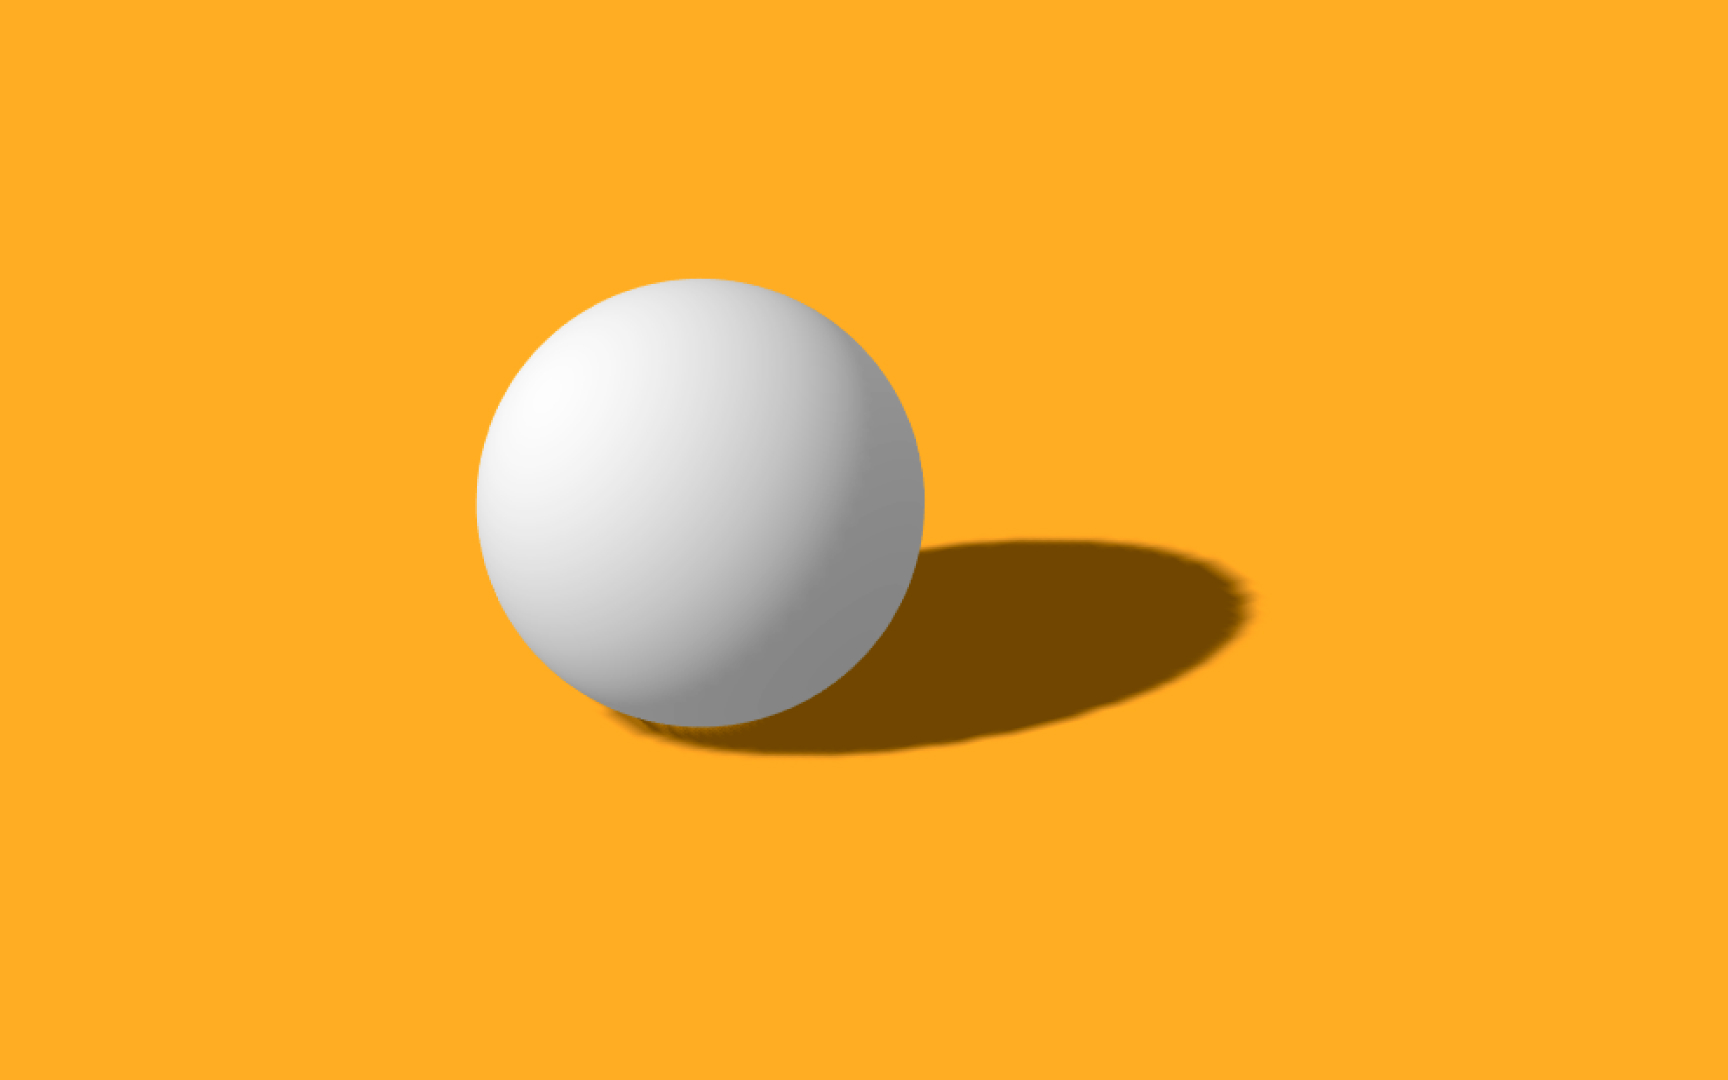
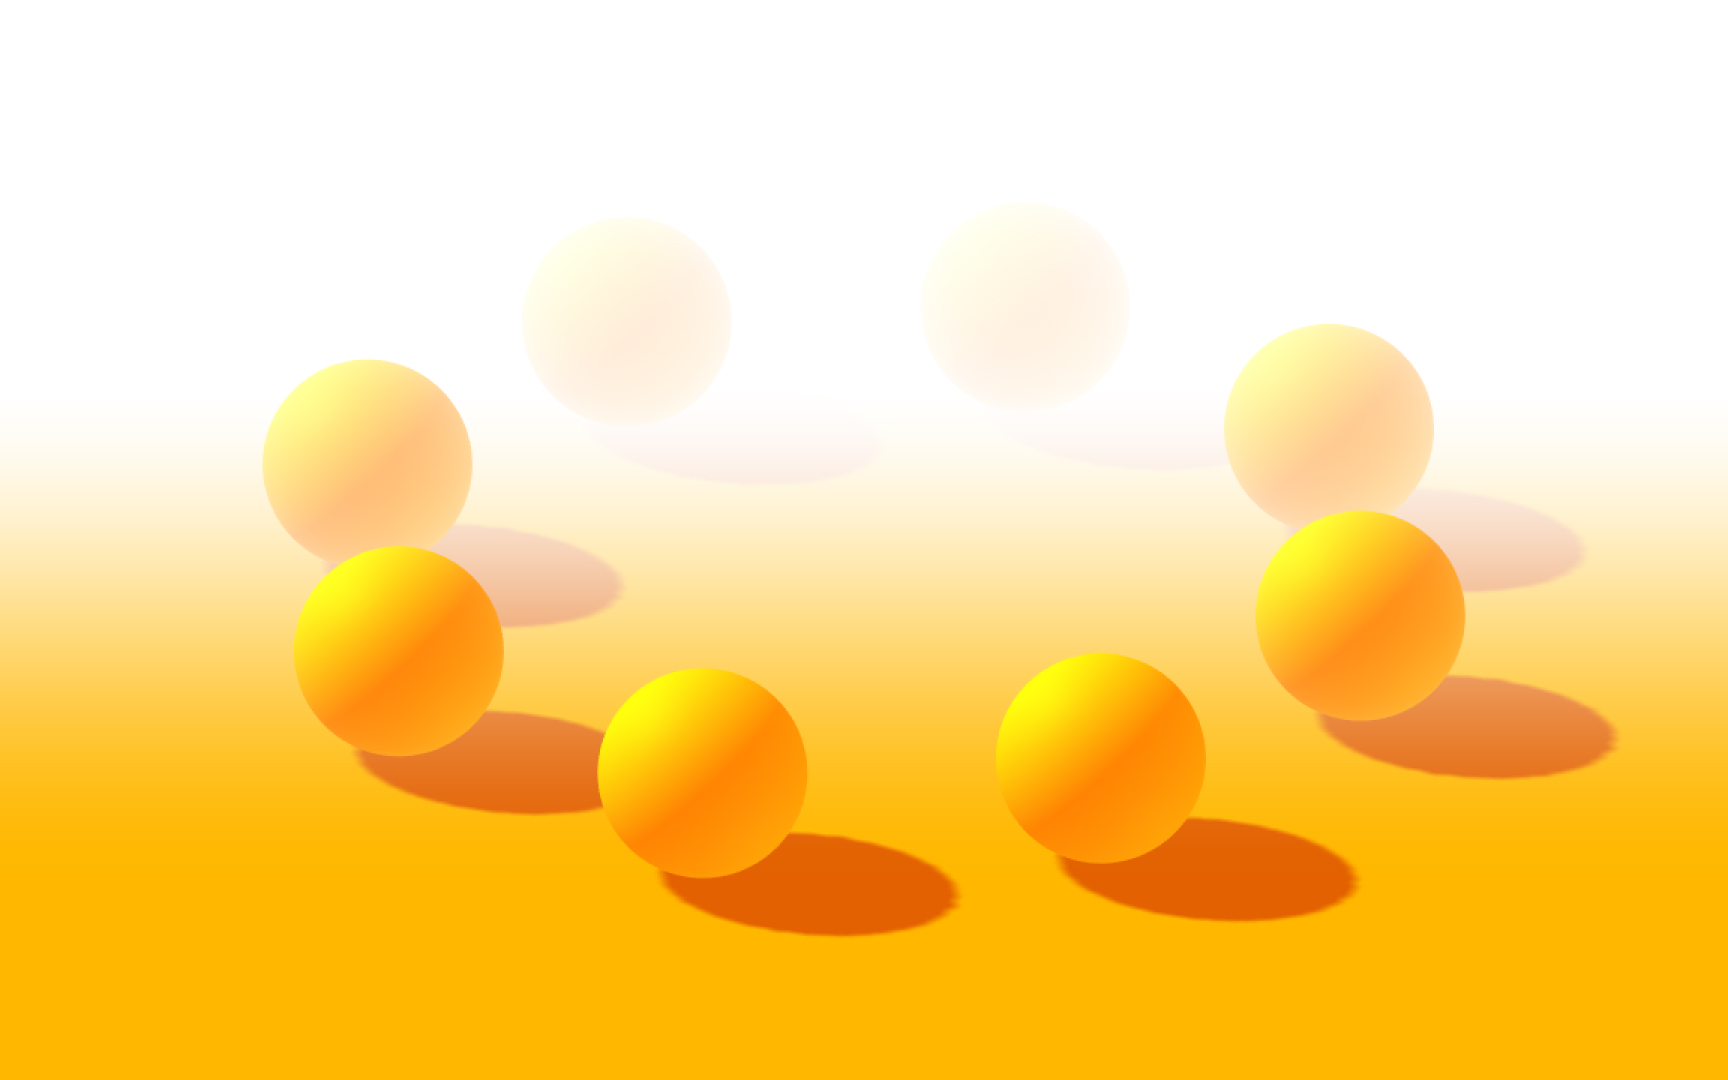
A point light sits at a fixed position in 3D space and radiates light outward equally in all directions, like a bare bulb hanging from a ceiling. Every surface within range receives light from this single origin, which is what makes it useful for representing lamps, candles, or any localized light source inside a scene.
The defining behavior is falloff: the further a surface is from the light source, the less illumination it receives. This is called attenuation, and it gives point-lit scenes a natural sense of depth. Objects close to the light appear bright, while surfaces further away dim gradually toward shadow. In Blender and Cinema 4D, the falloff curve is adjustable, letting designers control how aggressively the light fades over distance.
For interior renders and product visualization, point lights are a go-to starting point. A single point light placed inside a lampshade, paired with soft shadow settings, can shift a flat render into something that reads as a real, inhabited space.[1]
Pro Tip! Adjust the falloff radius in Blender to control how quickly point light dims. A tighter radius concentrates warmth around a small area.
Spotlight
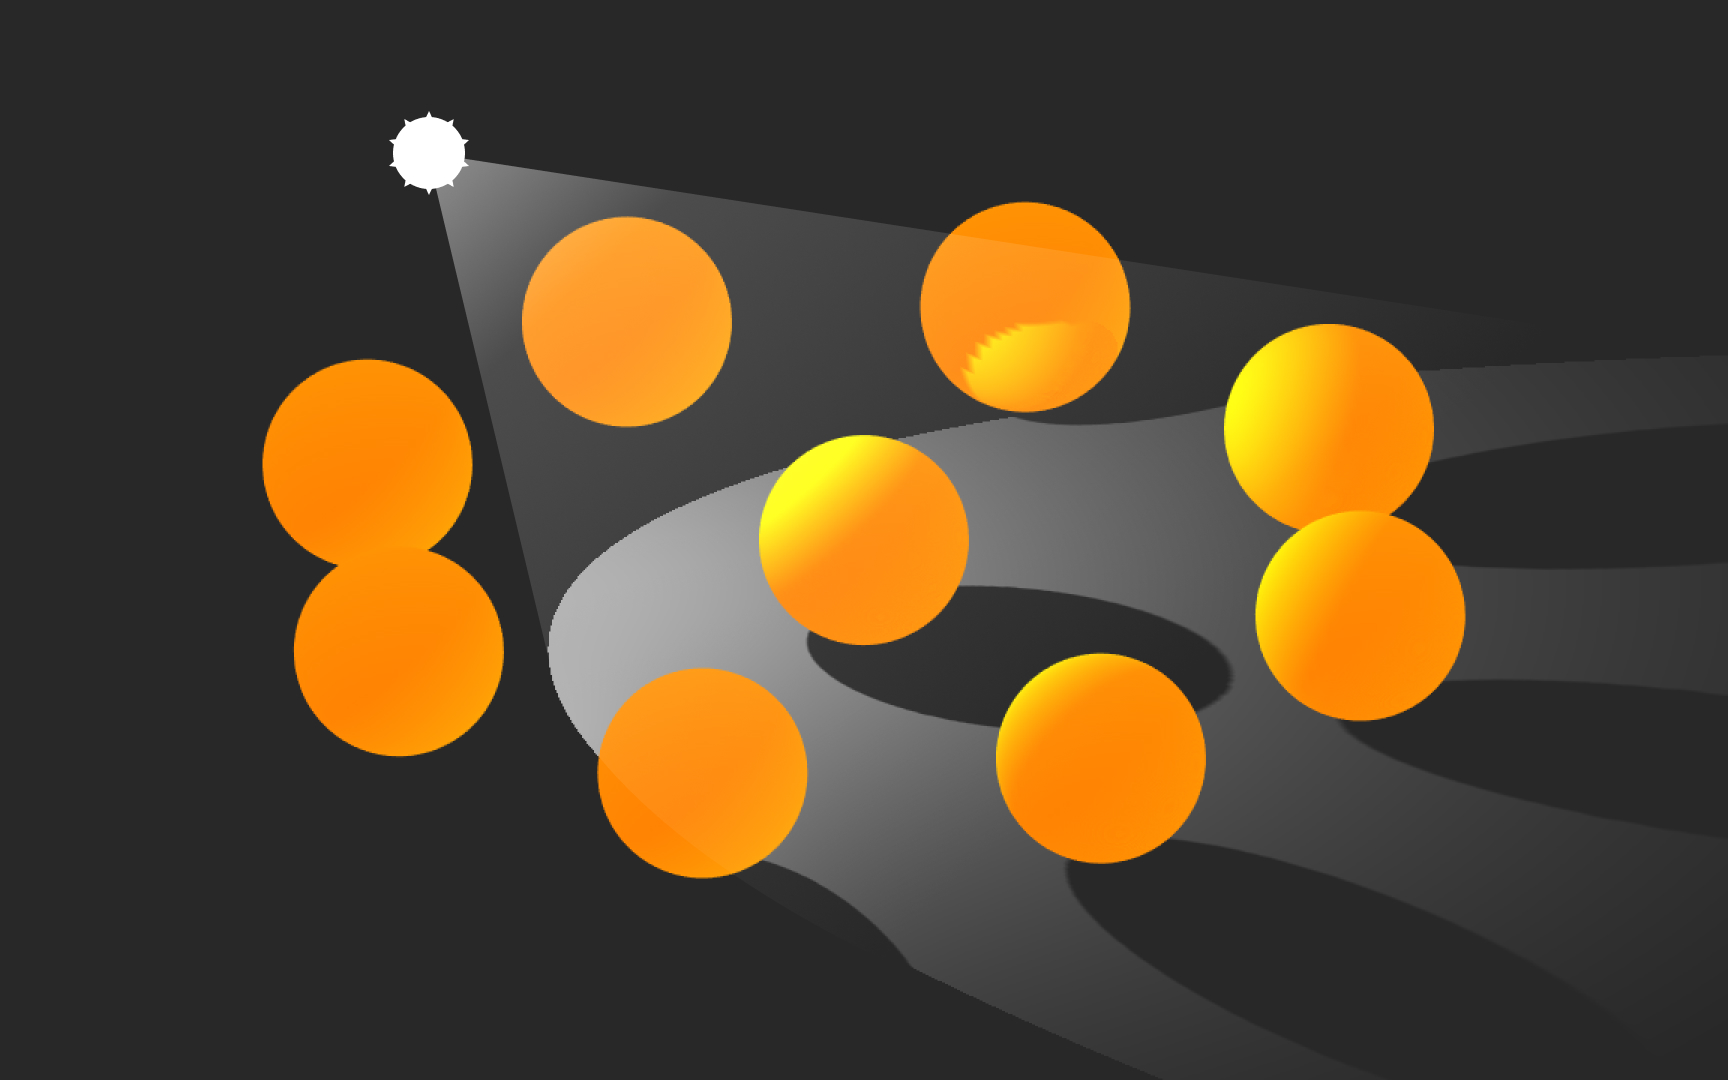
A spotlight shares some properties with a point light: it has a position in space and a range, but it adds a cone constraint that makes it fundamentally different. Light only exits the cone, so the spotlight controls not just how bright an area is but precisely where that light falls. Think flashlights, stage spotlights, or car headlights: all emit a focused beam that leaves the surrounding area unlit.
The cone has two boundaries. The outer angle sets the full extent of the beam: nothing outside this edge receives any light. The inner angle defines where the transition begins, between the full-strength center and the softened edge. The wider the gap between inner and outer angles, the more gradual and natural the falloff looks. A gap of zero produces a hard, clipped edge with no transition.
In product visualization, spotlights are useful for hero renders where a single object needs to be lit from above while the surrounding area falls off to shadow. Spline exposes the cone angle directly in the properties panel, making it straightforward to dial in the look without needing to add fill lights to compensate.
Pro Tip! A narrow gap between inner and outer cone angles creates a hard, theatrical beam. Widen the gap for a softer, more naturalistic spread.
Directional light
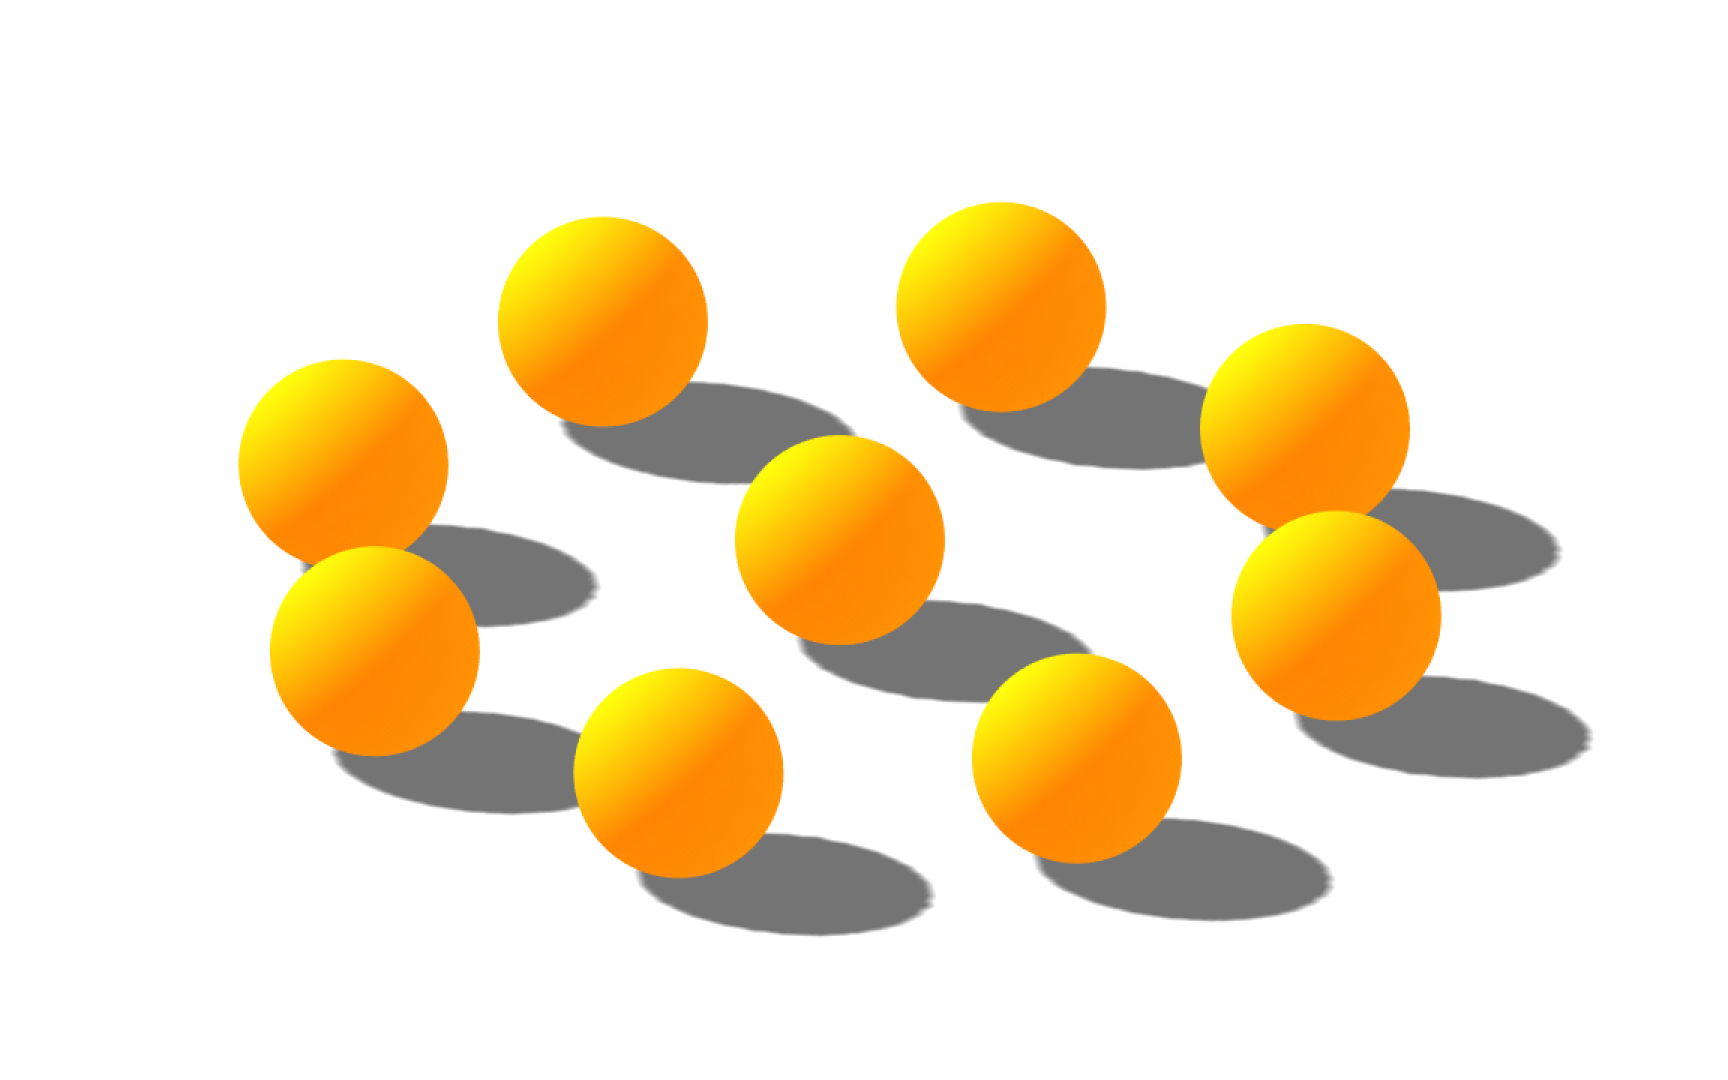
The best way to recreate sunlight or moonlight in 3D is to use directional lights — think of them as distant light sources that exist infinitely far away. The light object can be placed anywhere in a scene as it doesn't have any identifiable source position. Also, because the distance of the light from the target object is not defined, the light doesn't diminish.
Hard shadows
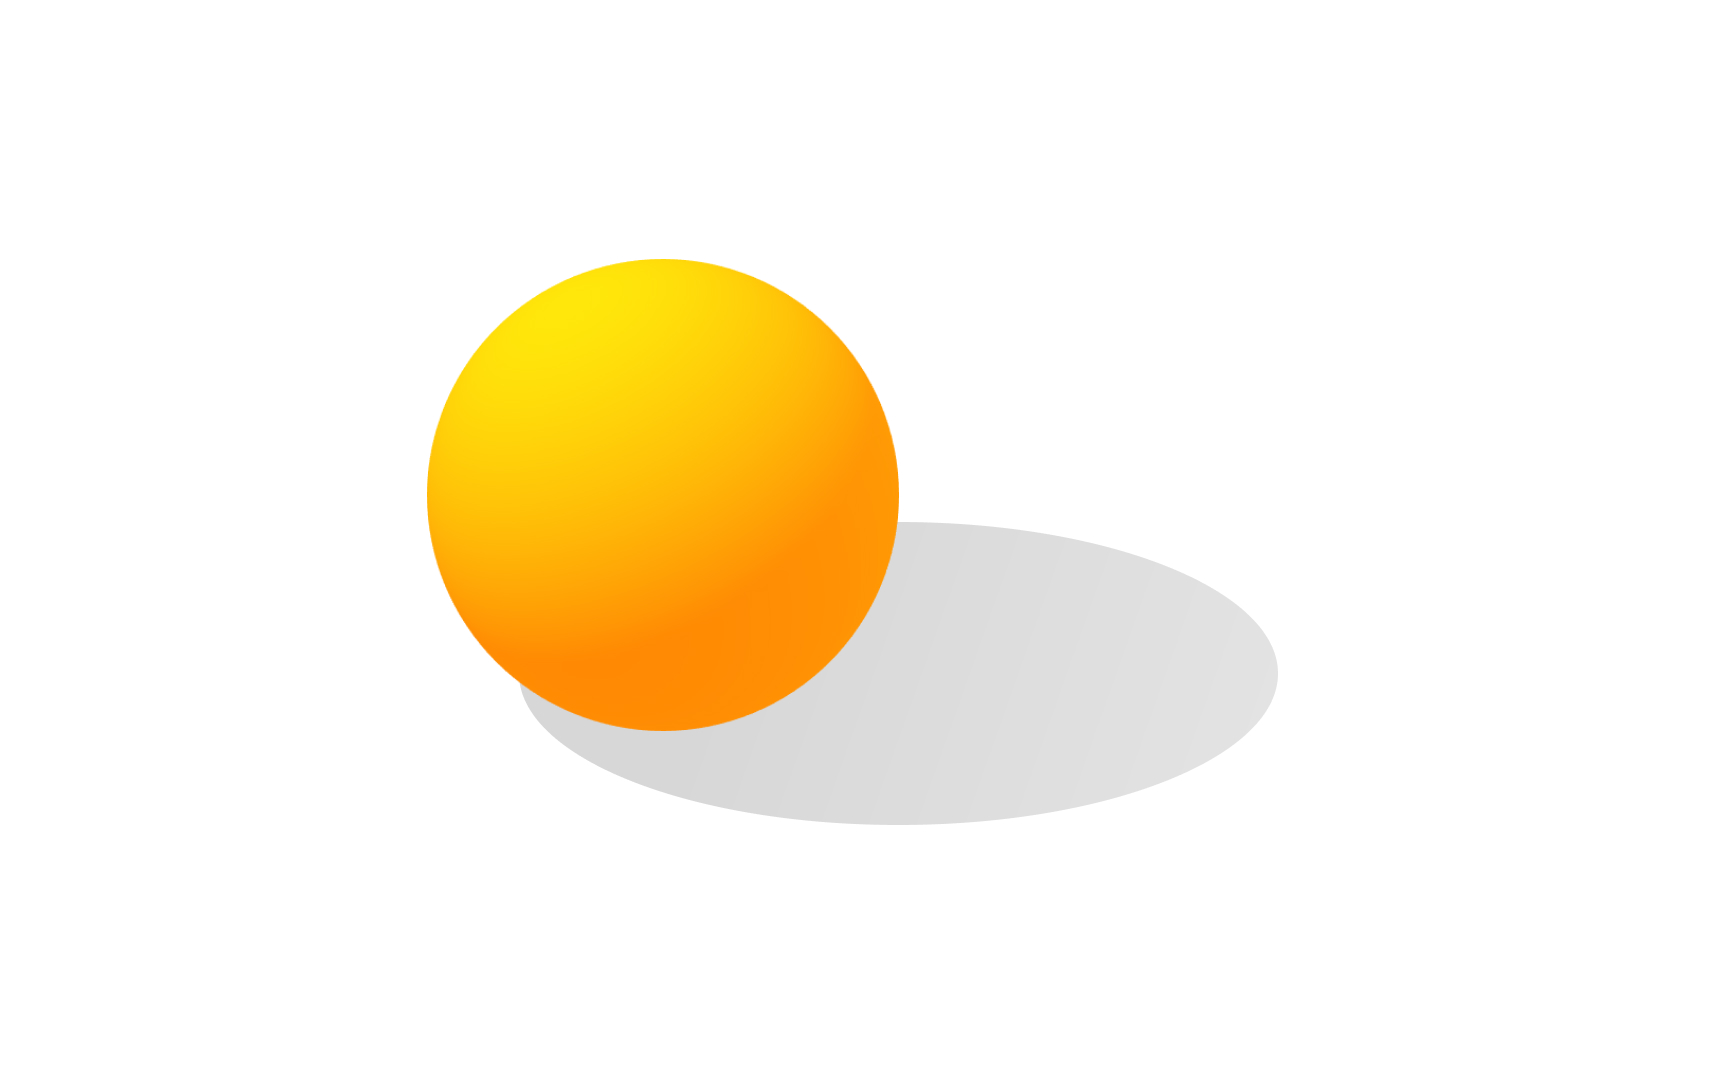
Where there's light, there are shadows. If you looked out from a light source, all of the seen objects appear in light, and anything behind those objects is in shadow. There are different types of shadows you can use in 3D. Hard shadows indicate light from a small point source, and they have crisply defined sharp edges.
Soft shadows

Soft shadows look realistic as they are less distinct and fade off toward the edges. Soft shadows come from larger light sources. To achieve a higher degree of realism, it's best to use soft shadows together with other types of softer or less direct light in a scene.[2]
Direct illumination
Most objects don't emit light — they are illuminated by light sources, and we see them as a result of the light reflected off them. As you probably know, light moves in straight lines, so when we emulate a light source in 3D software, the parts of the object that aren't hit directly by the light remain dark. This is how direct illumination or direct lighting works.
Indirect illumination

In the real world, after hitting an object, the light bounces countless times in the environment. It's called indirect illumination or indirect lighting, and it's the reason why objects are rarely completely dark, even when they are out of direct light. One of the algorithms to create convincing ambient lighting in 3D is called global illumination — it calculates light traveling throughout the entire scene, taking into account both direct and indirect illumination.
Material
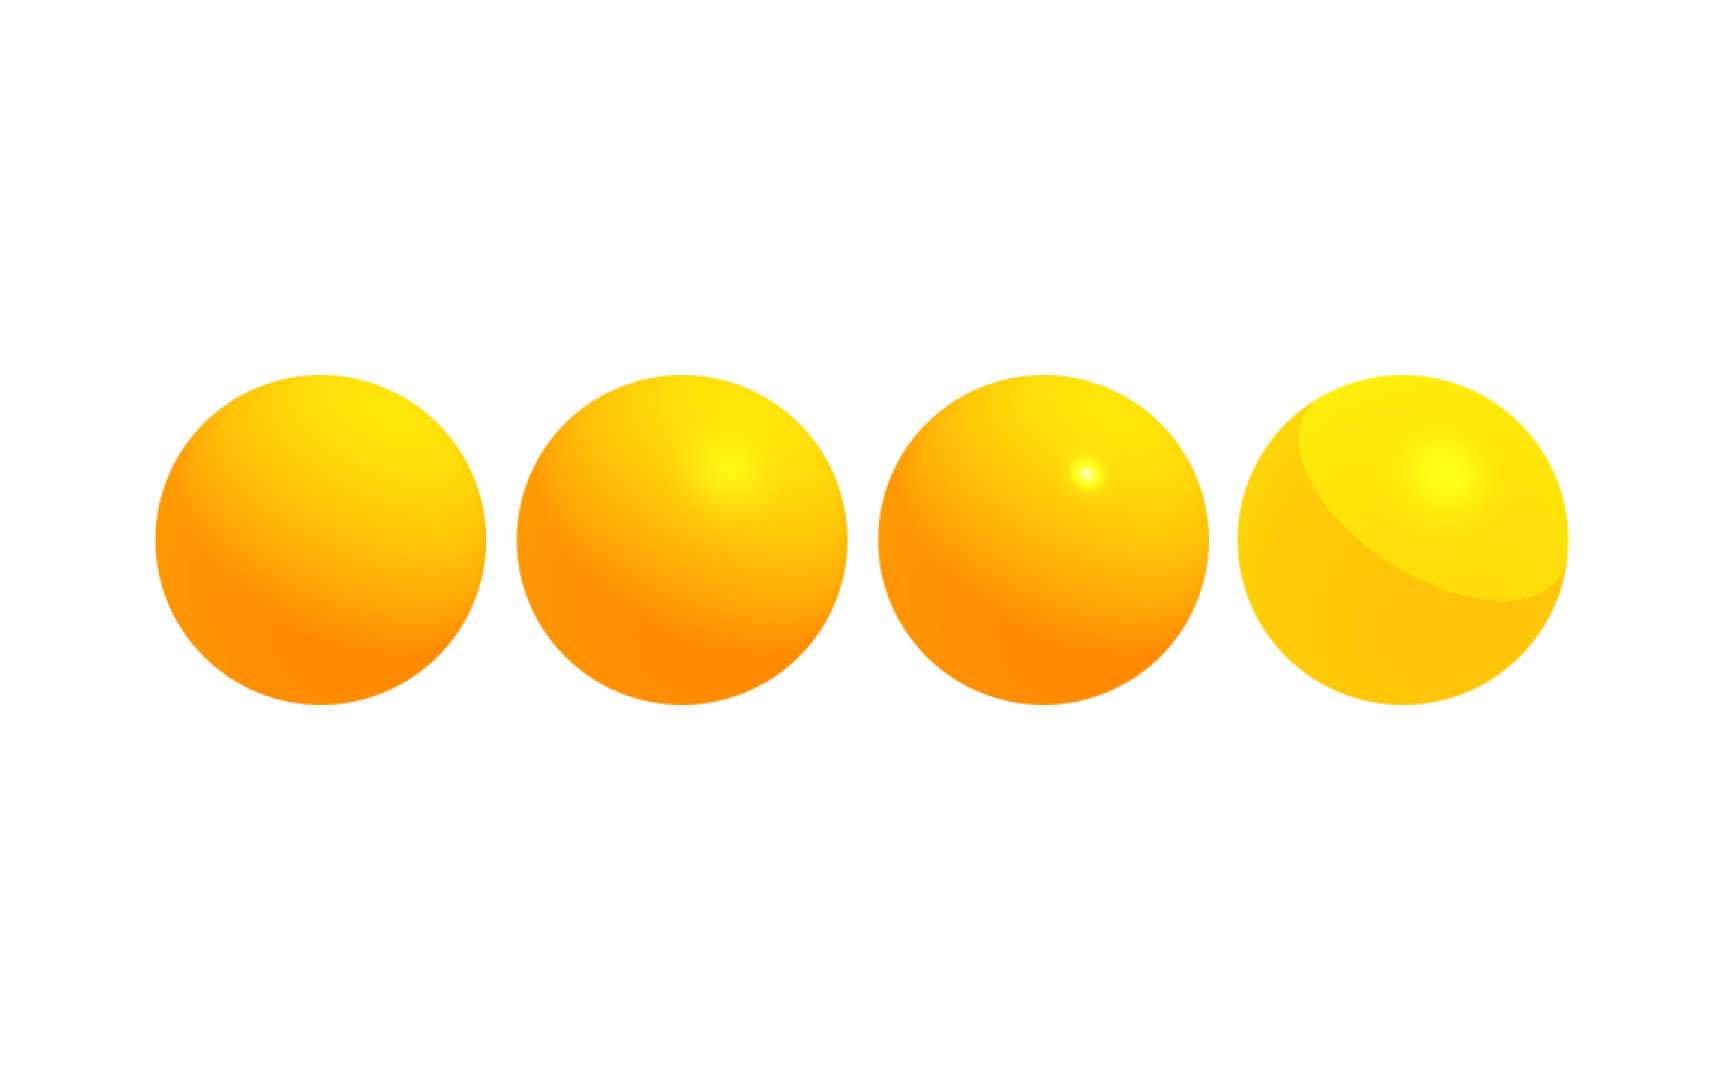
In real life, material is what the thing is made of. In 3D graphics, materials control how a 3D object appears on the screen and interacts with light. They define the basic optical properties of objects like shading, specularity, reflectivity, color, transparency, etc.[3]
Texture
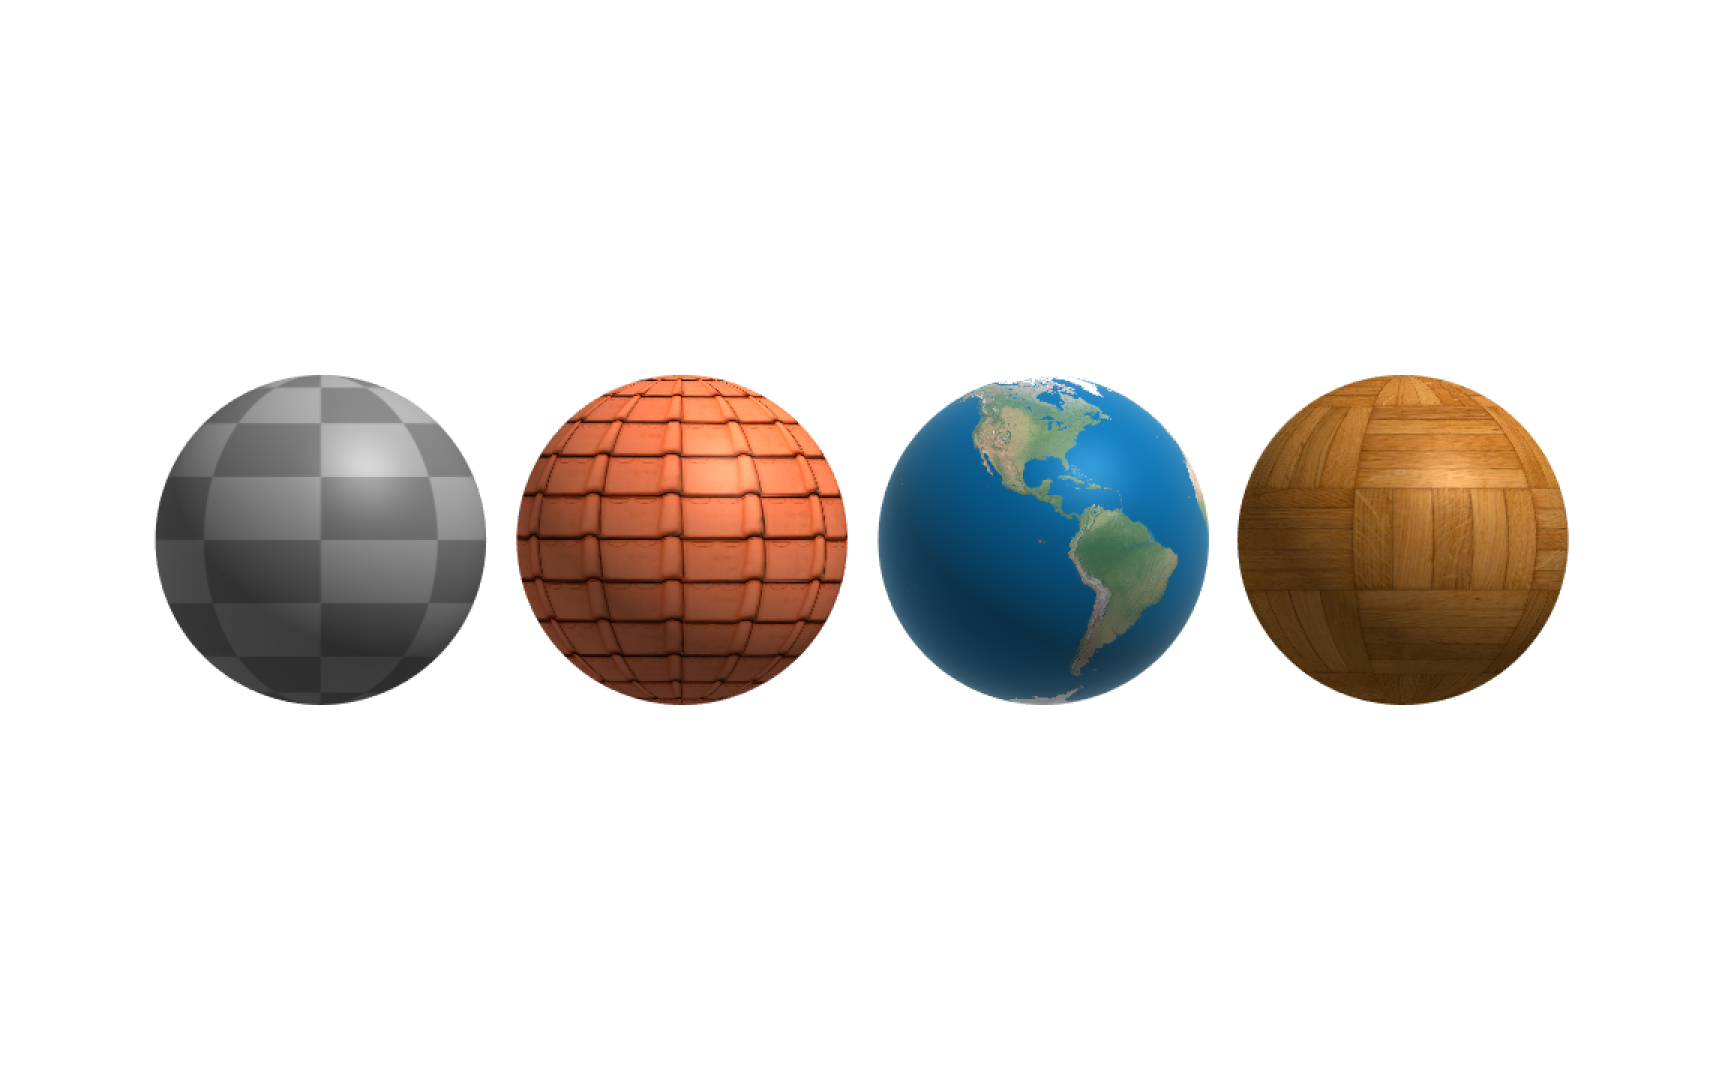
Most materials take texture as a parameter. A texture is an image used to skin 3D objects. It breaks up the uniform appearance of the material, as very few objects in the real world have completely uniform surfaces. It also gives you control over object properties on a finer level. Artists usually start by finding or creating textures that match the surface of the object they want, then they add material and apply the textures.
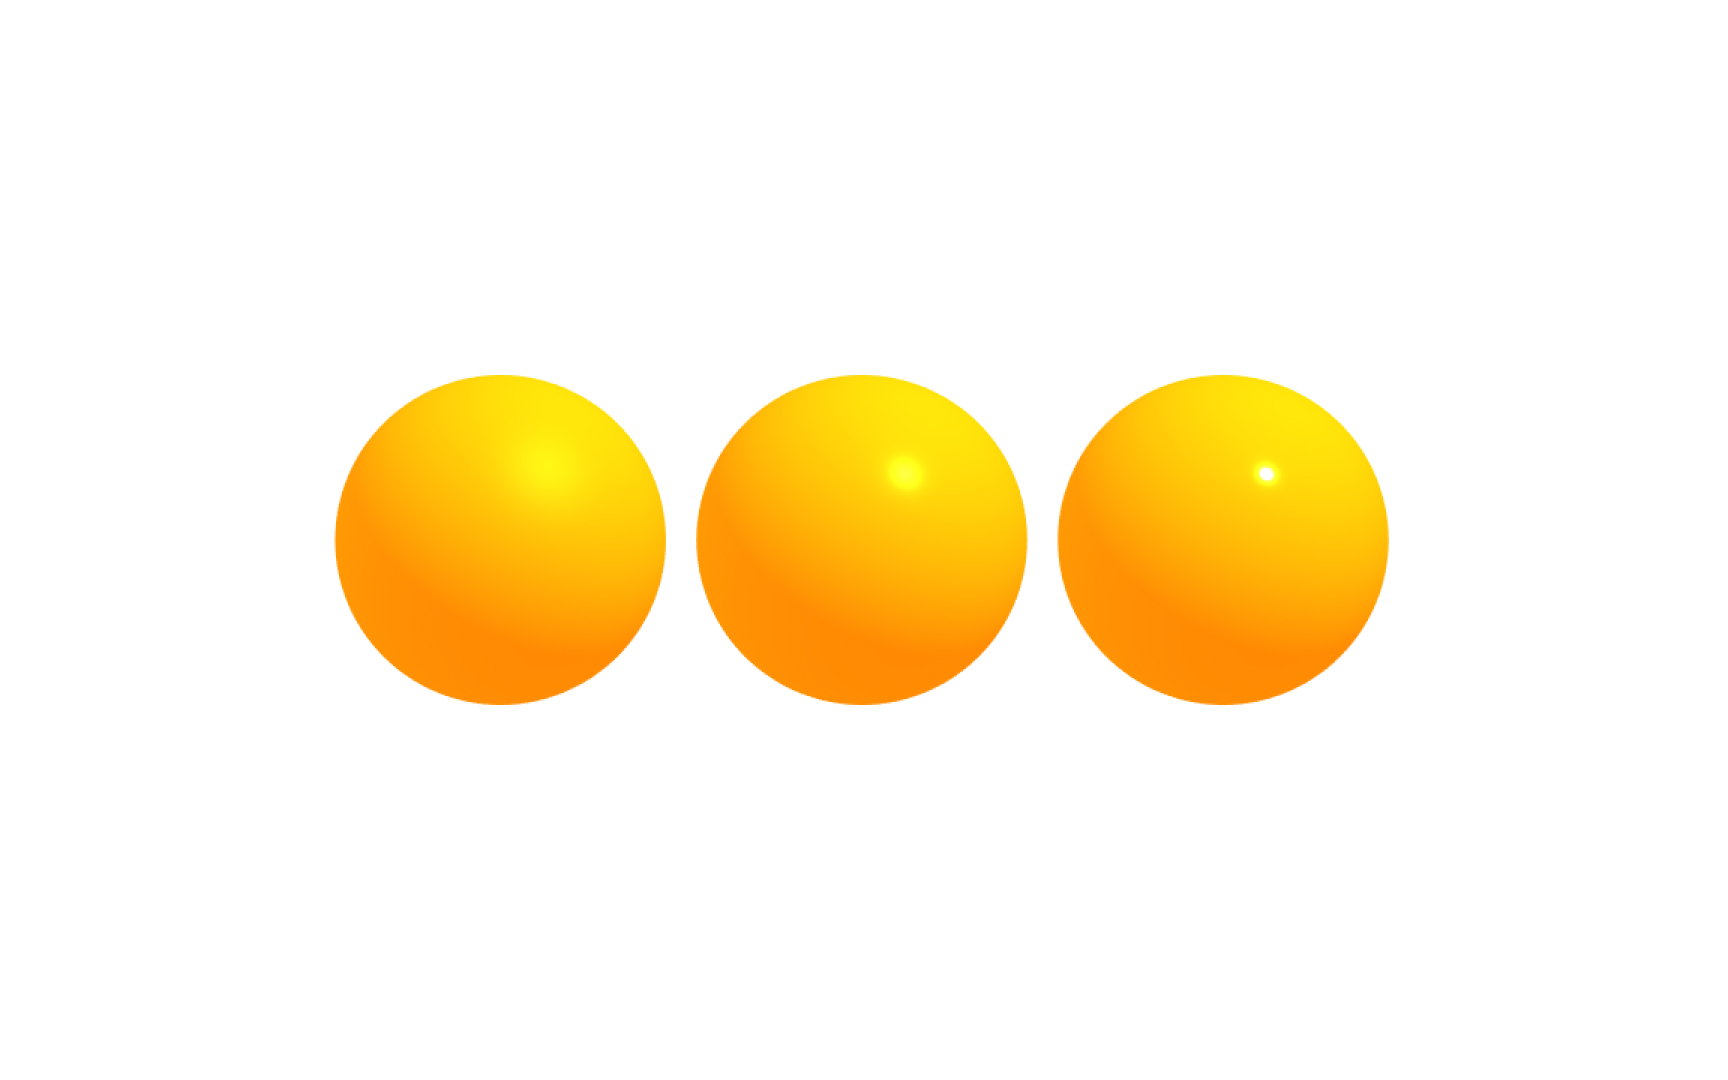
Reflectivity
Reflectivity is an optical property of material, which describes how much light is reflected from a material compared to how much light strikes a surface. Different materials have different reflectivity. The light reflected off a smooth surface produces a direct reflection, also called specular. On a rough surface, the reflection is diffused or scattered.[4]
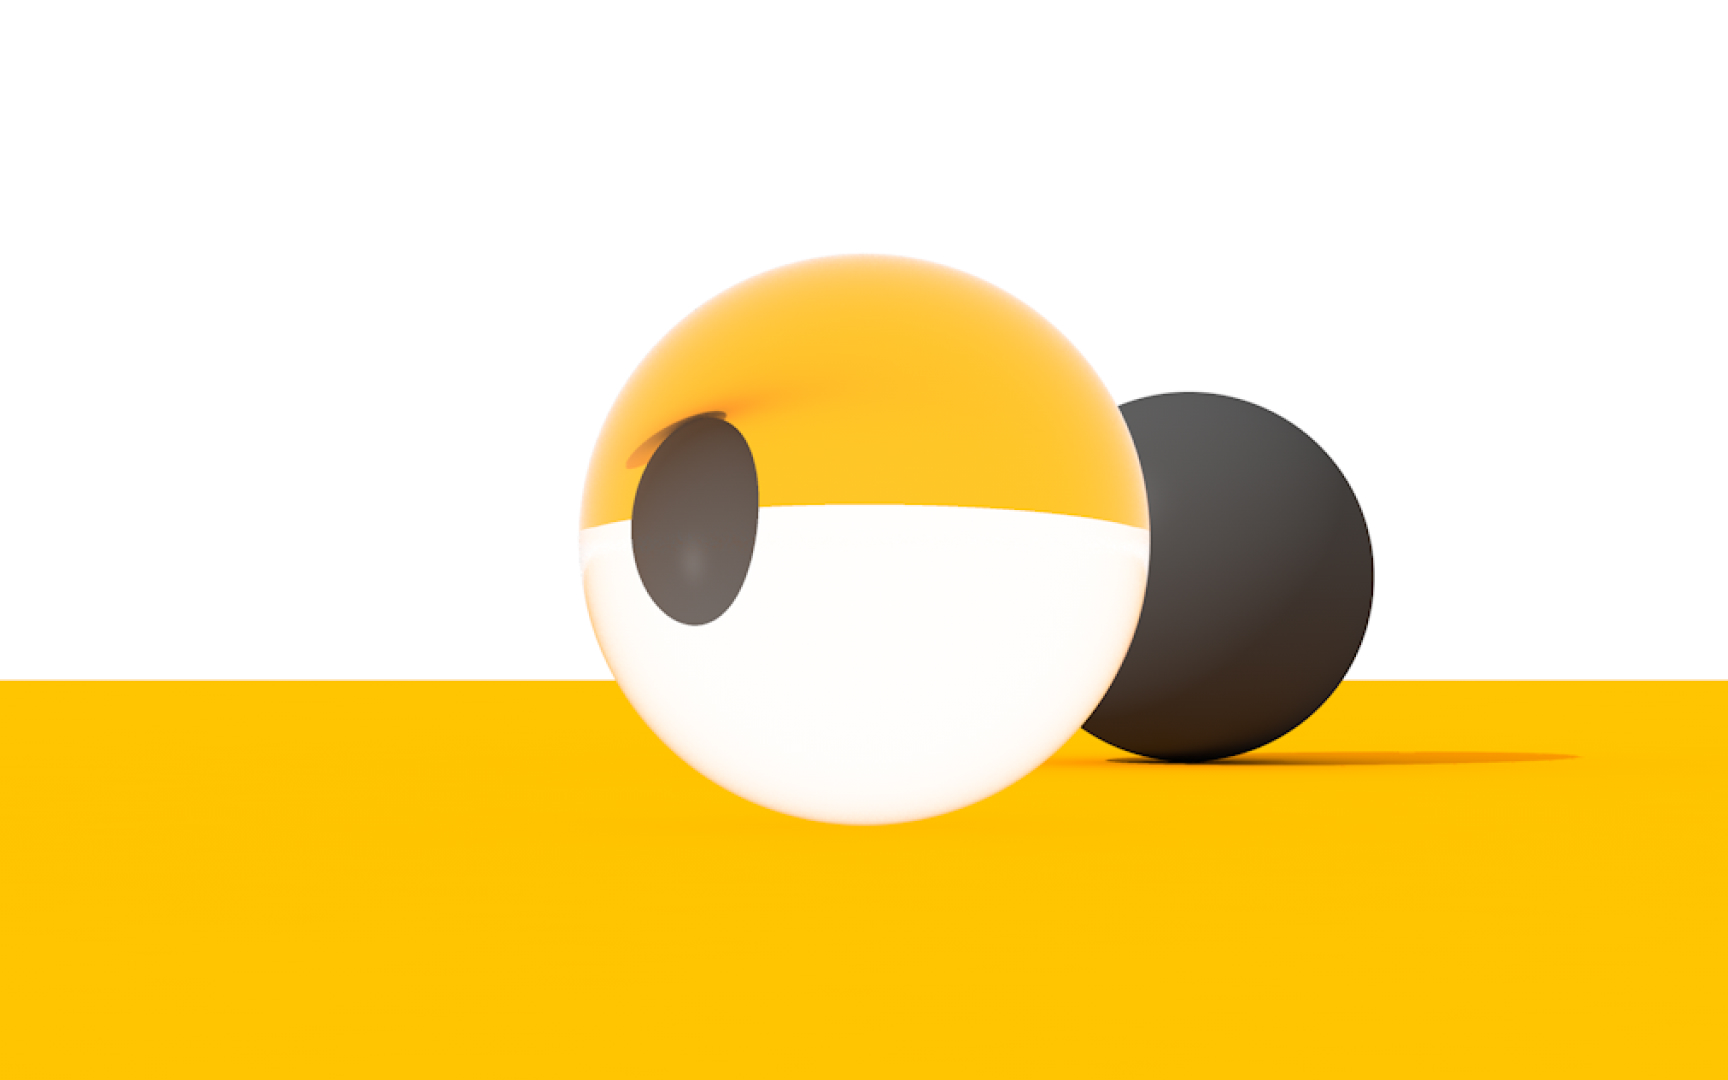
Specular reflection
To understand what specular reflection is, let's quickly go over some basic terms. The ray of light that strikes a surface is called an incident ray, and the angle between this ray and the perpendicular or normal to a surface is the angle of incidence. The reflected ray is the ray reflected by the surface, and the angle between the surface normal and the reflected ray is called the angle of reflection. When the angle of reflection equals the angle of incidence, we have a specular reflection. Think of mirrors or still lake water.
Refraction
If you put a straw in a glass of water, you can see it bending where it enters the water. This illusion happens because of refraction — the change of direction of light rays transmitted through the surface.[5] This transmitted ray of light is called the refracted ray, and the angle between this ray and the normal is the angle of refraction.
Refractive index
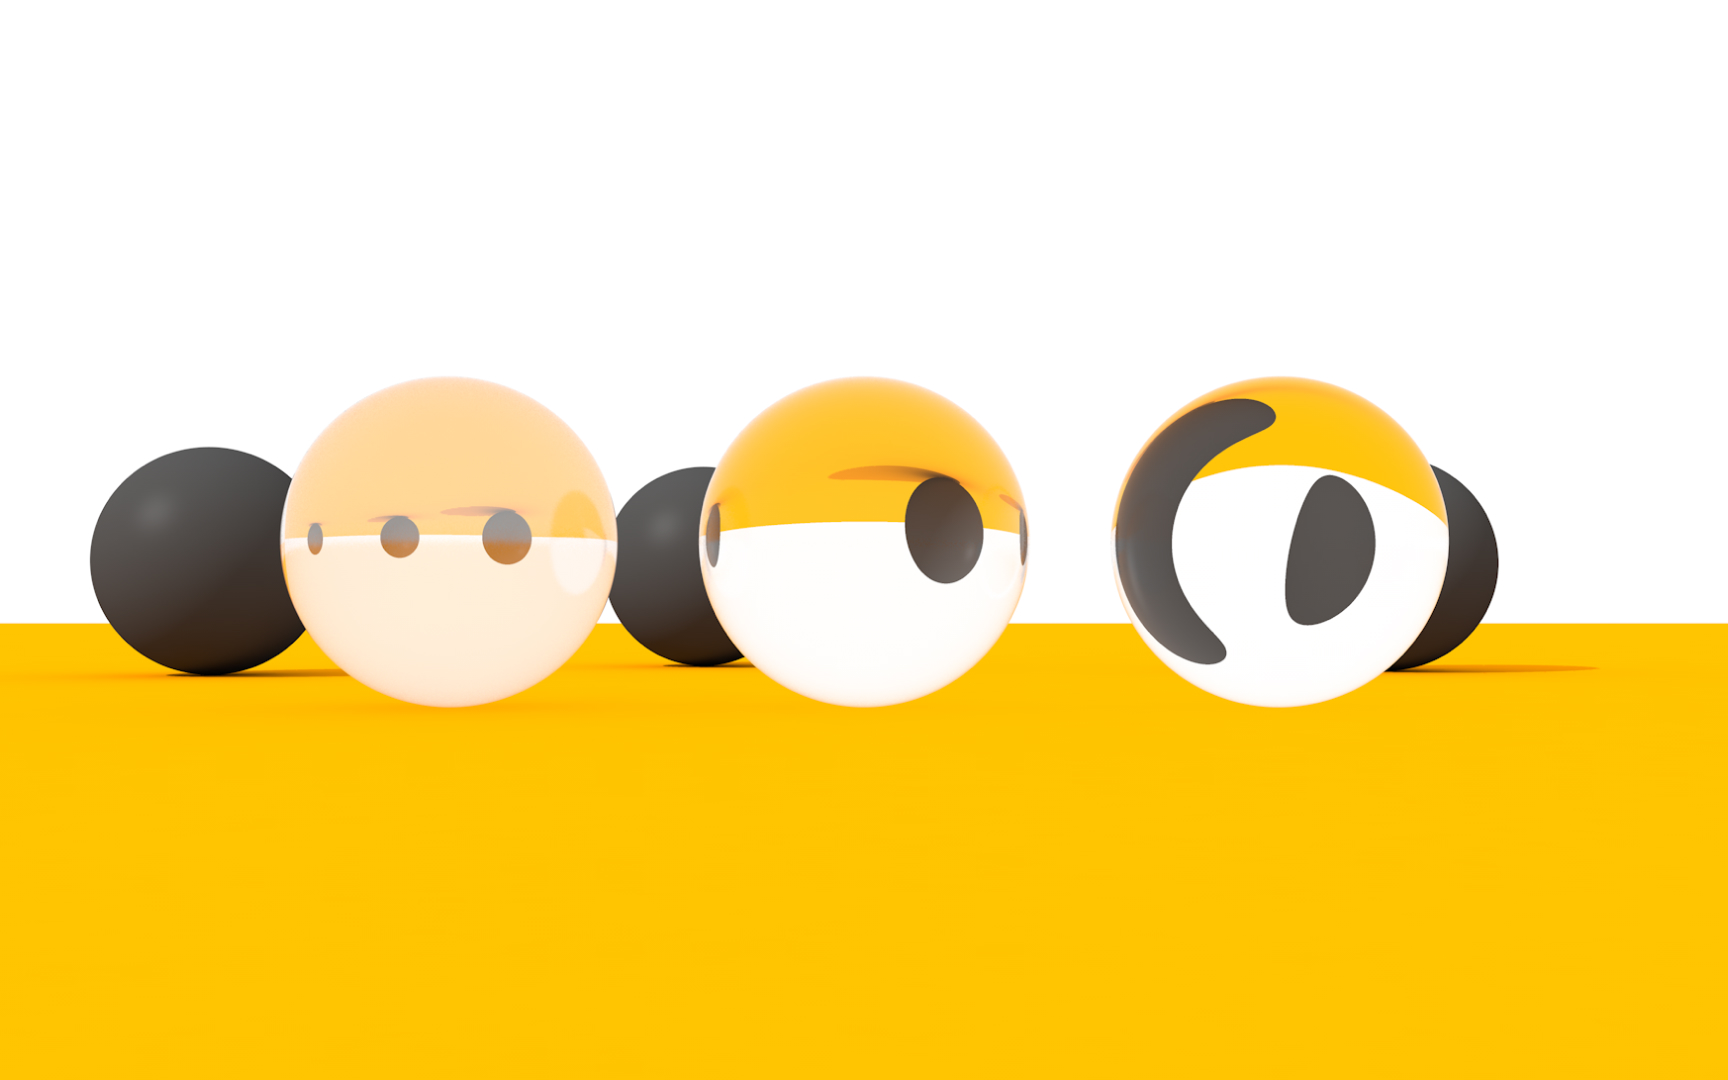
Different transparent materials have different refractive indices, also called indices of refraction, that determine how much the path of light is bent when entering a material. A change in speed causes the change in light direction — light slows down when it moves from air to glass and speeds up when it moves from water to air.
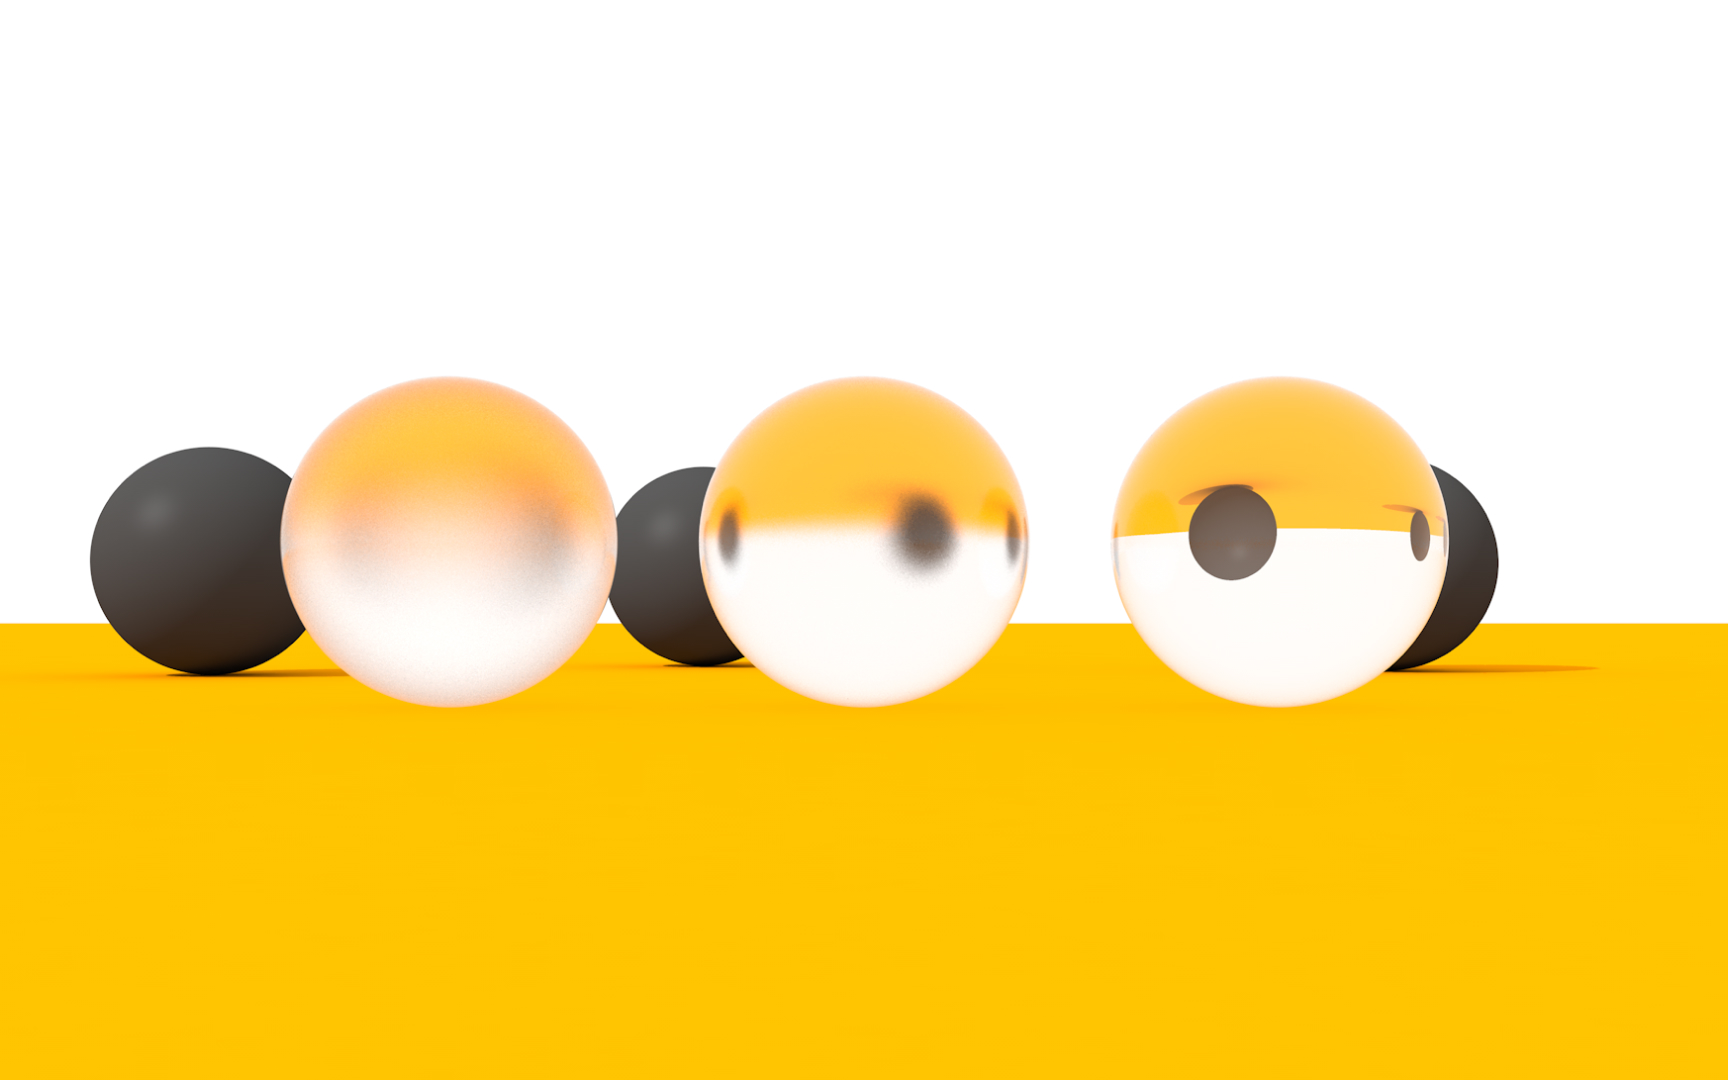
Transparency
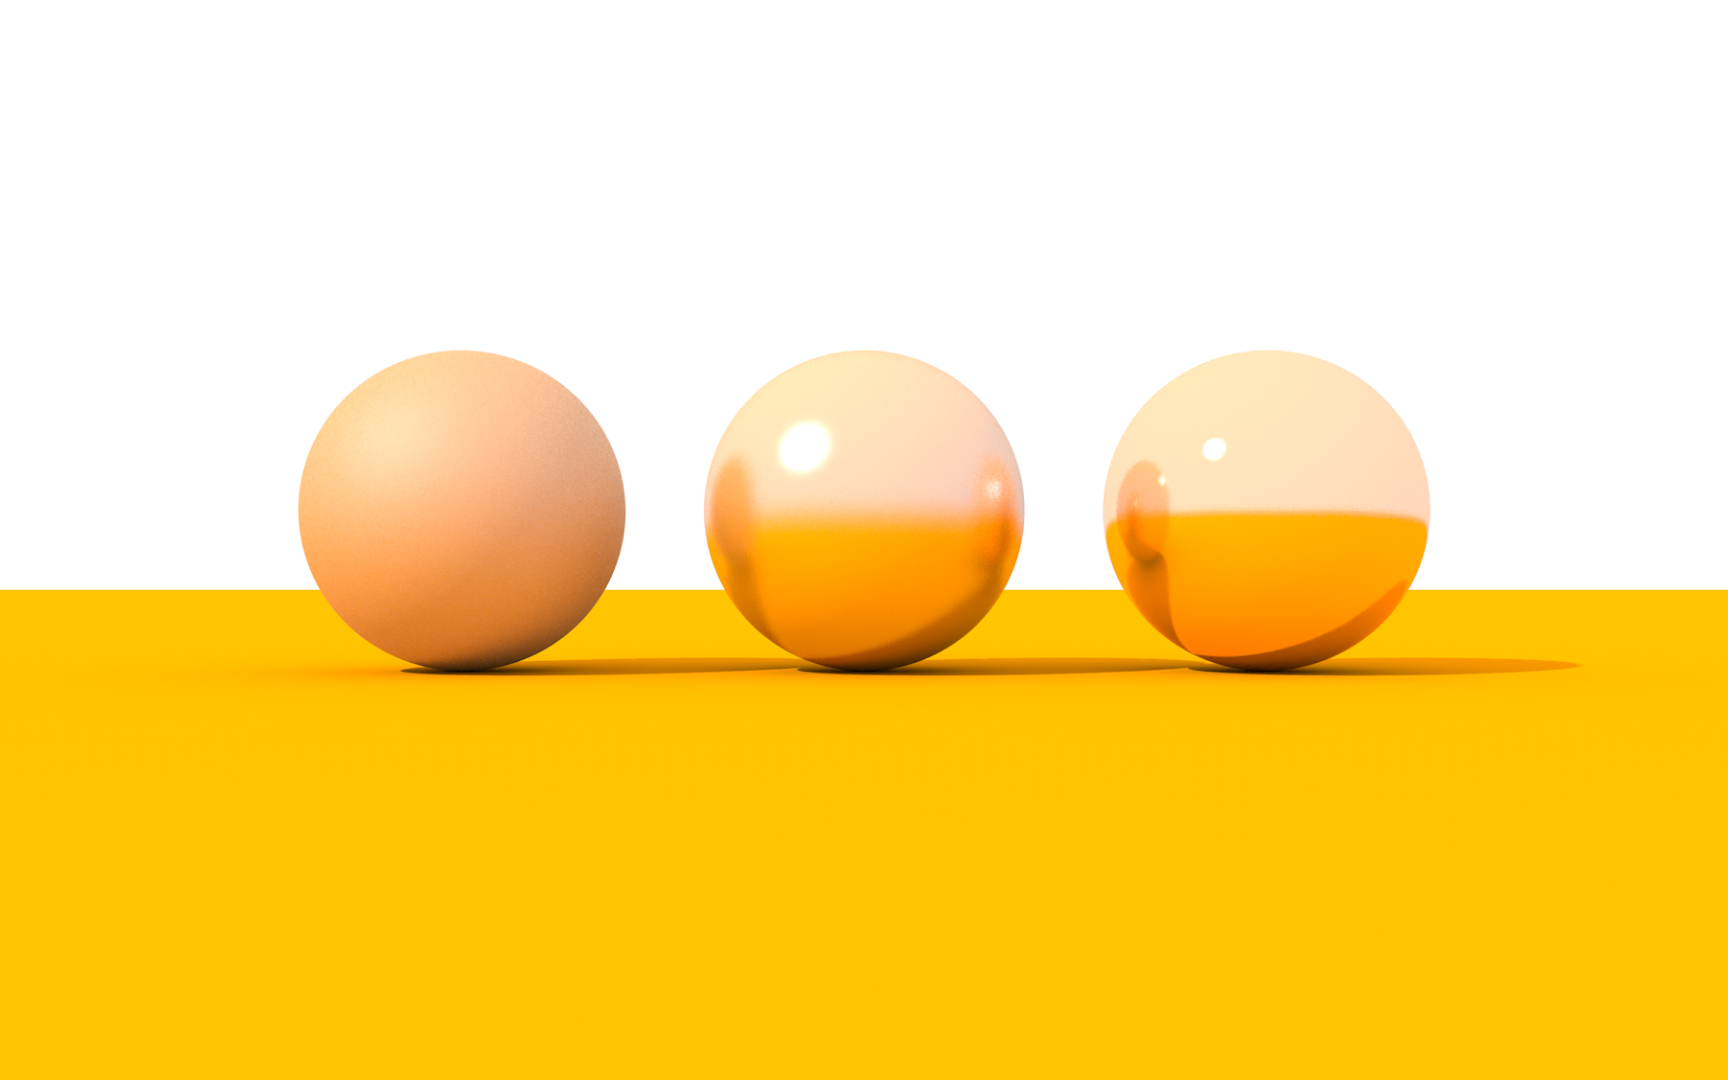
Depending on the amount of light that can pass through them, objects have different transparency — they can be considered transparent, translucent, or opaque.
- Transparent objects like eyeglasses or water look clear, and as light passes through them, you can see they cast a barely visible shadow.
- Translucent objects like most paper let some light through, and their shadows are slightly darker.
- Opaque objects like our bodies don't let the light pass through them, and they have very dark shadows.
Fog overlay
When we look at distant objects outdoors, they often appear foggy or hazy. It can happen because as light moves through that air, it hits things like water vapor, dust, pollution, other gasses, which causes it to bounce off in a different direction and obscures the image. To simulate this effect in 3D, we can overlay a color onto objects depending on the distance from the camera.
Volumetric fog

Another option to create fog is by using volumetric fog. It provides a different fog effect and can be used to create puffy, cloudy fog or clouds that appear to drift and break up in the wind, as the fog density is not constant through 3D space. You can create volumetric objects from scratch or download them from open-source databases.
Topics
References
- Light Objects - Blender 5.1 Manual
- How to Create Realistic 3D Shadows | The Visual Functions of Shadows | Peachpit
- Textures vs Materials in 3D Graphics (A Complete Guide For Beginners) | Concept Art Empire
- https://courses.lumenlearning.com/boundless-physics/chapter/reflection-refraction-and-dispersion/
- Refraction of light | Science Learning Hub