Imagine a web without links—it would be a fragmented maze with isolated pockets of information, devoid of the interconnectedness that defines the online experience.
With the ability to effortlessly navigate users to different pages, external resources, or specific sections within a document, links are the backbone of user-friendly and interactive web design.
Learn how to implement links effectively to create a dynamic and engaging website and explore the realm of link attributes, empowering you to customize link behavior, optimize accessibility, and enhance the overall user experience.
Link syntax
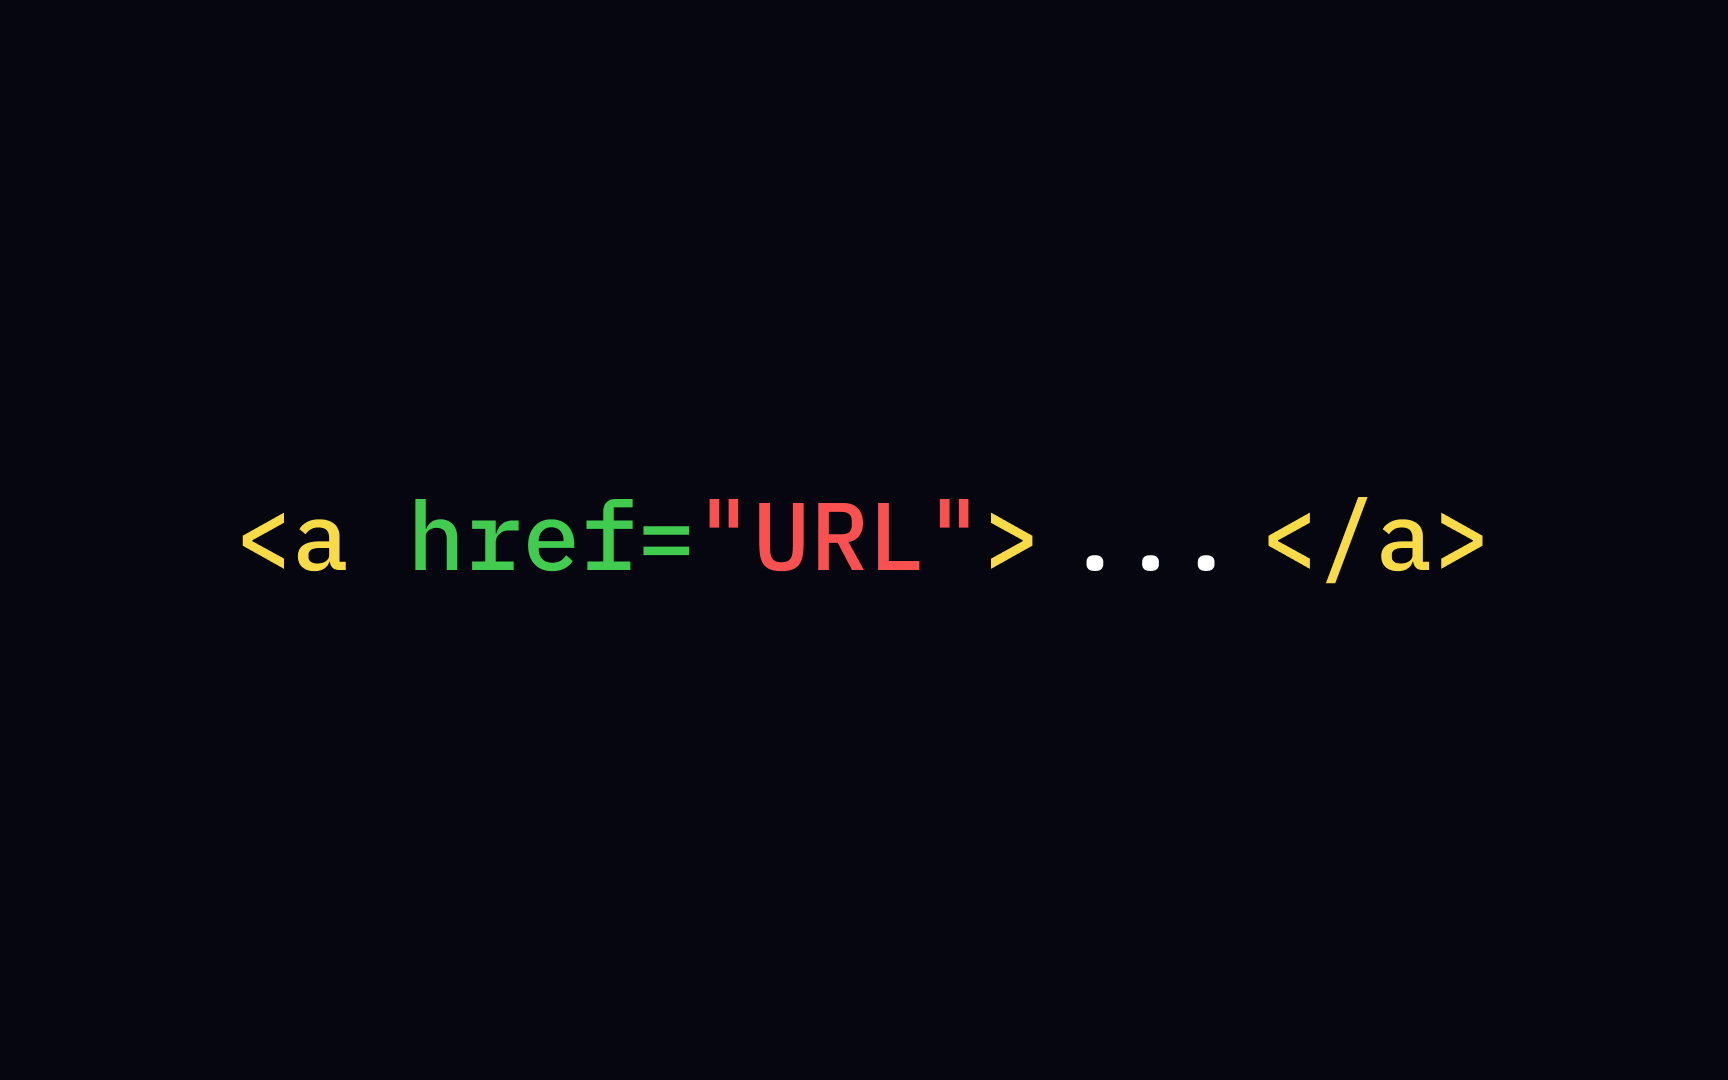
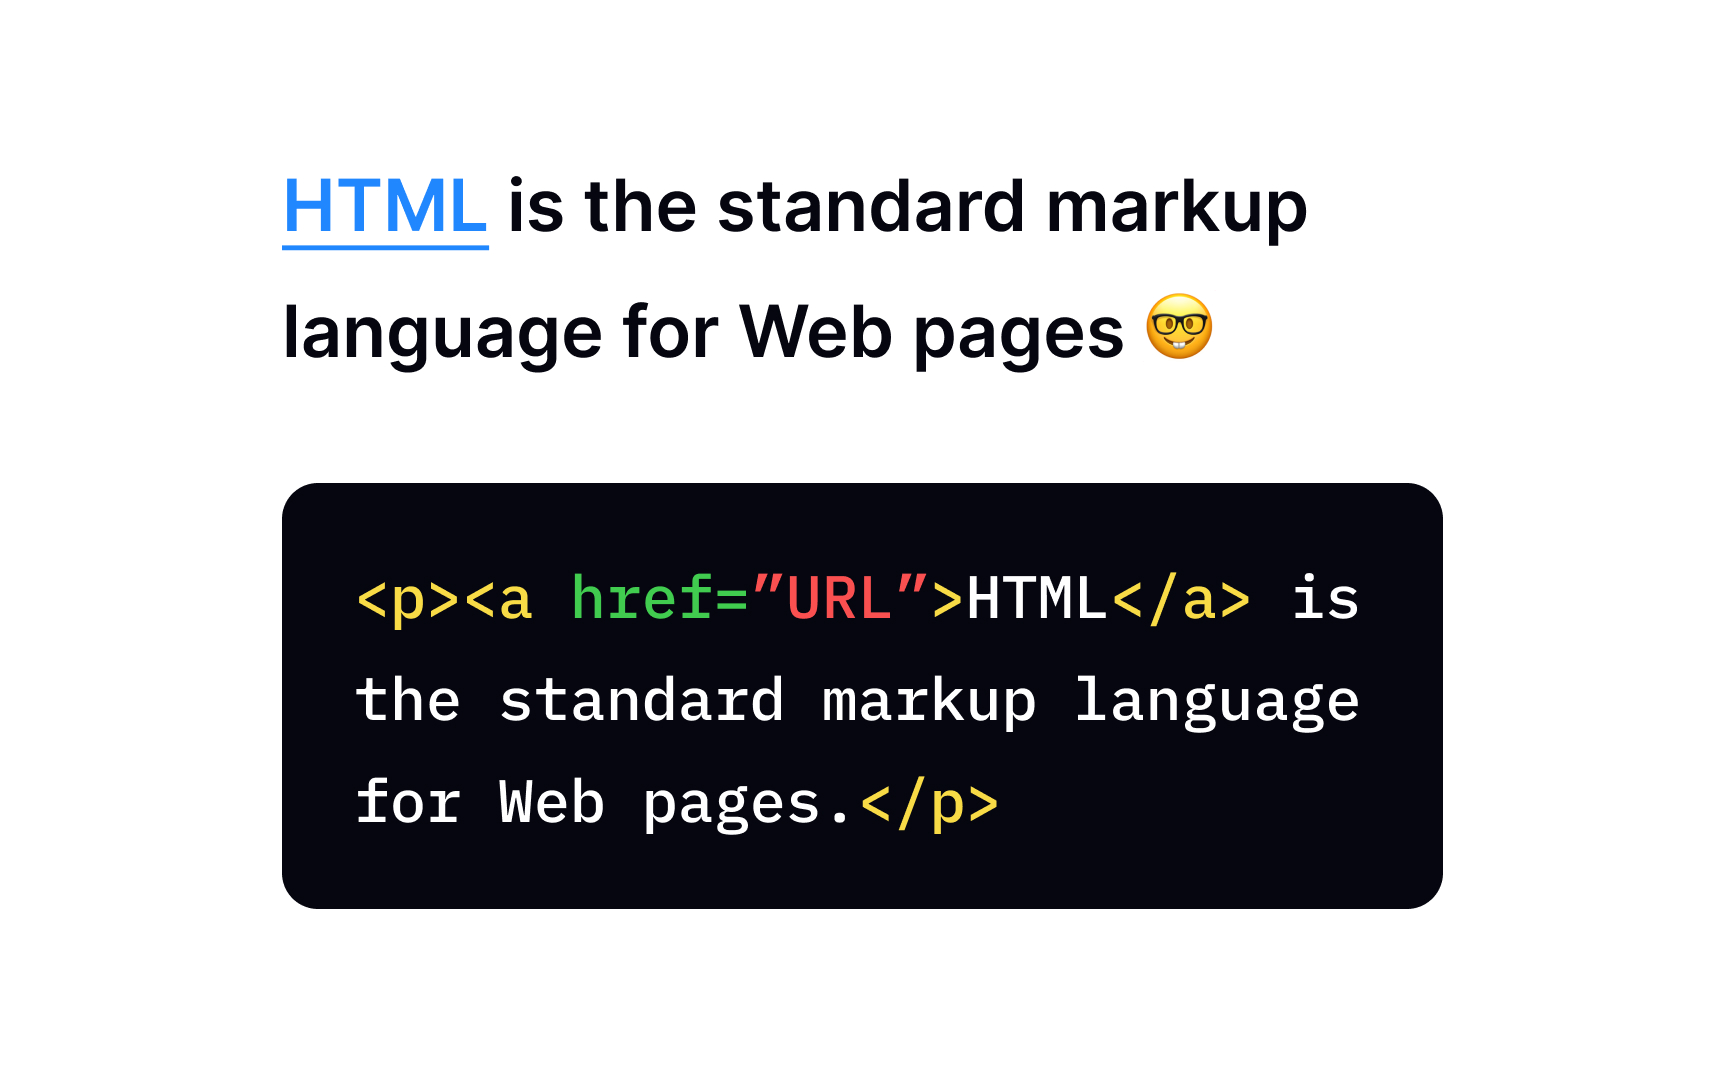
You know that feeling when you come to a website, read one article, then see an intriguing headline highlighting some hot news, then another, and eventually, come to your senses an hour later? Links are responsible for engaging users to click and explore the website. Ultimately, they are what make the Web a web. Looking at the link's anatomy, we can define the <a> element and href attribute, also known as a Hypertext Reference, or target, which indicates the link's destination. The final result should look like this: <a href="url">link text</a>.
The link text is the only visible part of the link that allows users to click and navigate to a specified URL address.
Text link
The most familiar link type is a text link. By default, an unvisited link is blue and underlined. Once you click it, the link turns purple.
Be particularly careful when you write link text because:
• Screenreader users tend to jump around from link to link, using them as headlines of valuable content.
• Search engines use link text to crawl through websites looking for relevant keywords.
• Visual readers don't usually read and scan pages for prominent elements like links.
Pro Tip! Avoid using link text such as "link," "links to," "click here," or worst of all, a bare URL. They communicate nothing to users and search engines.
Image link
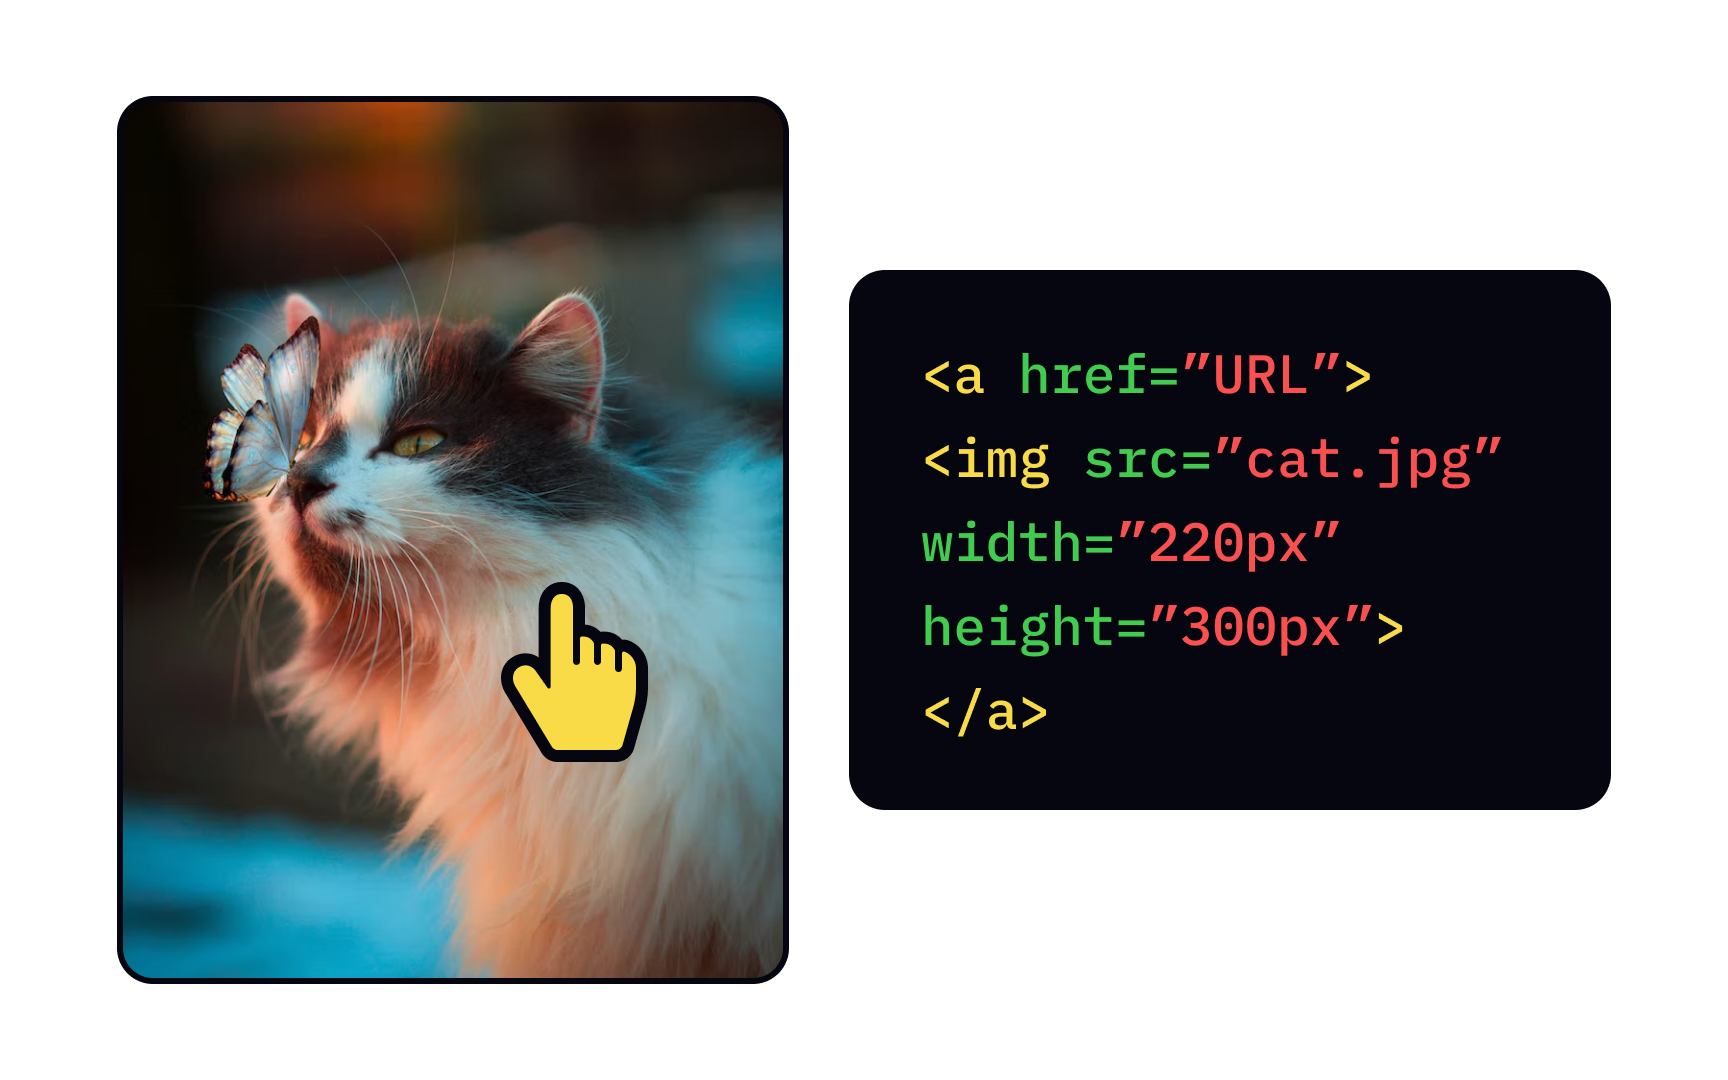


A link doesn't have to be text. It also could be an image and open the picture in a popup window or a new tab.
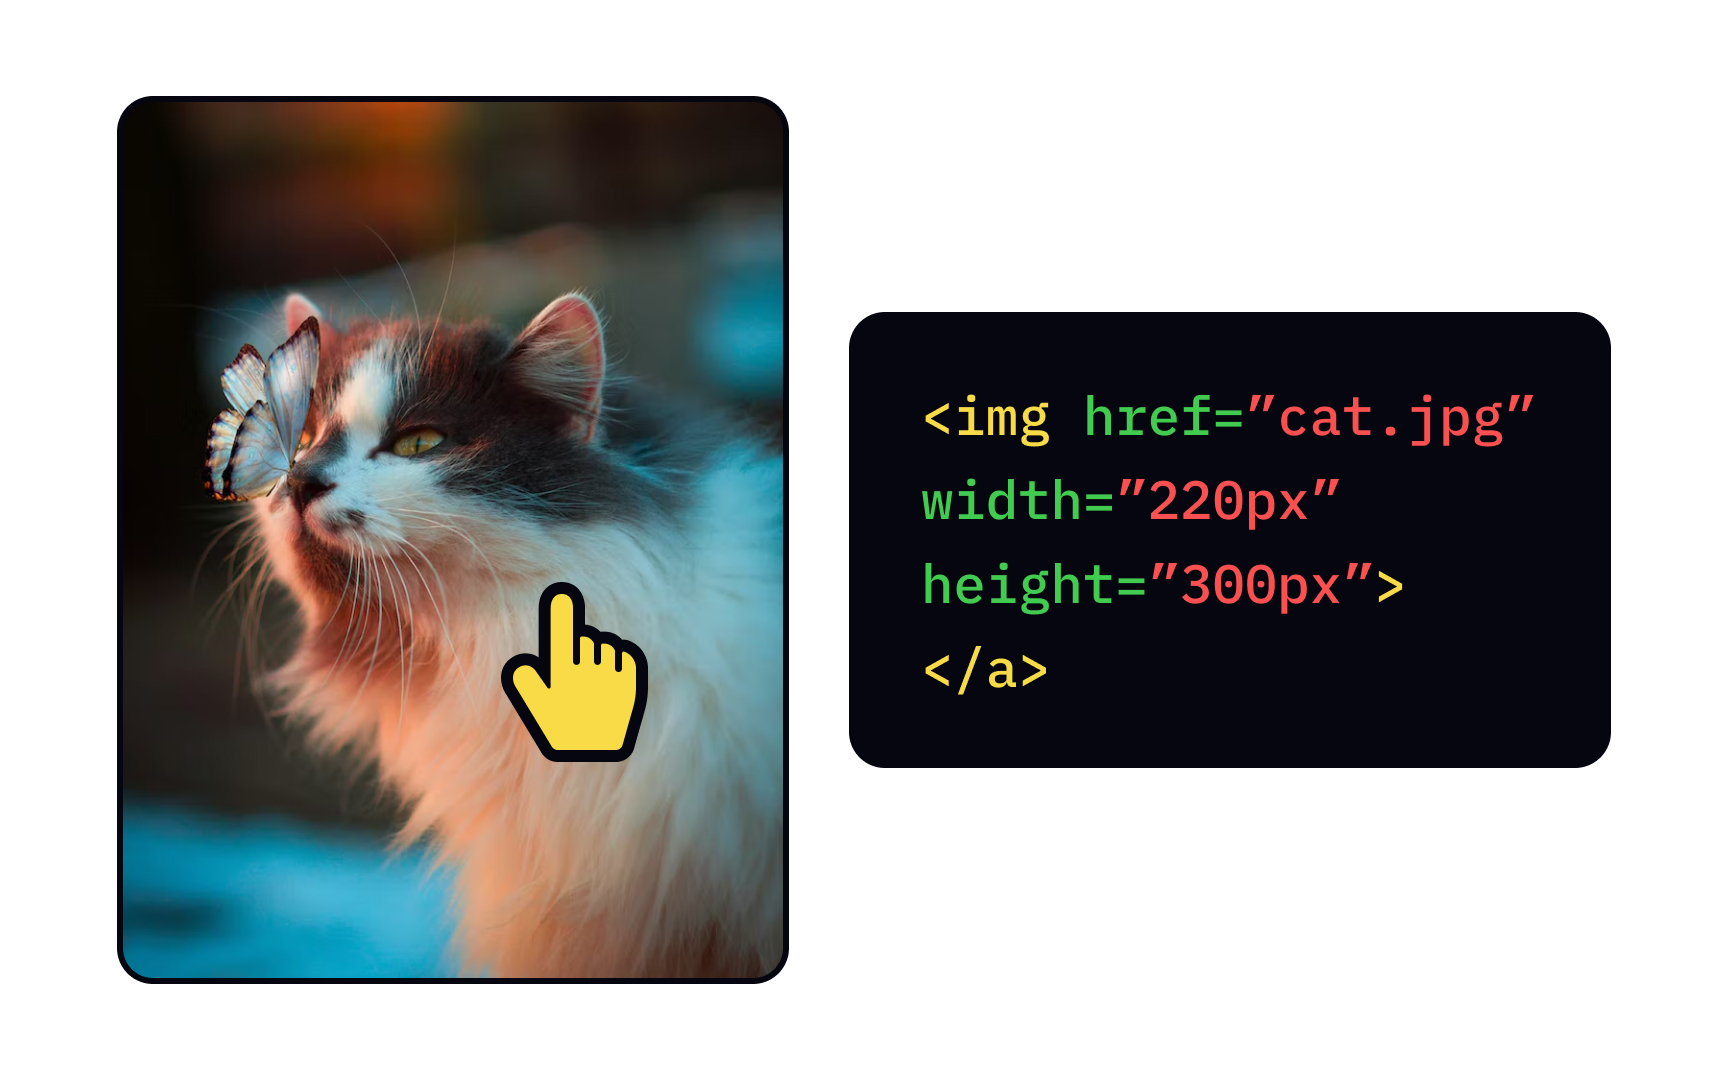
To insert the image as a link, you'll need the <img> tag that contains several attributes:
• src identifies the image location and tells the browser the file address
• height and width refer to image measurements
• alt provides alternative text that helps users of assistive technologies receive information about the page without actually seeing it
All you need is to place the <img> tag inside the <a> element. Don't bother to close it — the <img> tag is an empty one.
_Blank value
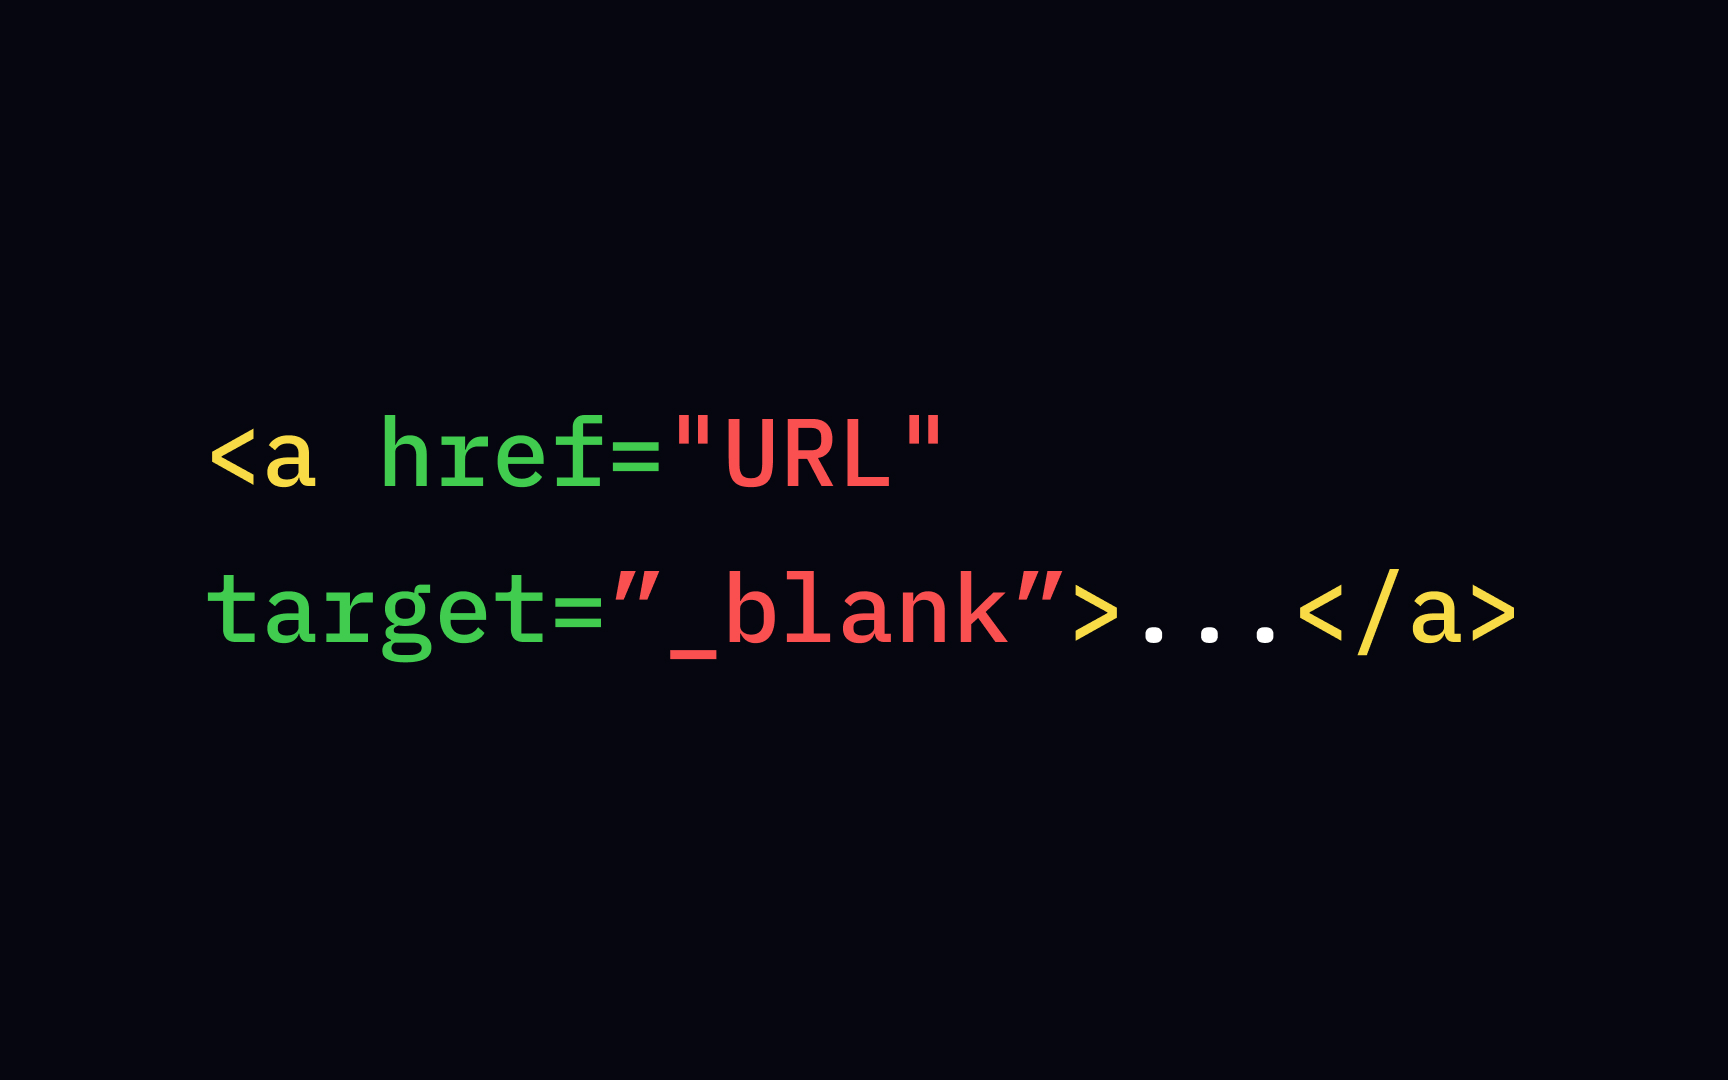
While the href attribute defines the link destination, the target attribute tells the browser where to open the linked document. For example, the link can lead users to a new window or tab, which is how it's most commonly used. To make it work, use the _blank value and keep in mind that the target name should start with an underscore (_) character: <a href="URL" target="_blank">Link text</a>.
_Self value
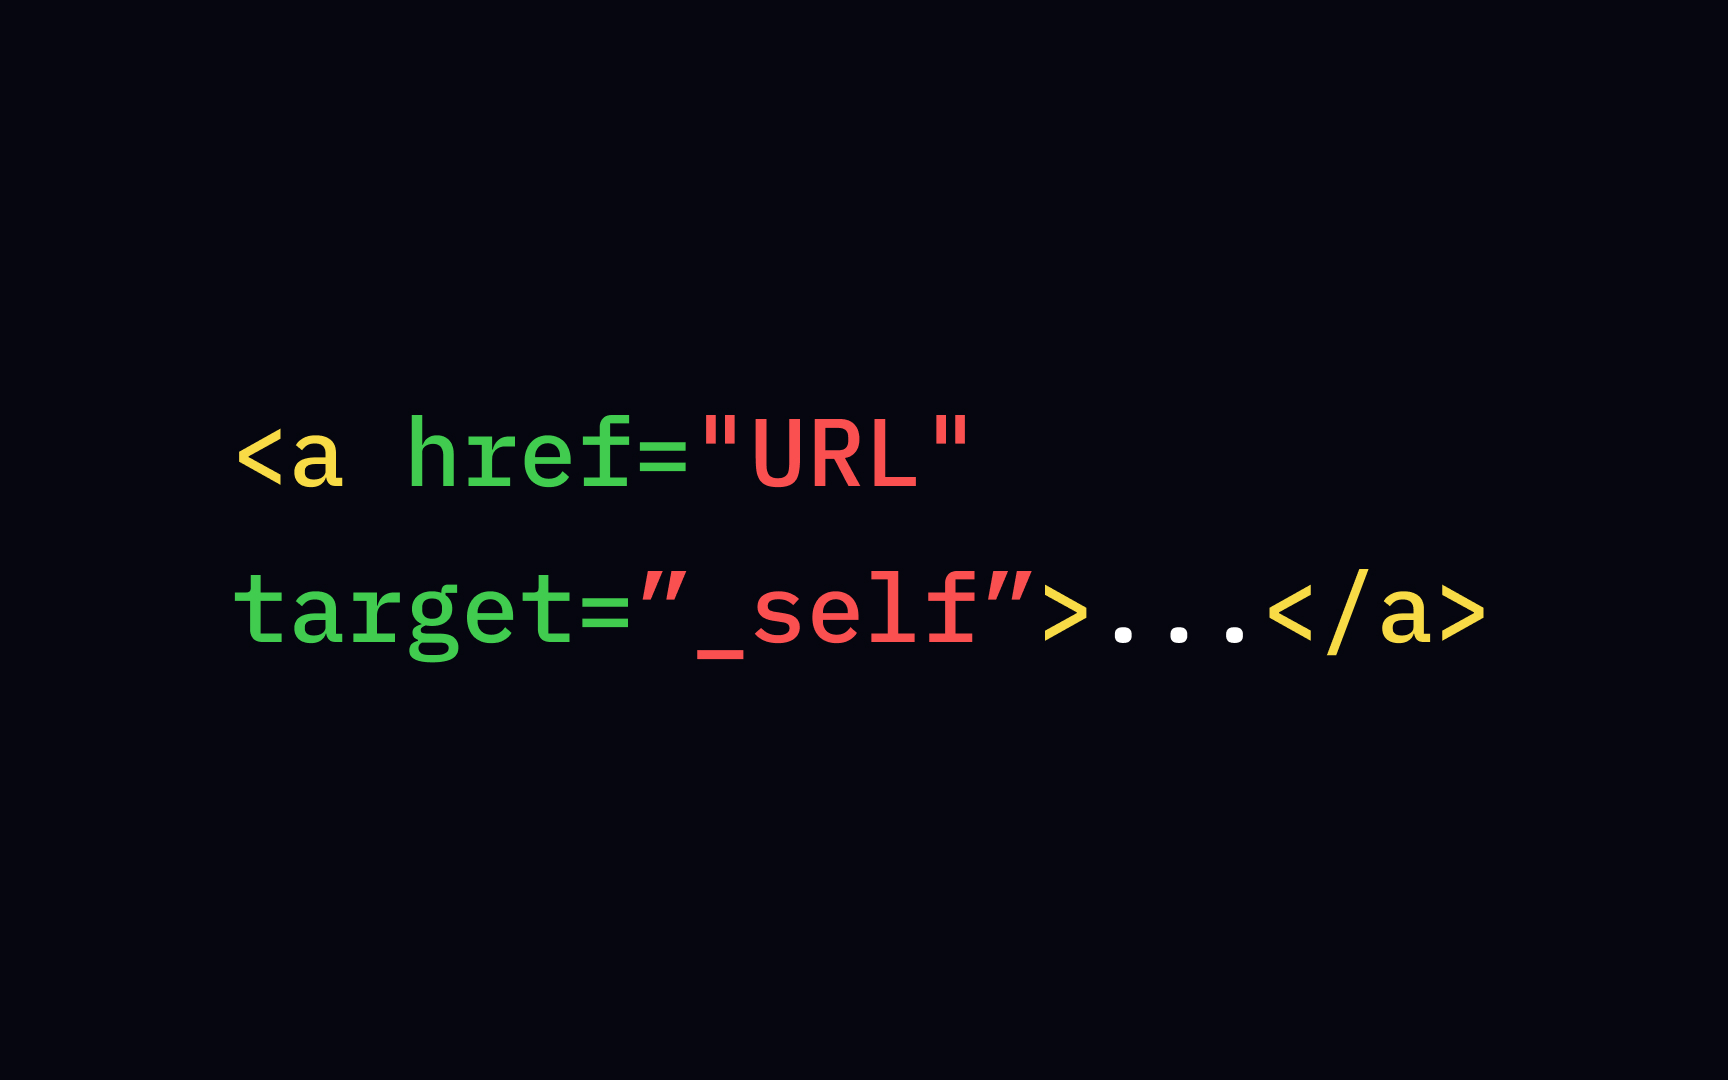
Most browsers open links in the same window or tab by default, for example, when you click an image to see it in full size. In this scenario, the target attribute has a value of _self, and the notation looks like this: <a href="URL" target=”_self”>link text</a>.
Absolute URL
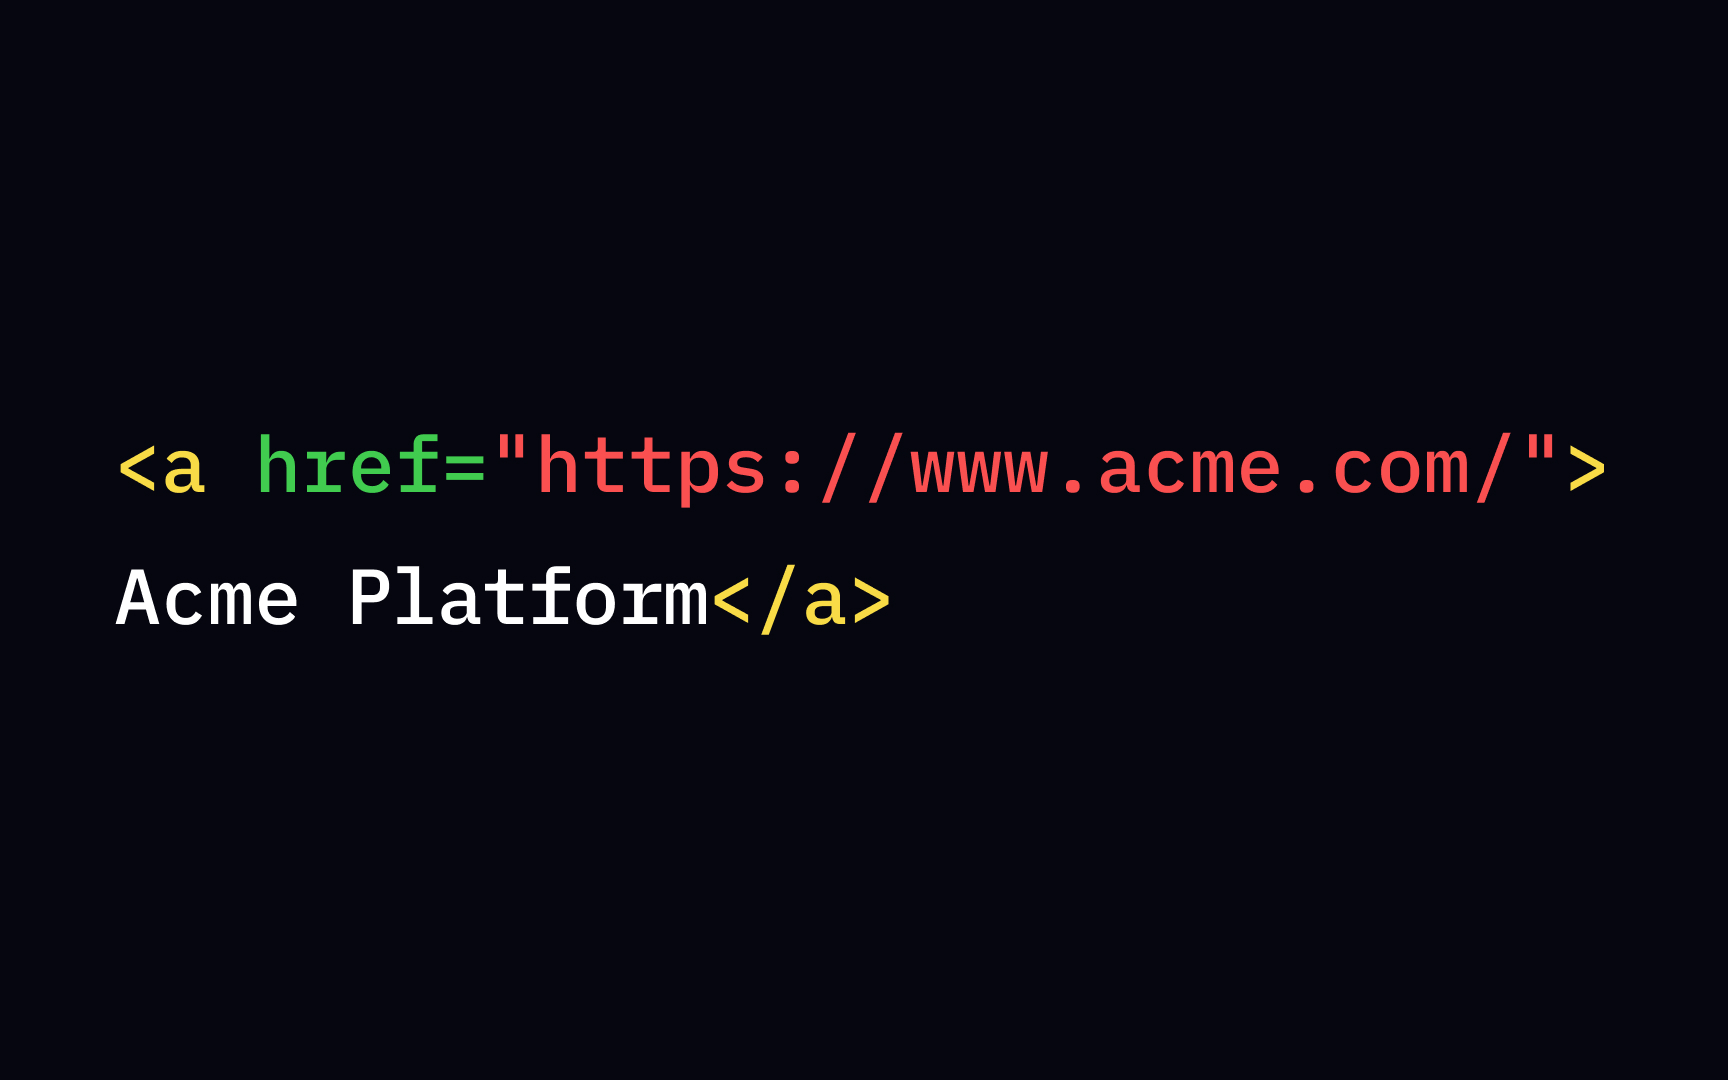
Remember, the URL tells the browser where it can find a file — an HTML page, image, or program on a local or networked computer. You have 2 options when it comes to the selection of URLs: absolute URL and relative URL. The absolute URL shows the full path to the target: the protocol (HTTPS), the domain name, including the location within your website in your folder system.[1]For example, it may look like this: <a href="https://www.example.com/form.php">.
Absolute URLs are more tedious to create as they require you to describe the entire route. However, their main advantage is preventing content duplication and increasing the chance that users won't miss updated content.
Relative URL
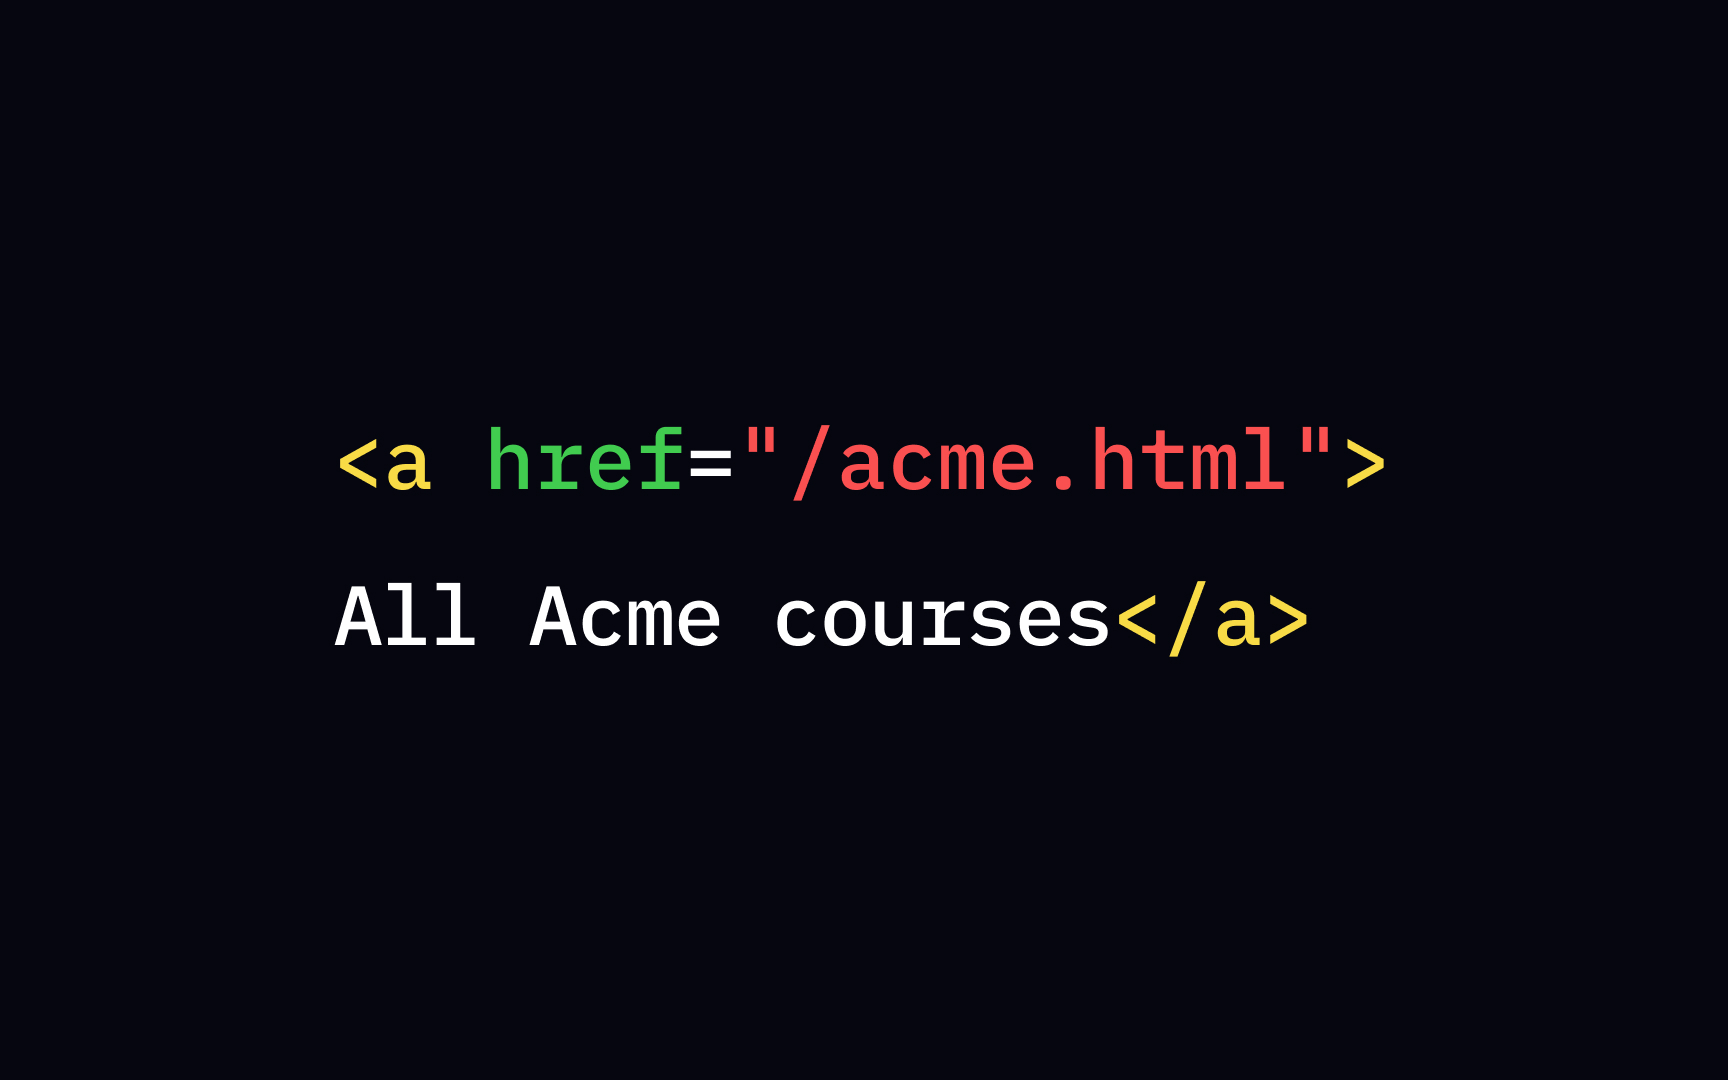
Simply put, relative URLs are condensed versions of absolute URLs. Instead of showing the full web address, they only contain the location following the domain.[2] An example of a relative URL is: <a href="/file.html">. To make it easier for you, remember that relative URLs never contain the https://www part. Also, they are the preferred choice of web developers as relative URLs are less time-consuming to compose.
Pages with relative URLs have a slightly better loading time than those using absolute URL paths.
Mailto: value
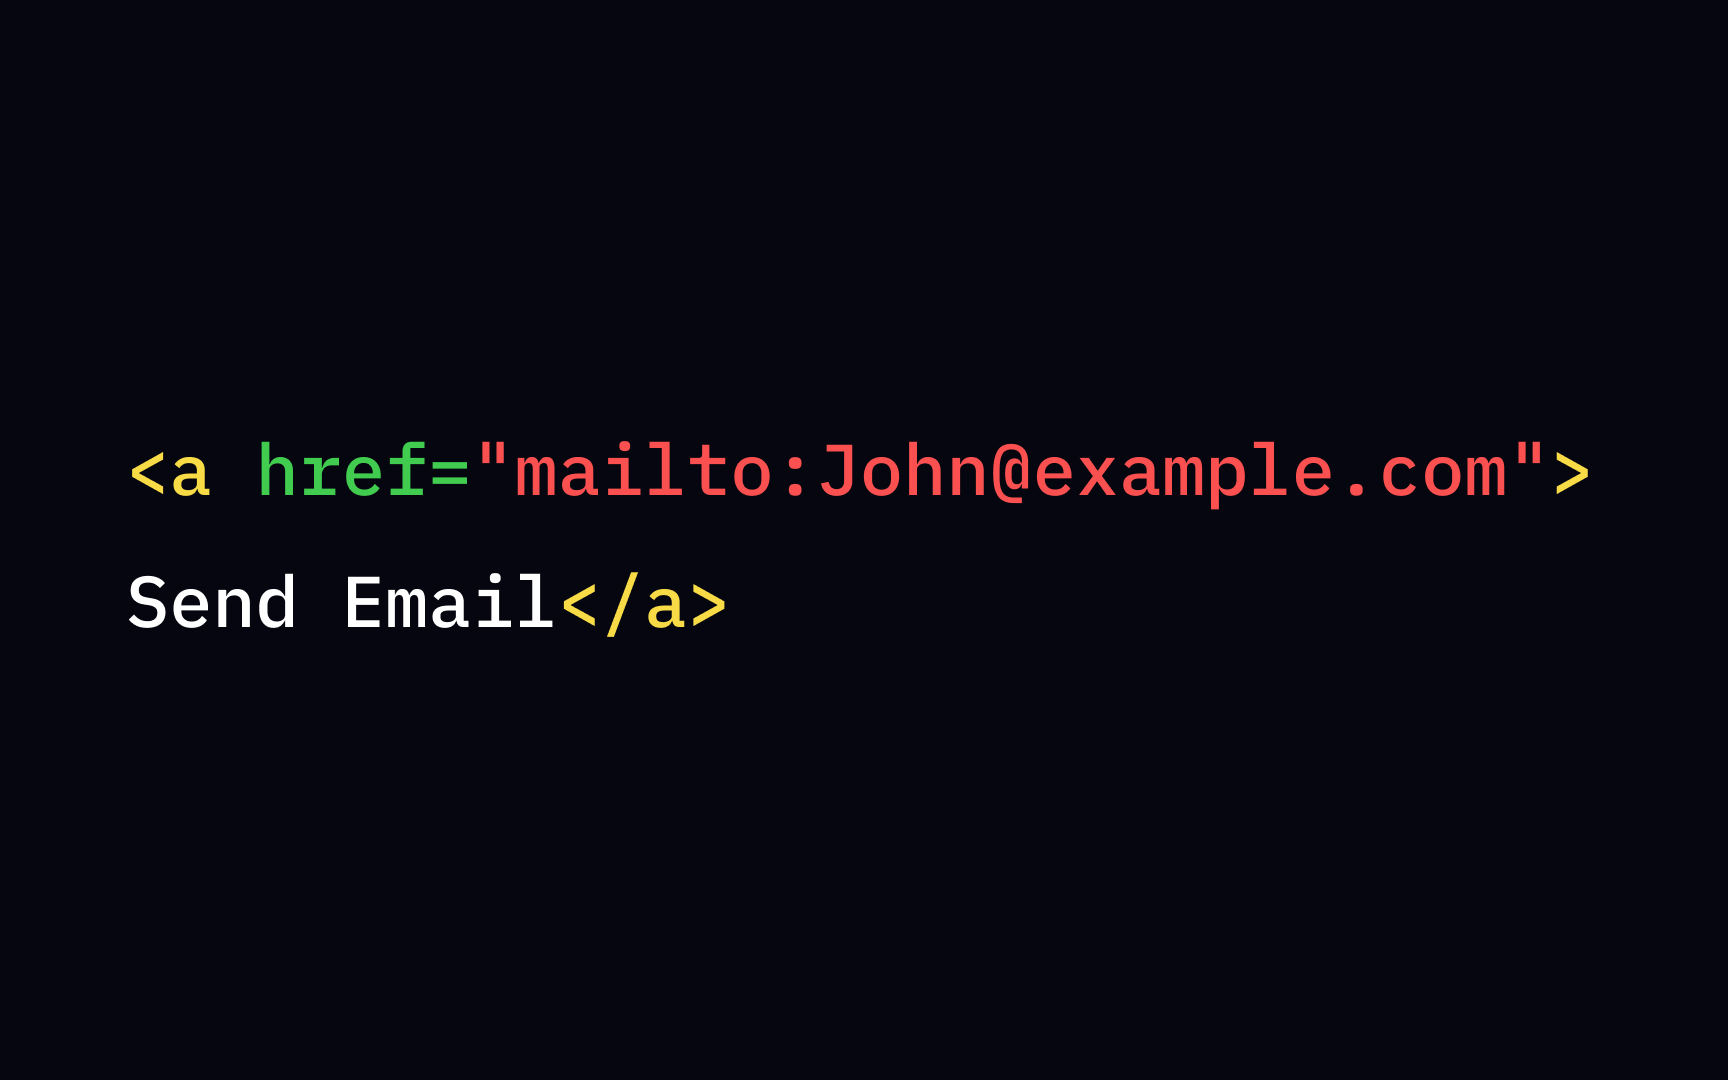

One usability rule says that products should attempt to anticipate users' wants and needs. When scanning a page for a person's email, users might want to contact this person right away. To make it more convenient and reduce users' efforts, designers and developers can turn an email label into a link. To make this work, place the mailto: inside the href attribute. It'll create a link that opens users' email programs so that they can send an email.[3]
Unvisited link state
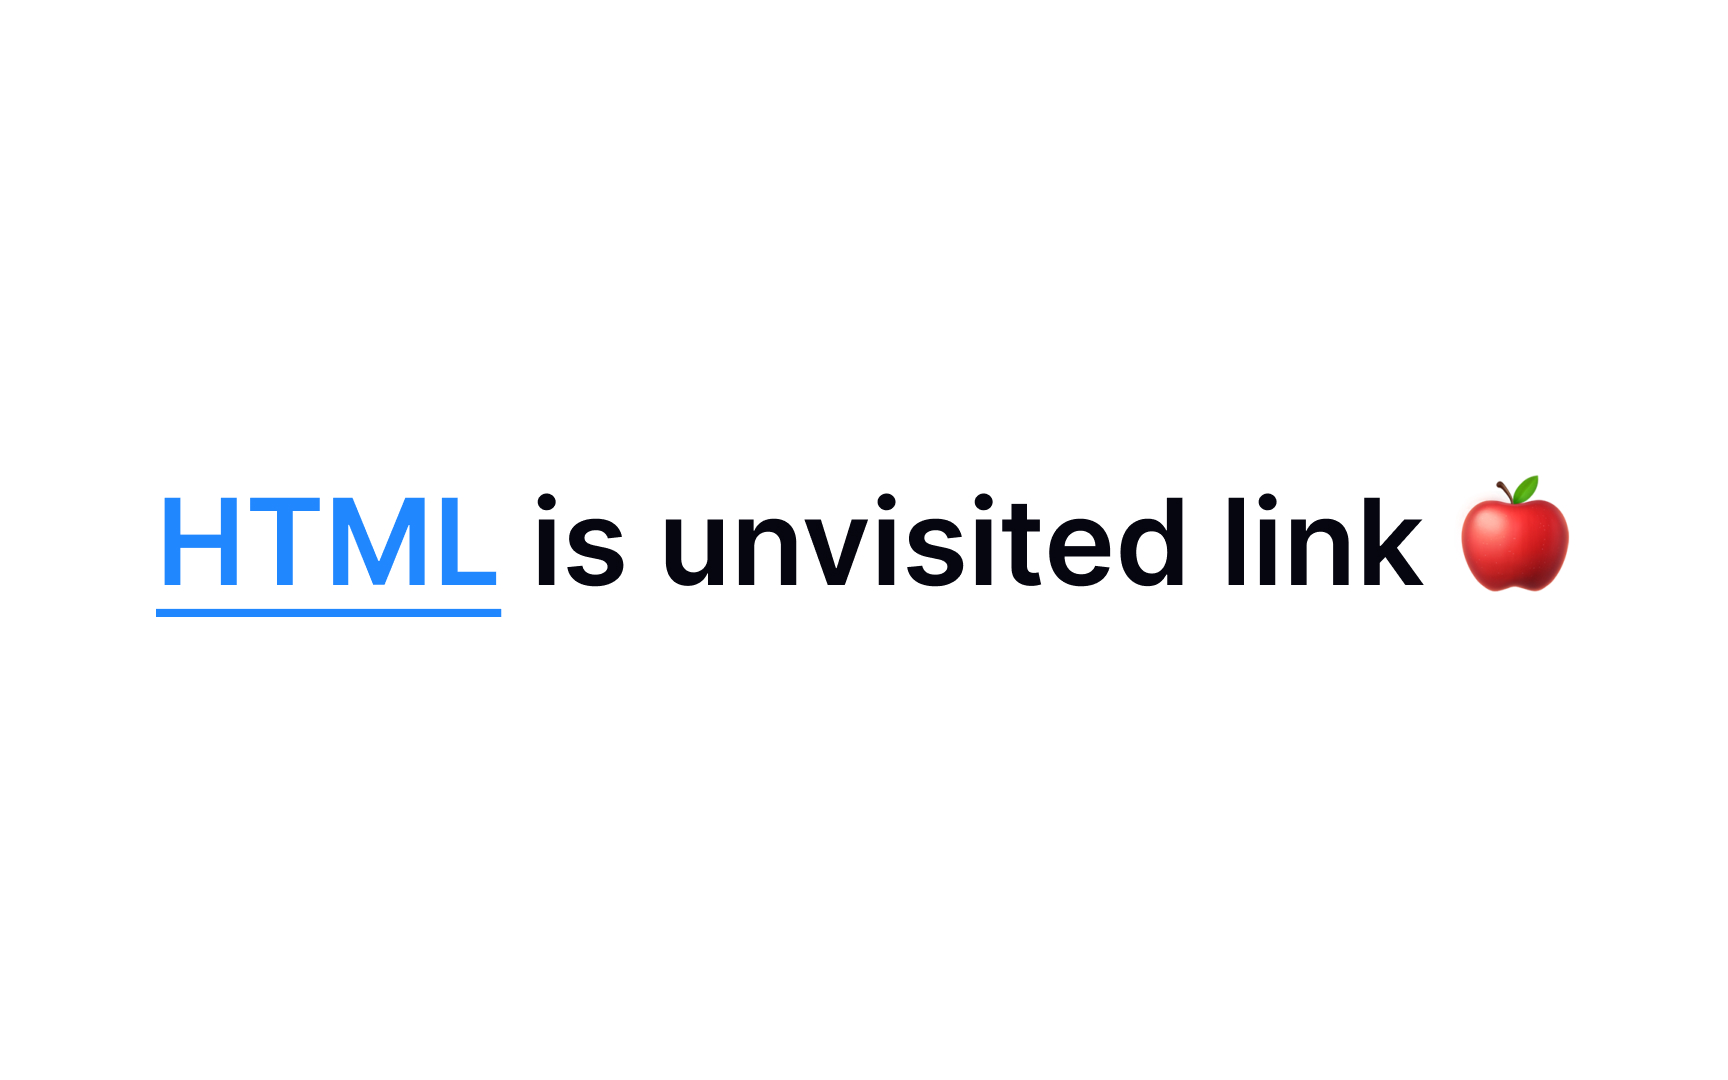
By default, all browsers display unvisited links — a state when users haven't clicked the link yet — underlined and blue. You can apply your own styling using the CSS attribute style and a:link value, for example:
style
a:link {
color: green;
}
Keep in mind that interactive elements like links should remain recognizable and look clickable. While blue is still a safe bet, other colors also work well, as long as the links stand out clearly from the body text.
Pro Tip! Avoid using blue or underlined text for anything other than links.
Visited link state

Once users click a link, it changes to a visited state. By default, it's purple and underlined, but you can change its style too. In this case, you'll need the a:visited value:
style
a:visited {
color: pink;
}
Keep these 3 things in mind:
• The visited state should differ from an unvisited state
• It should contrast enough against the background
• It should look clickable[4]
Hover link state
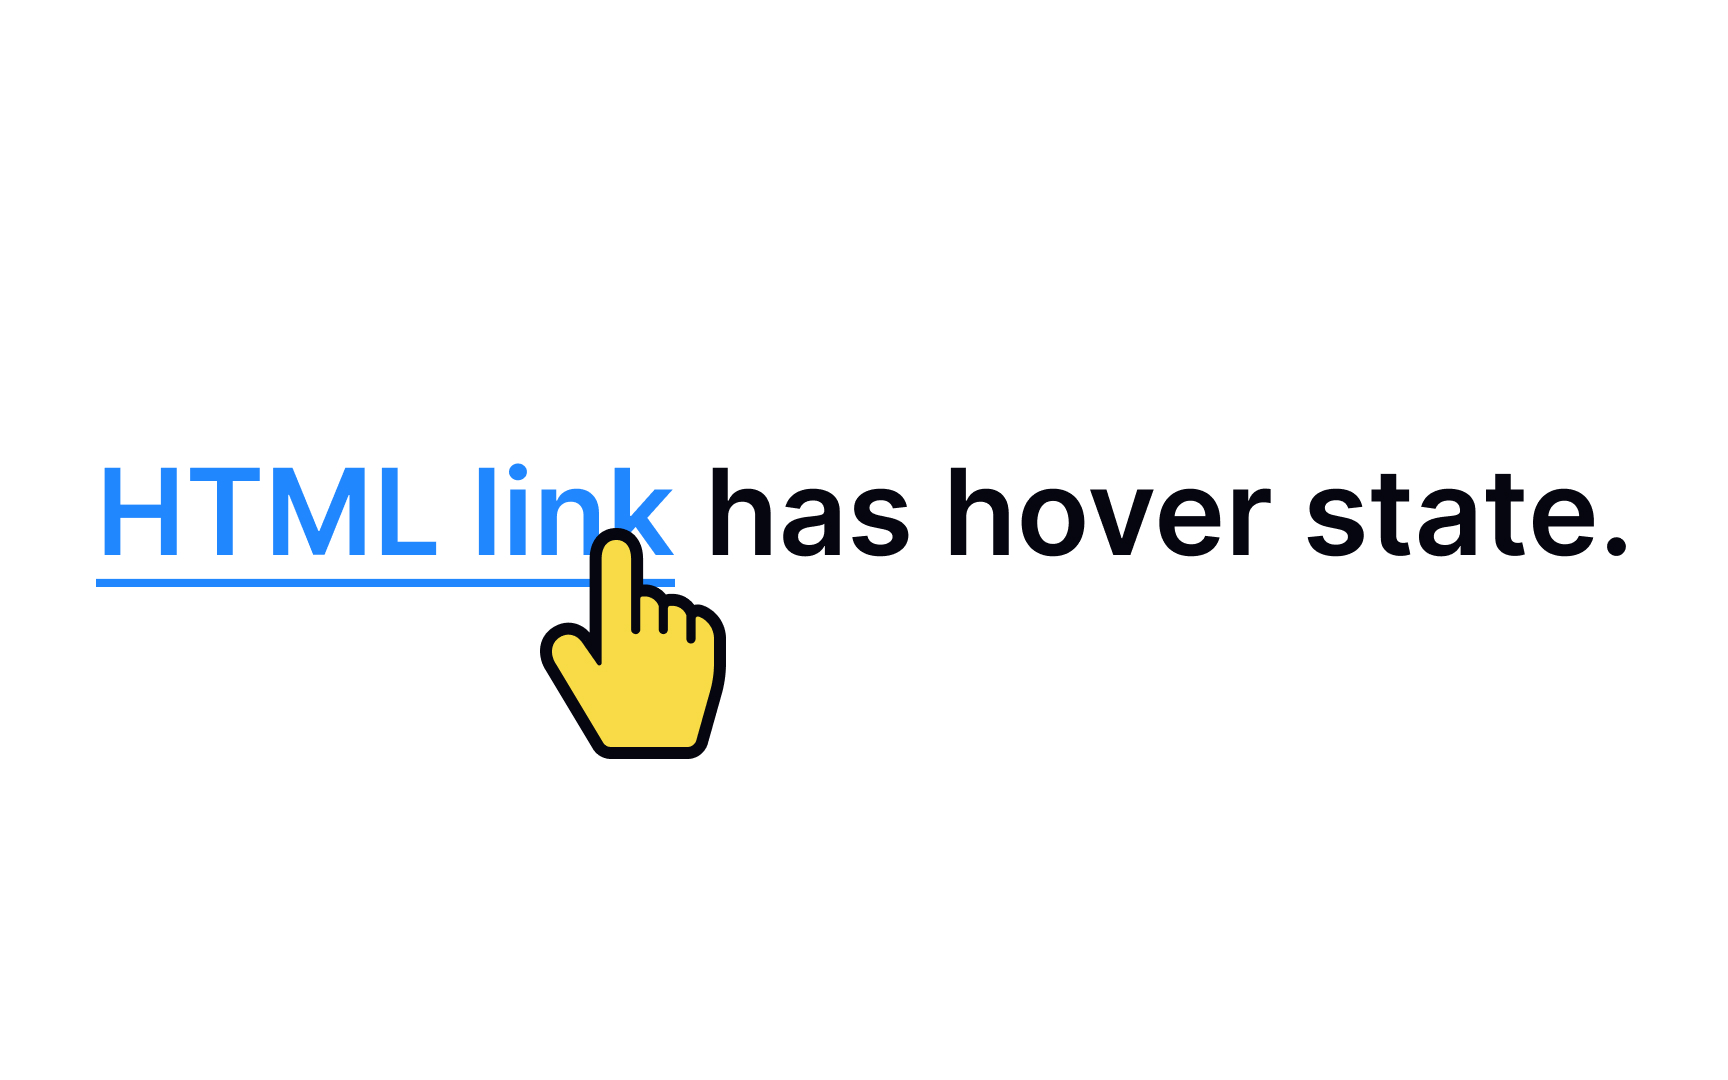
Links should contain enough visual cues so that users can quickly determine if the element is interactive. Color, underlining, and a hand cursor are 3 key pillars to signify the strongest clickability. Make sure the arrow cursor immediately transitions to the pointer cursor when users hover over a link.
Active link state
When a user clicks on a link, it transitions into the active state. By default, an active link is displayed in red while remaining underlined, helping users identify which link they are interacting with.
If you want your links to reflect your brand’s unique colors or style, you can easily customize their appearance using the a:active selector within your CSS rules. This allows you to define exactly how a link should look when it is being clicked. For example, to change the color of an active link to LightSeaGreen, you would use the following code:
a:active {
color: LightSeaGreen;
}
This approach helps maintain visual consistency with your brand and enhances the user experience by providing clear feedback during interaction.
Link bookmark

When a page is lengthy, it becomes tedious for users to scroll through it and search for content. To make their life easier, you can insert bookmark links named anchors that allow users to jump to important sections. To make this work, you should create the bookmark and then add a link to it.
As the first step, assign the id attribute to the element, like a section or chapter, where your users might need to jump to: <h2 id="Chapter5">Chapter 5</h2>. Then, use that id attribute value preceded by the hash sign (#) inside the familiar link syntax using the <a> tag and the href attribute. Don't forget to come up with relevant link text so that users know where the link leads them: <a href="#Chapter5">Jump to Chapter 5</a>
Link tag
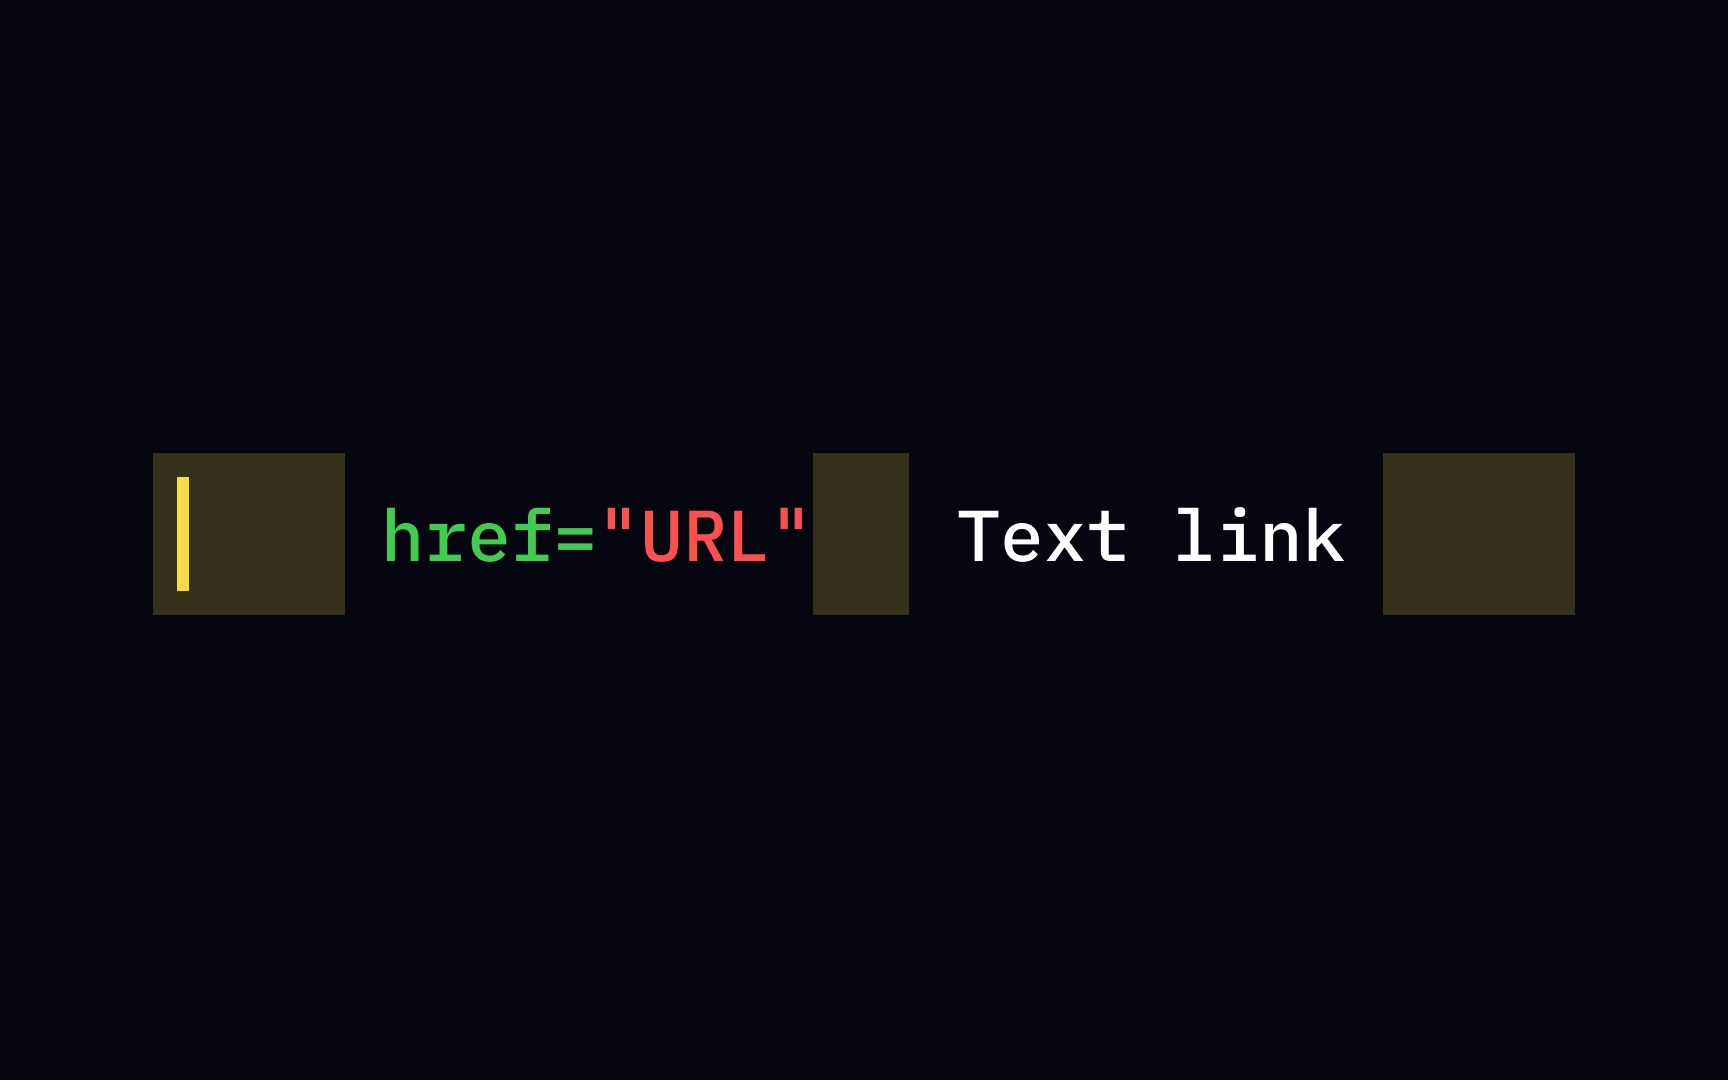
If we dissect the "body" of the HTML link, we'll define the <a> element, the href attribute, and link text. The href attribute contains the URL — a final destination for users once they click the link. You have to make sure to use both start <a> and end </a> tags along with the correct syntax.
Topics
References
- Absolute and Relative URLs - ActiveX Data Objects (ADO)
- Absolute and Relative URLs - ActiveX Data Objects (ADO)
- mailto HTML Tag - javatpoint | www.javatpoint.com
- Guidelines for Visualizing Links | Nielsen Norman Group